
Oil Series: A Journey Through Creating a Cohesive Body of Work
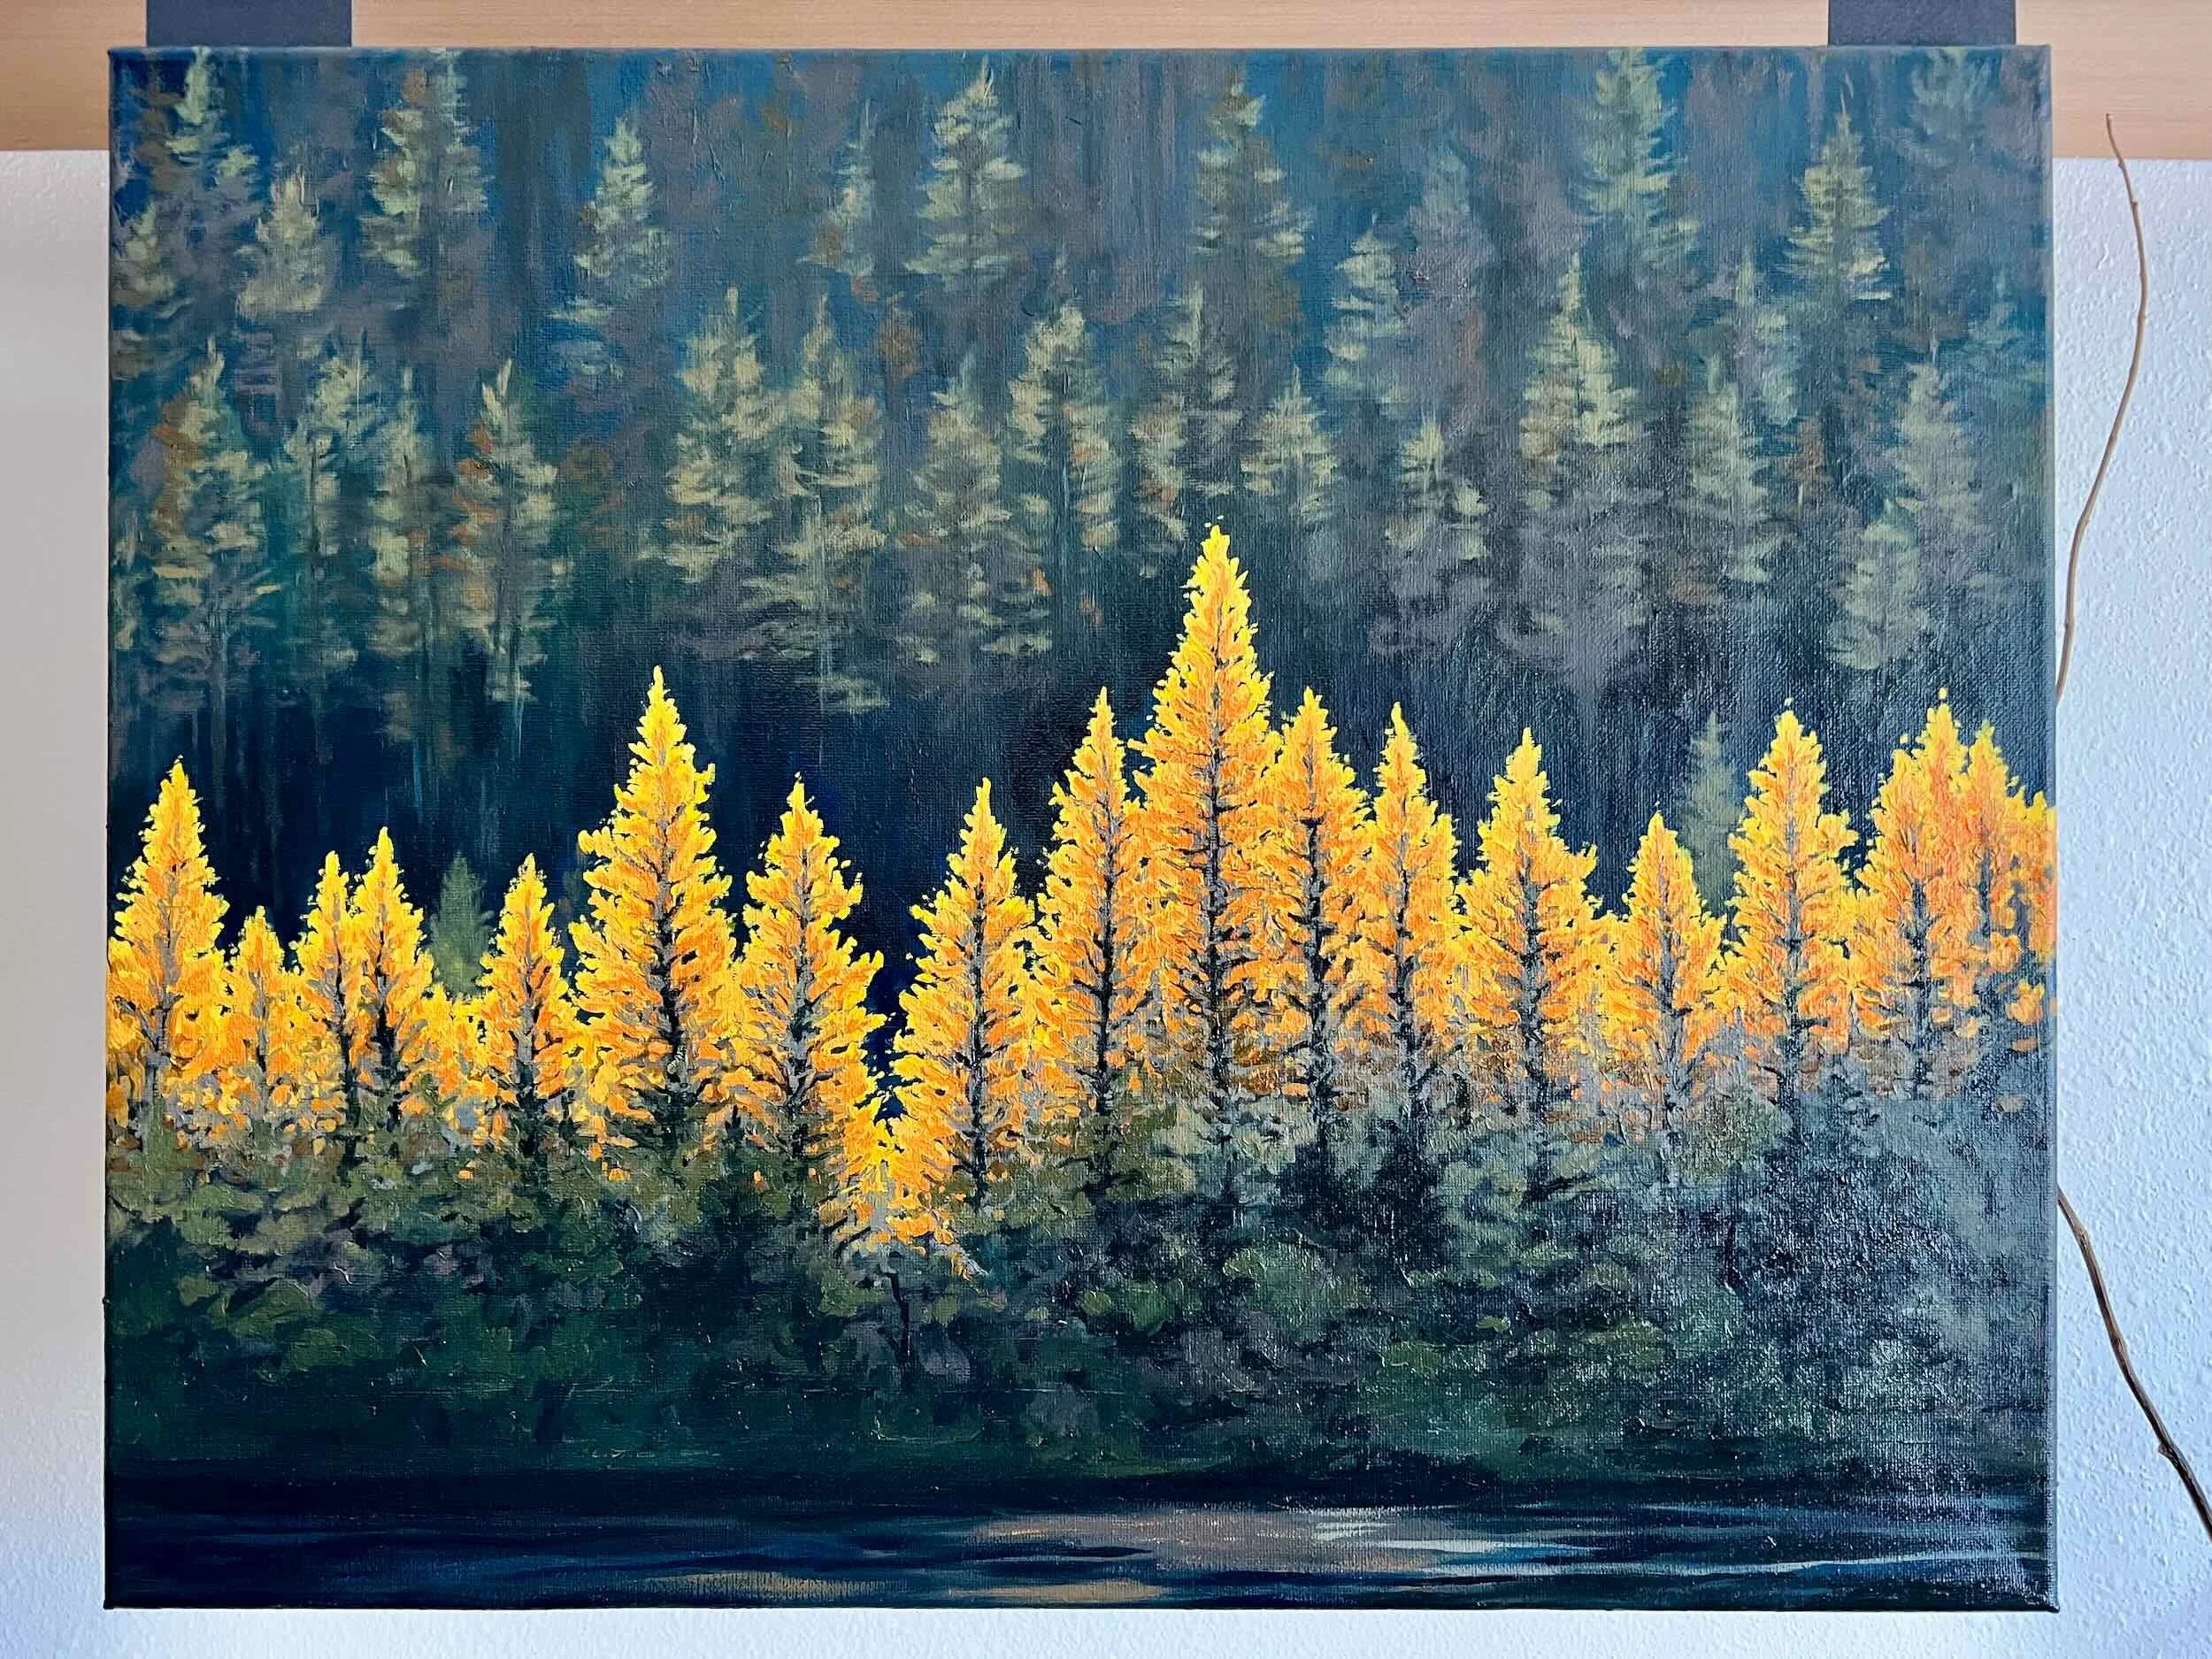
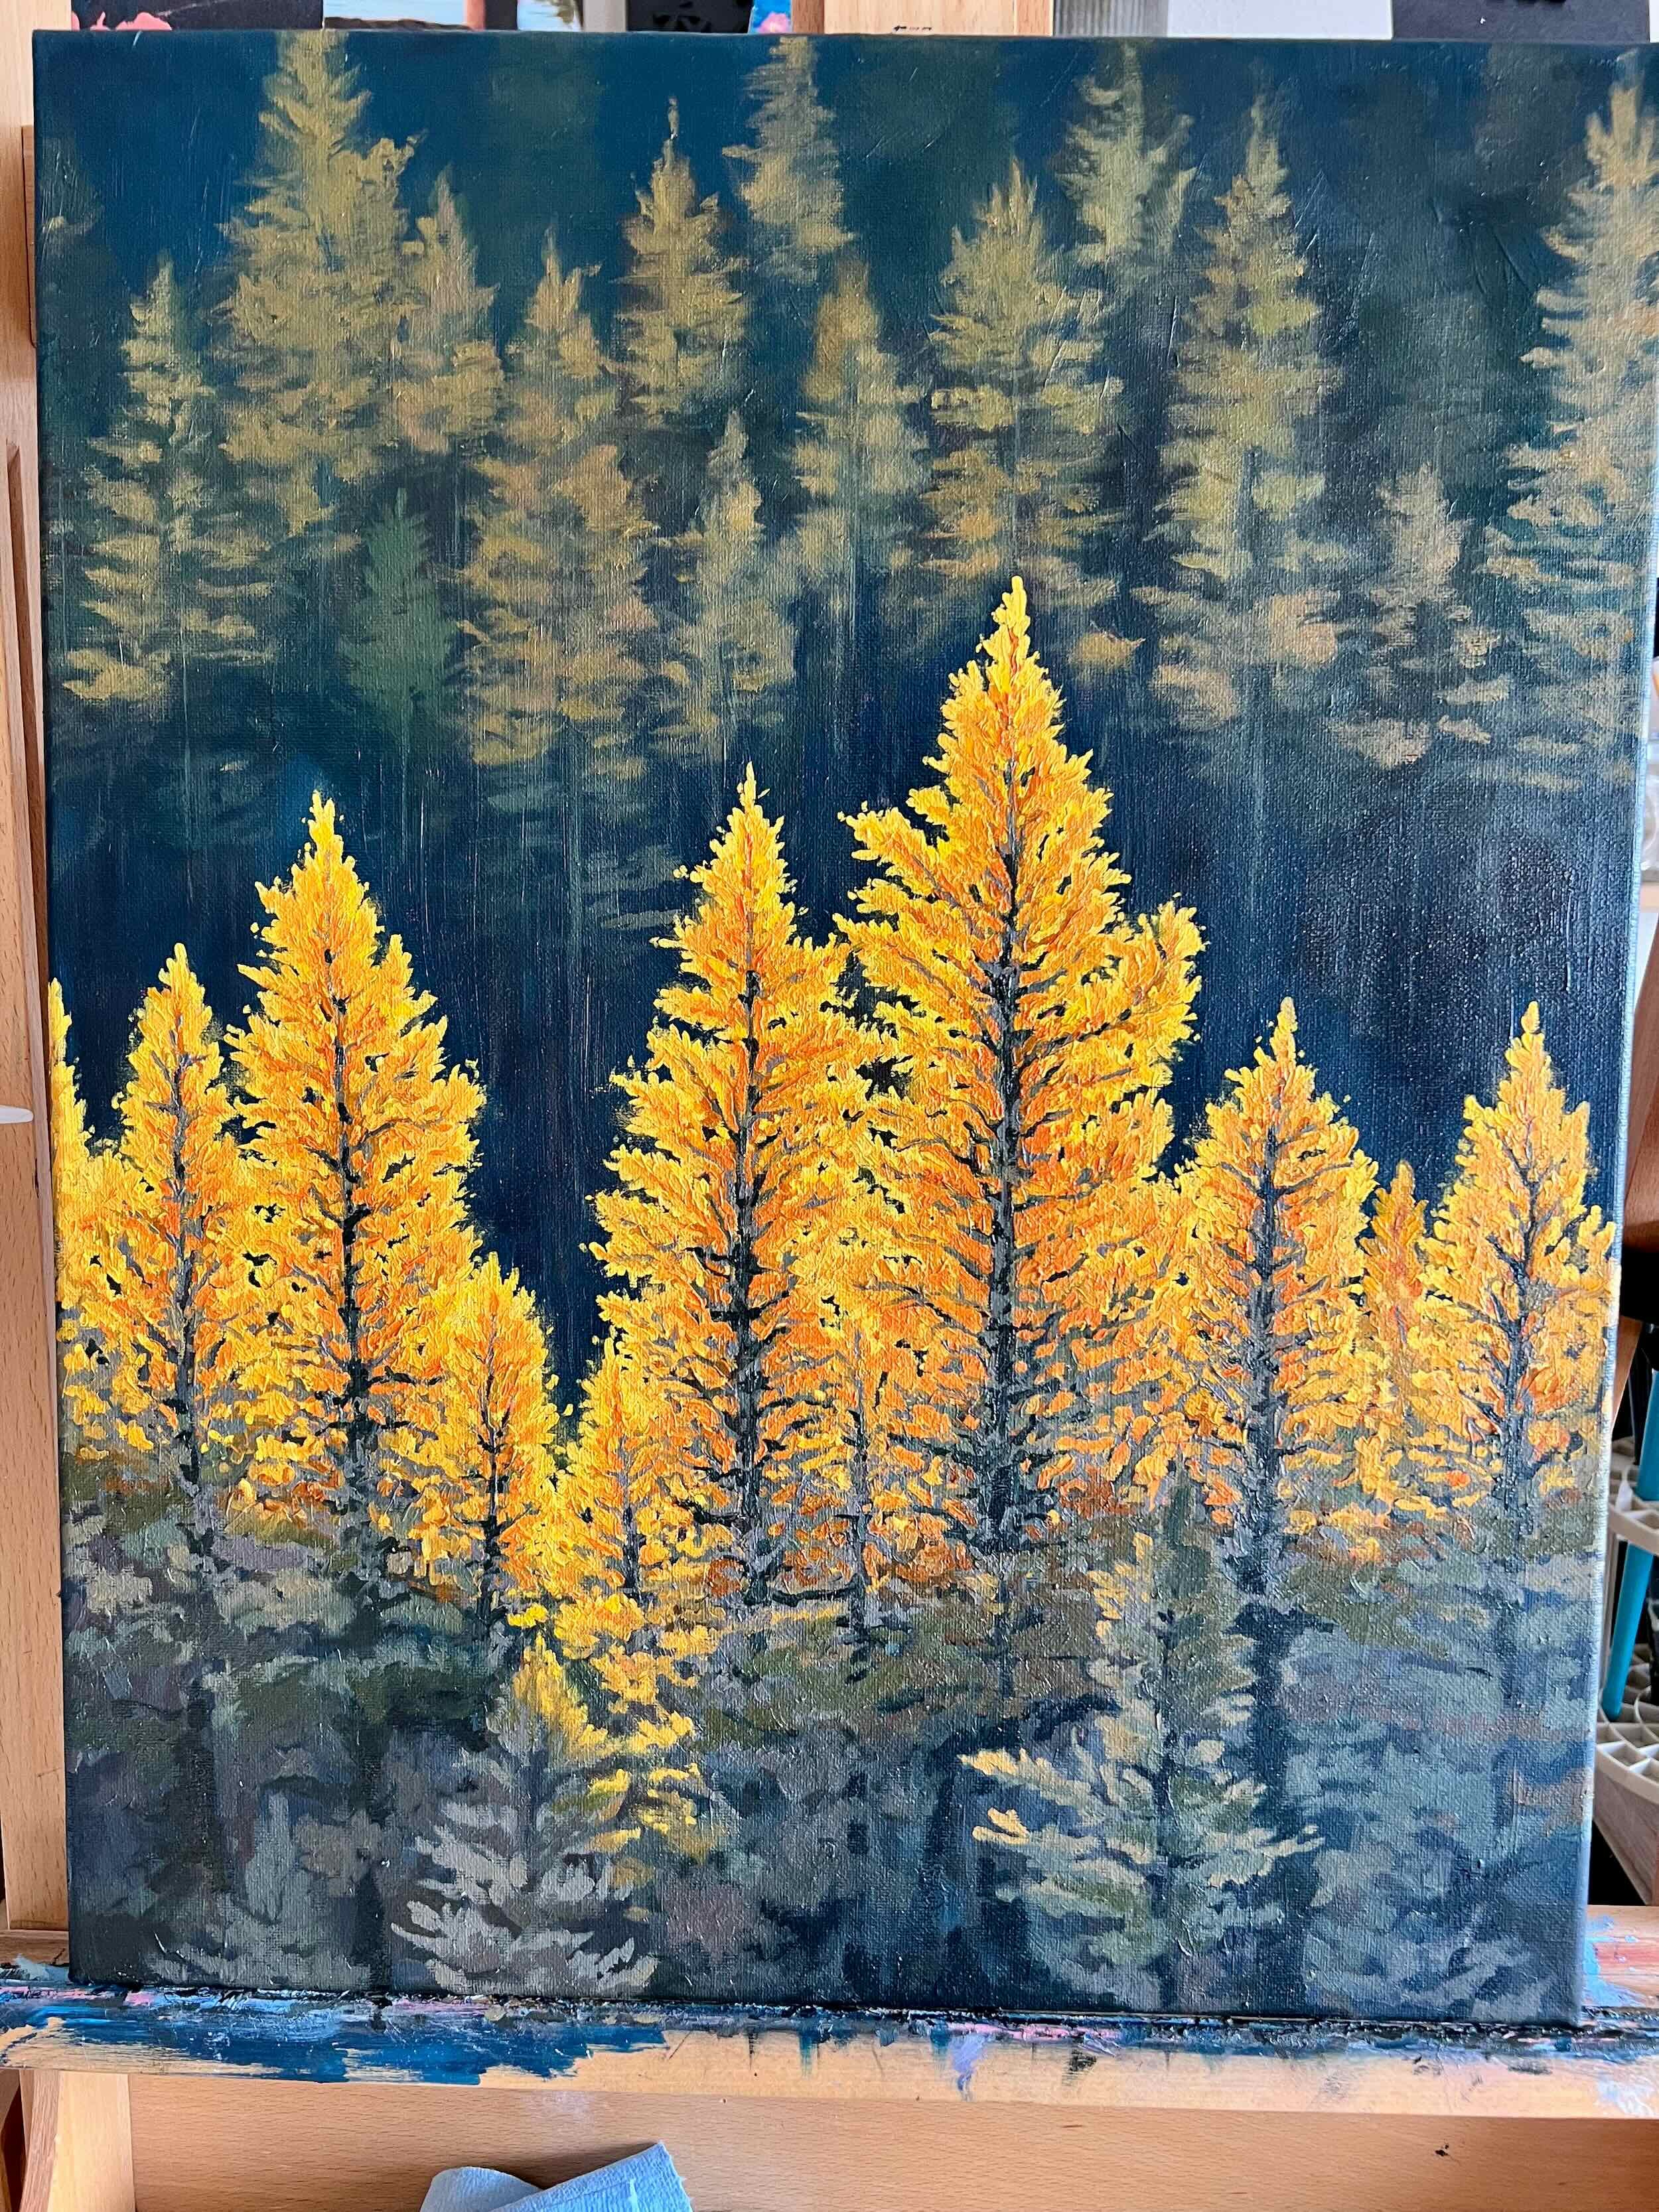
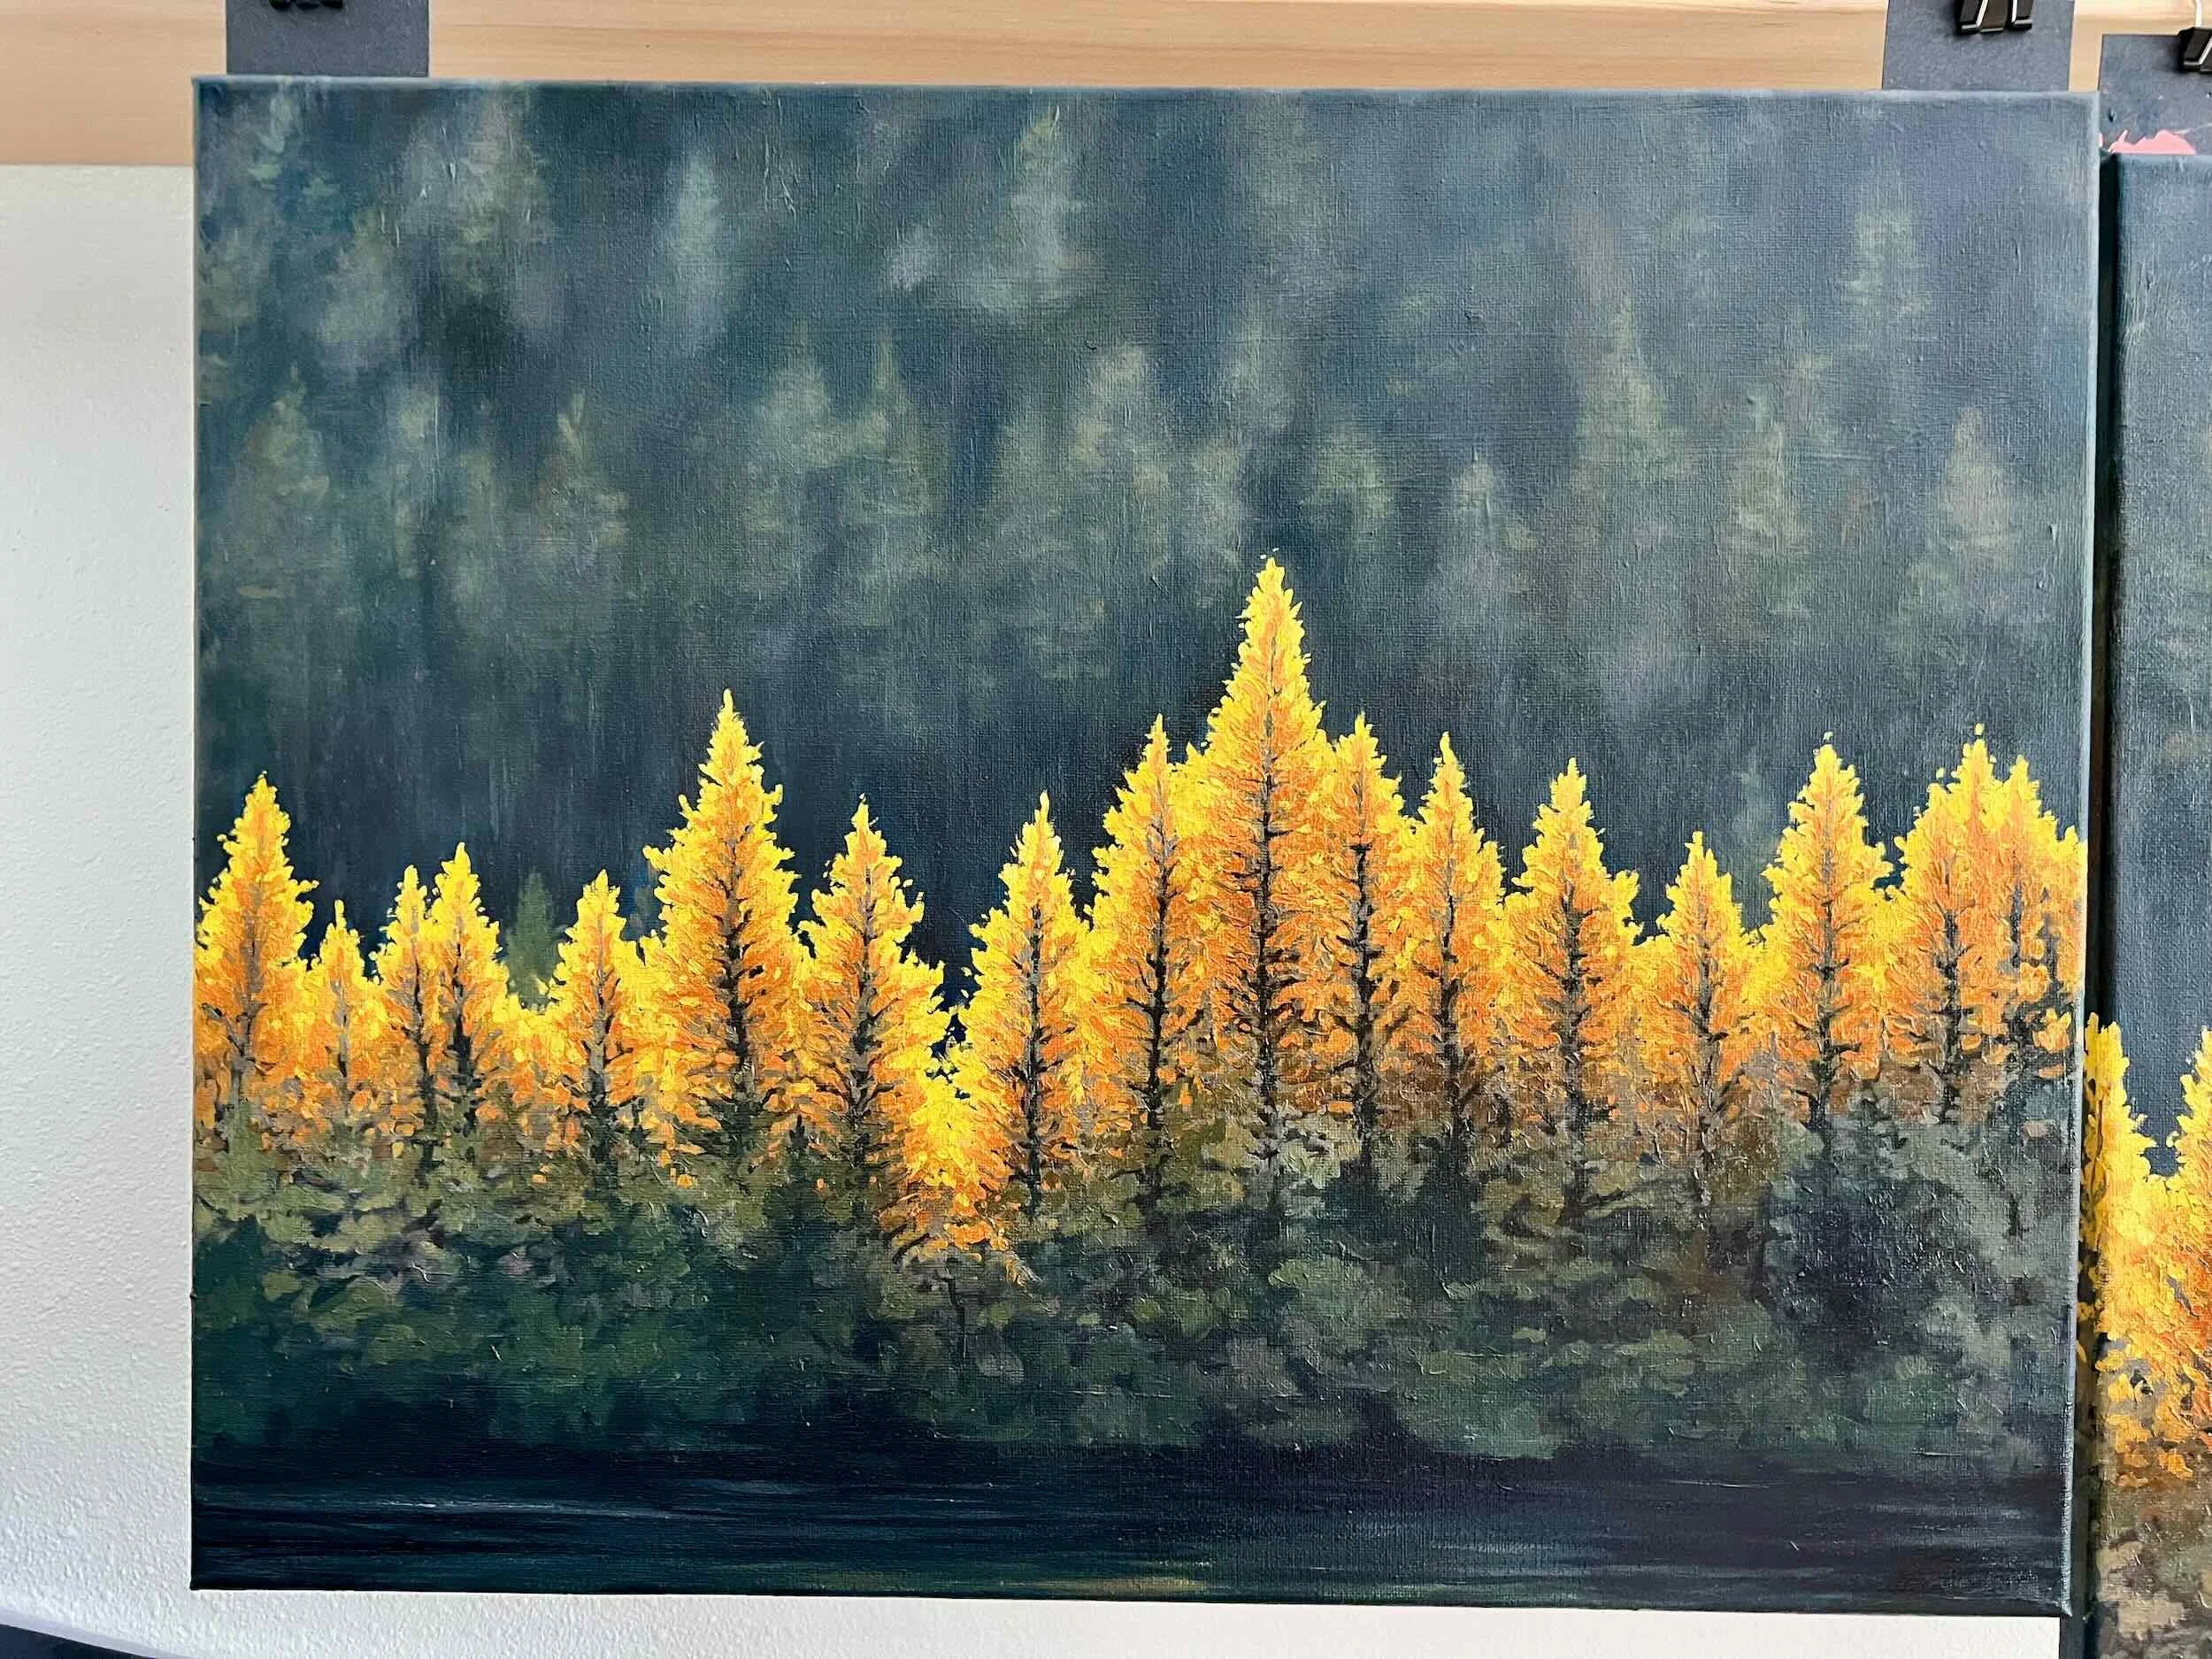
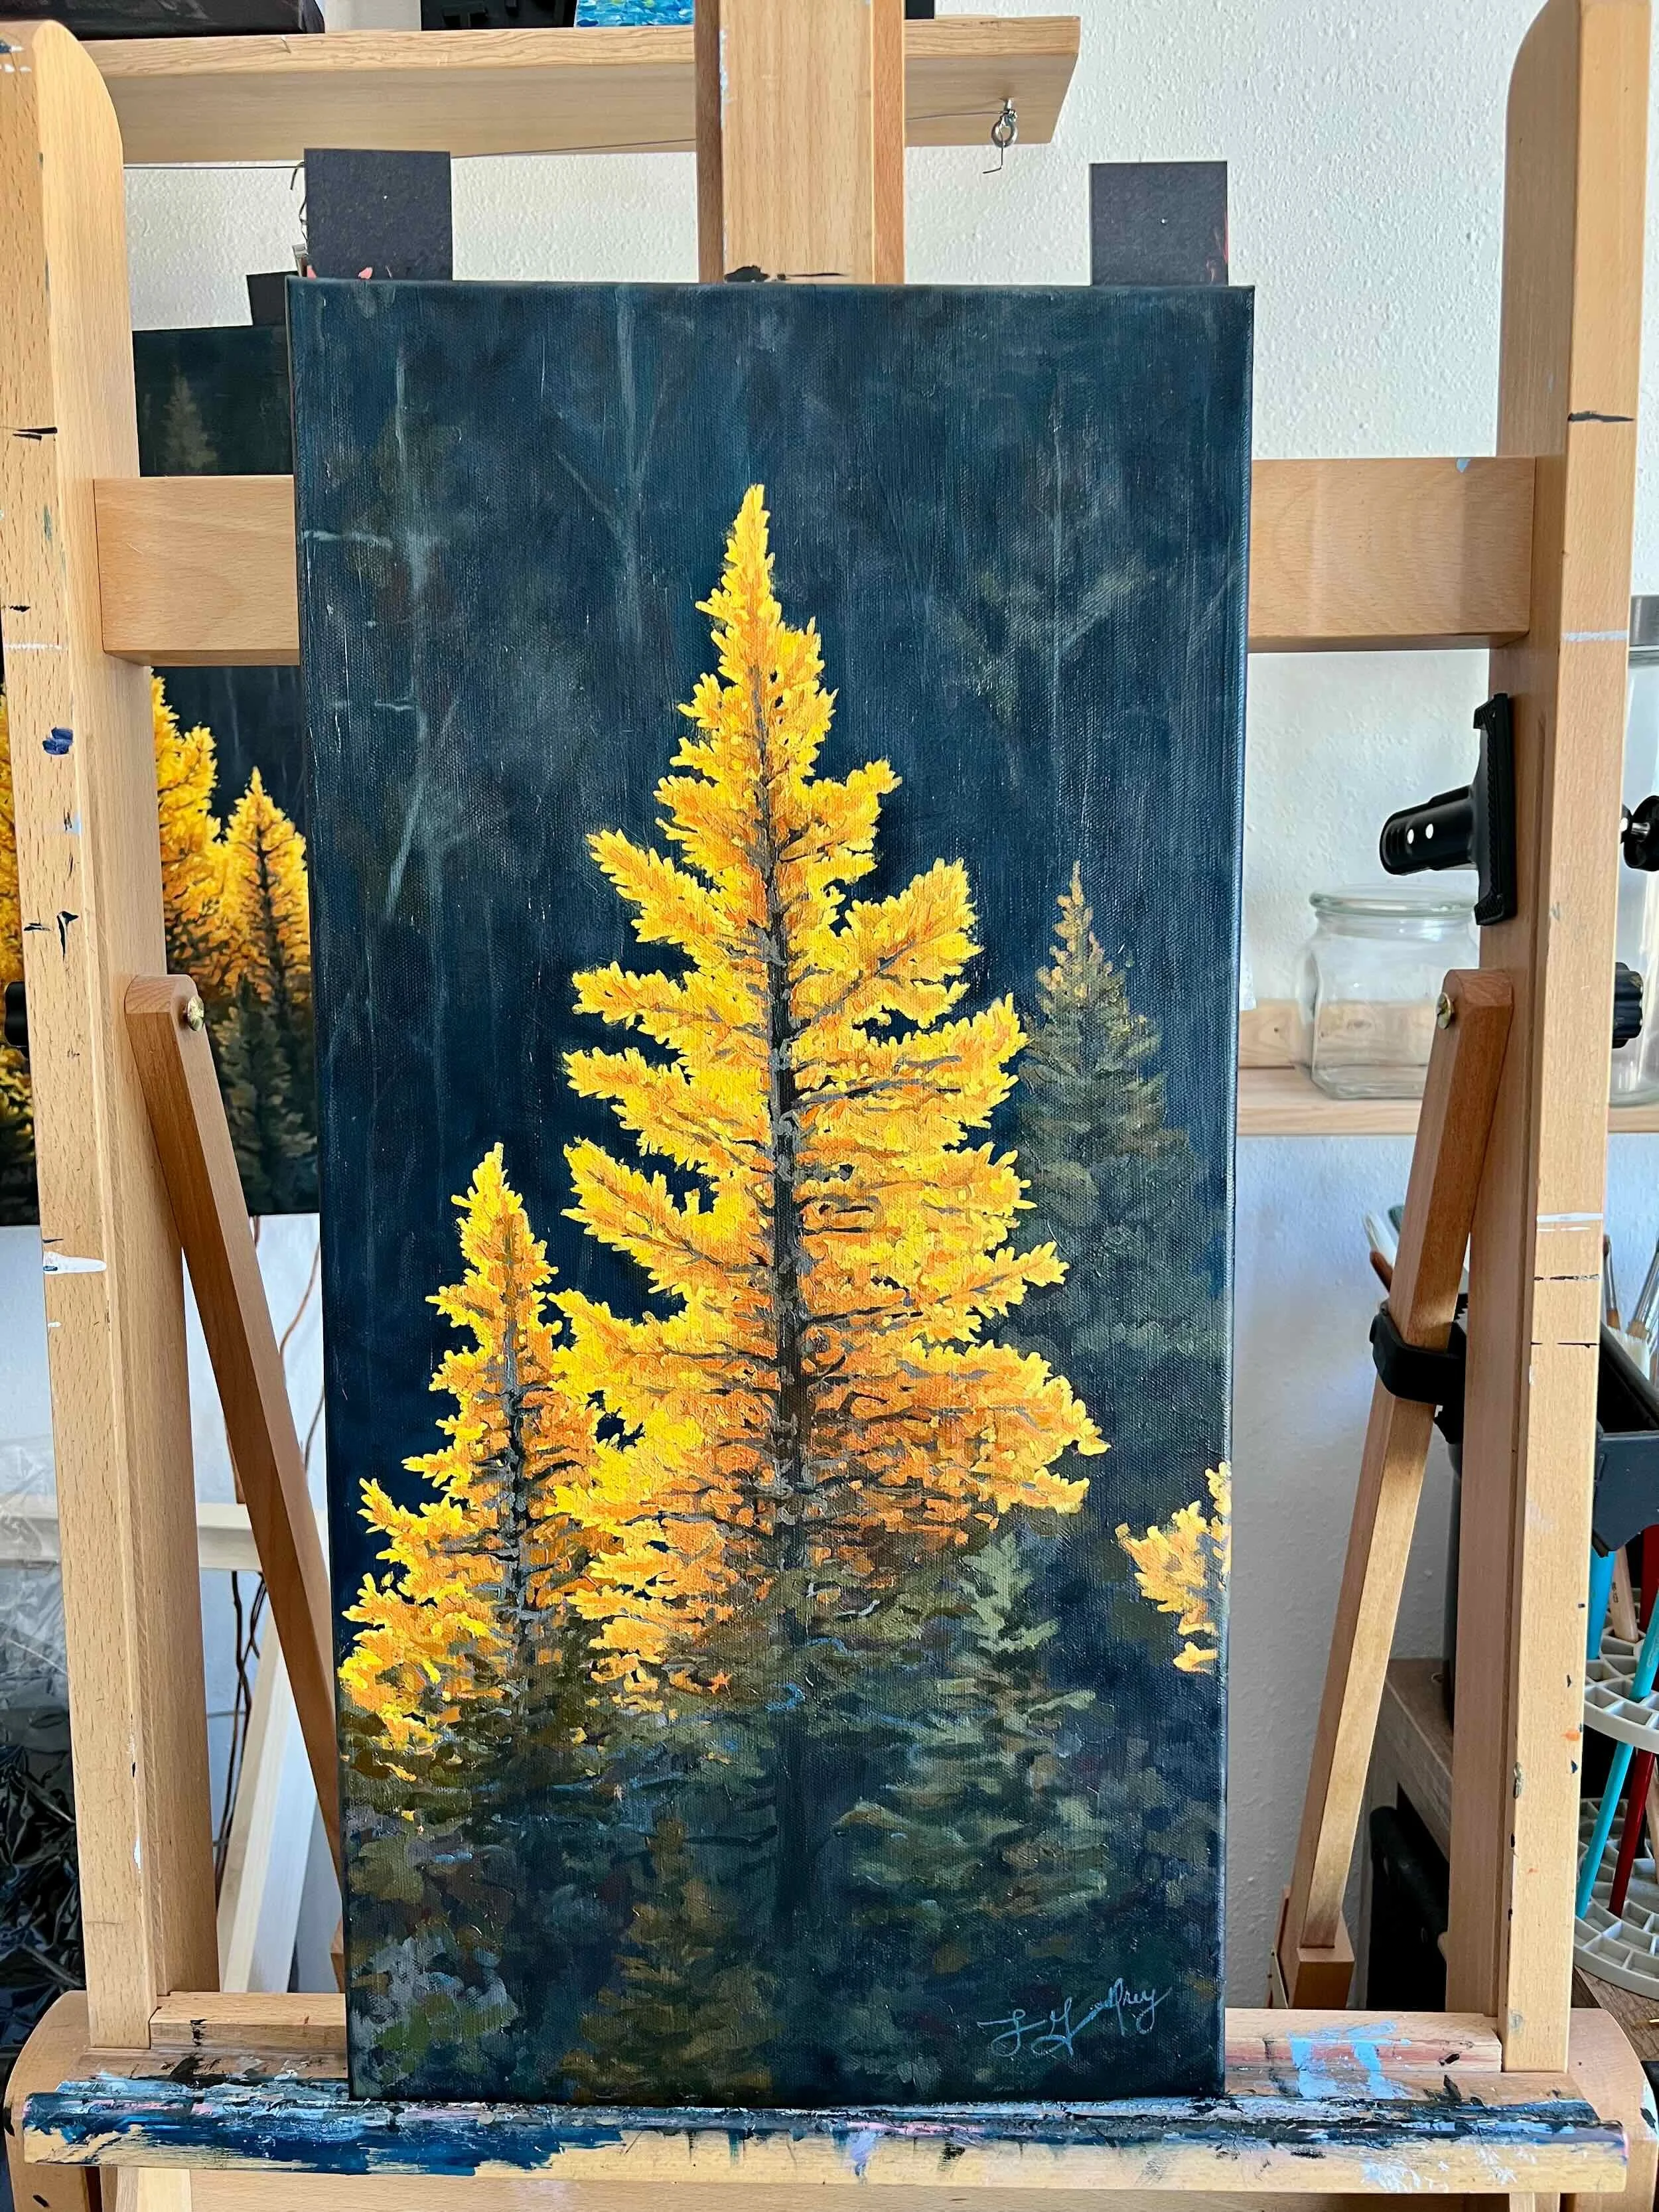
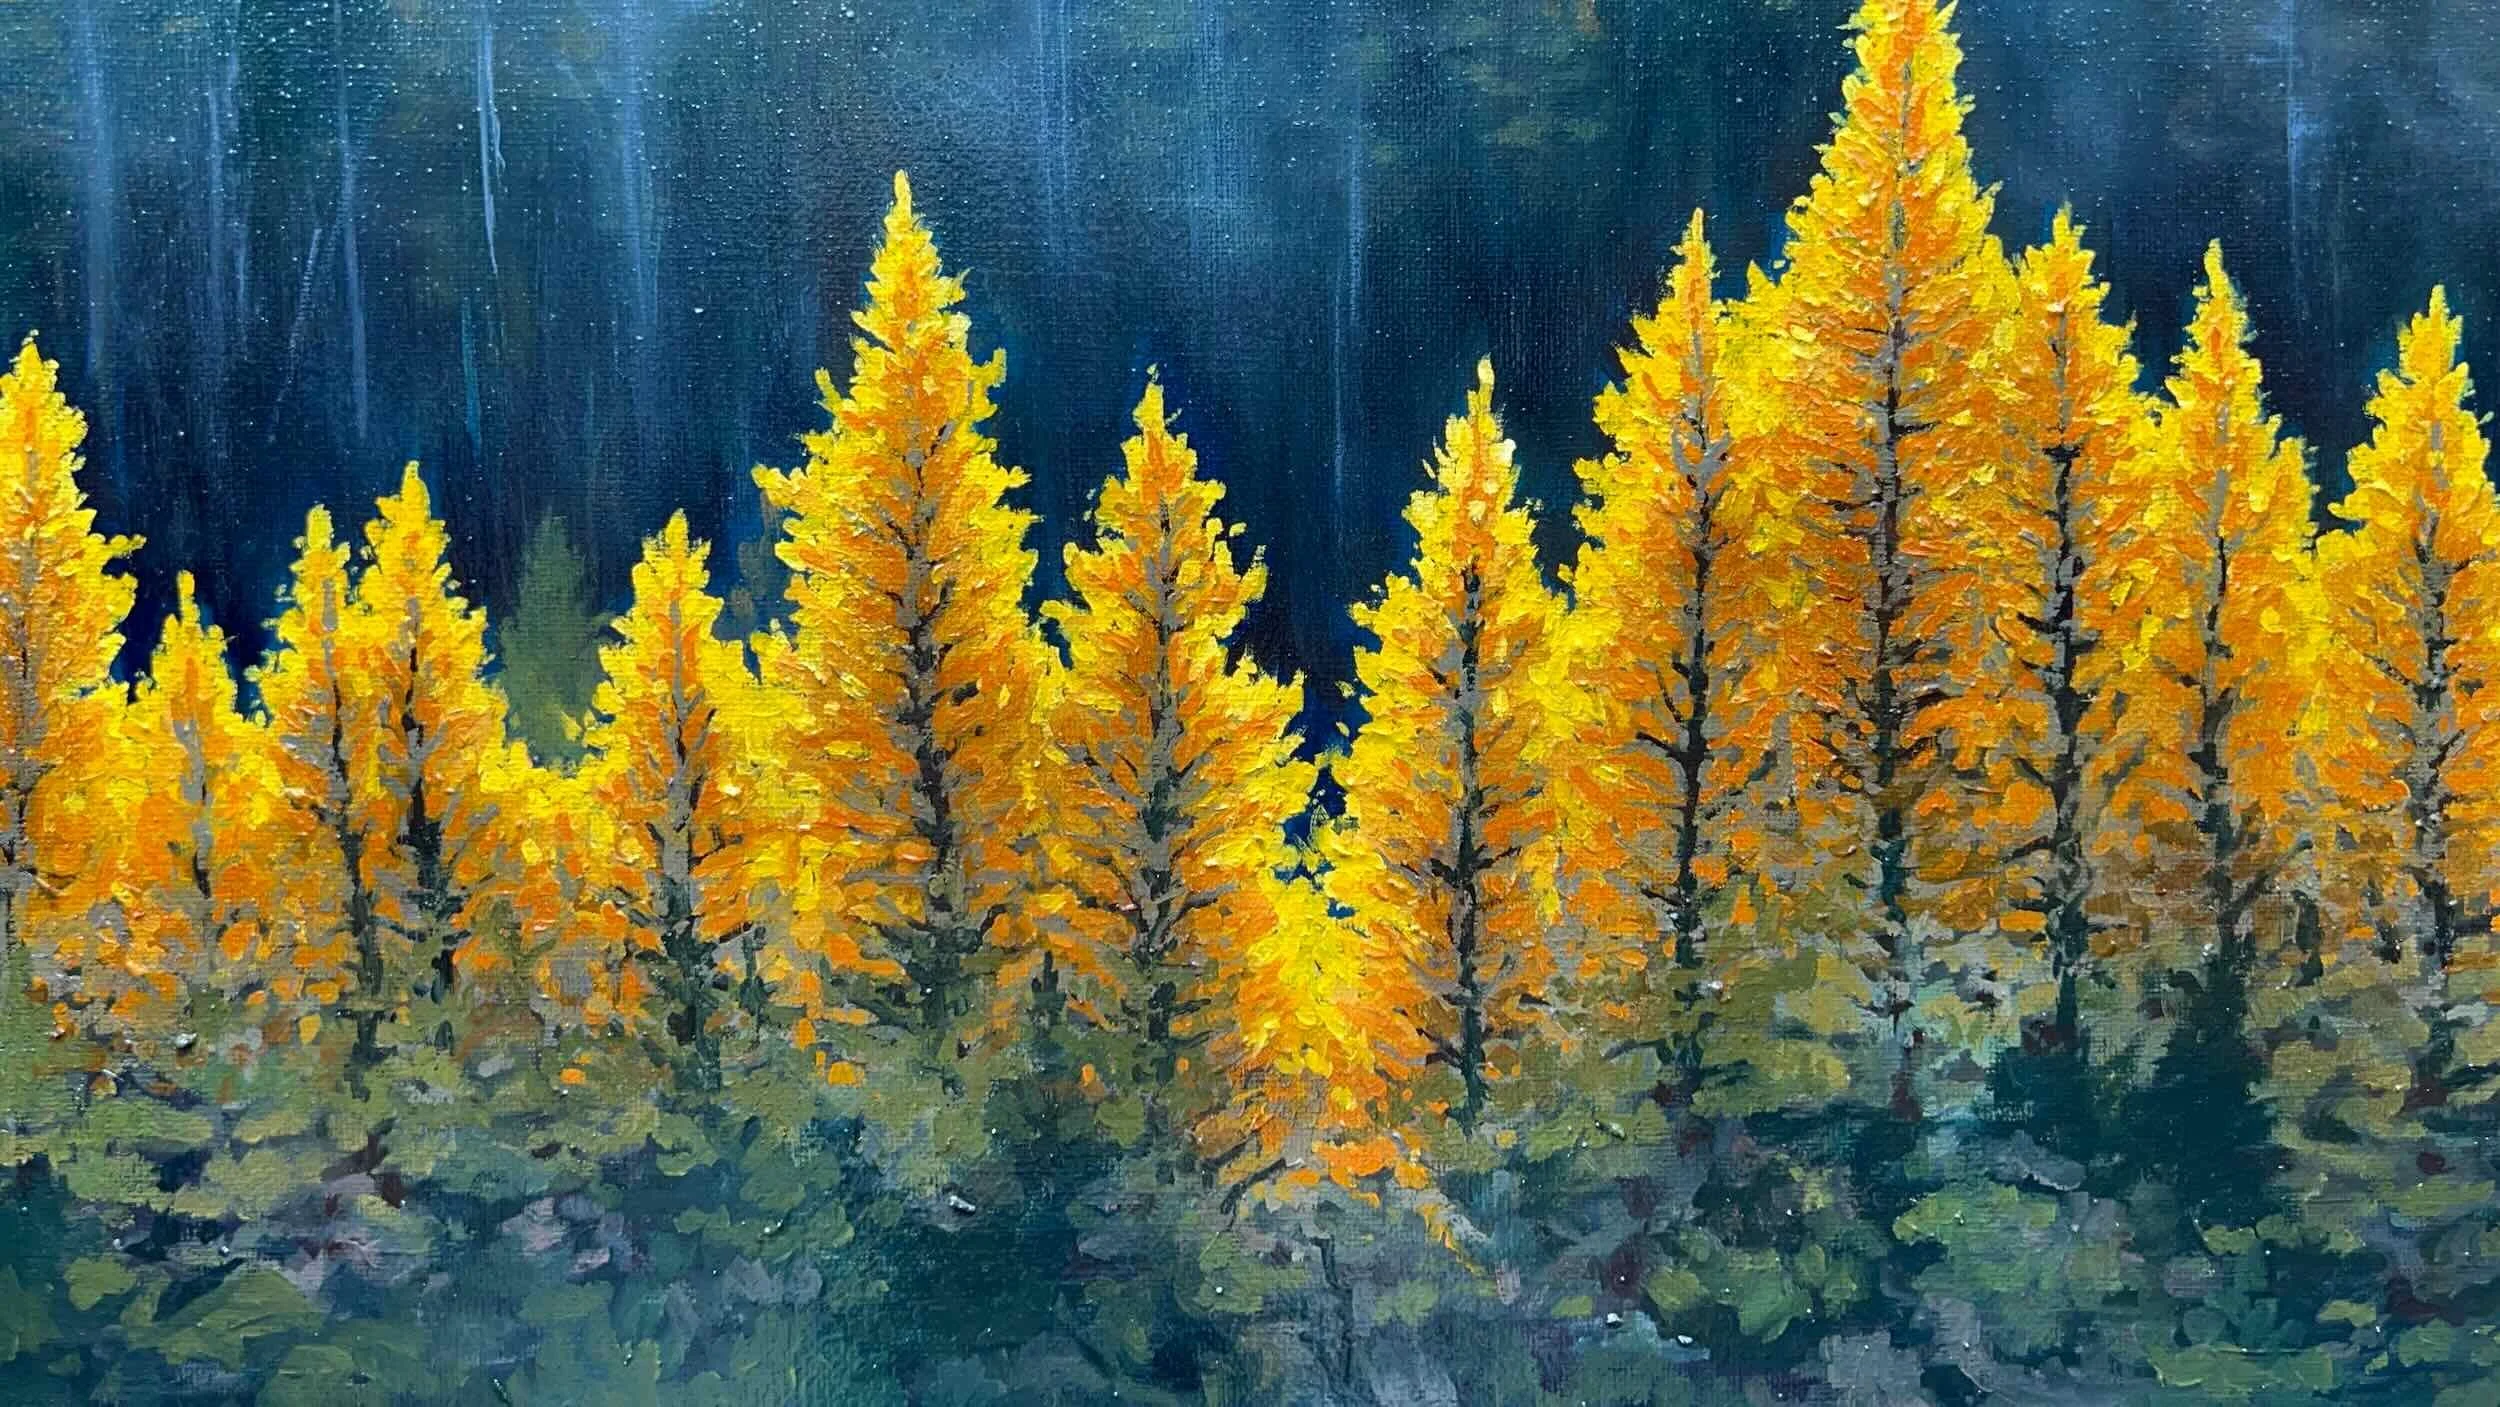
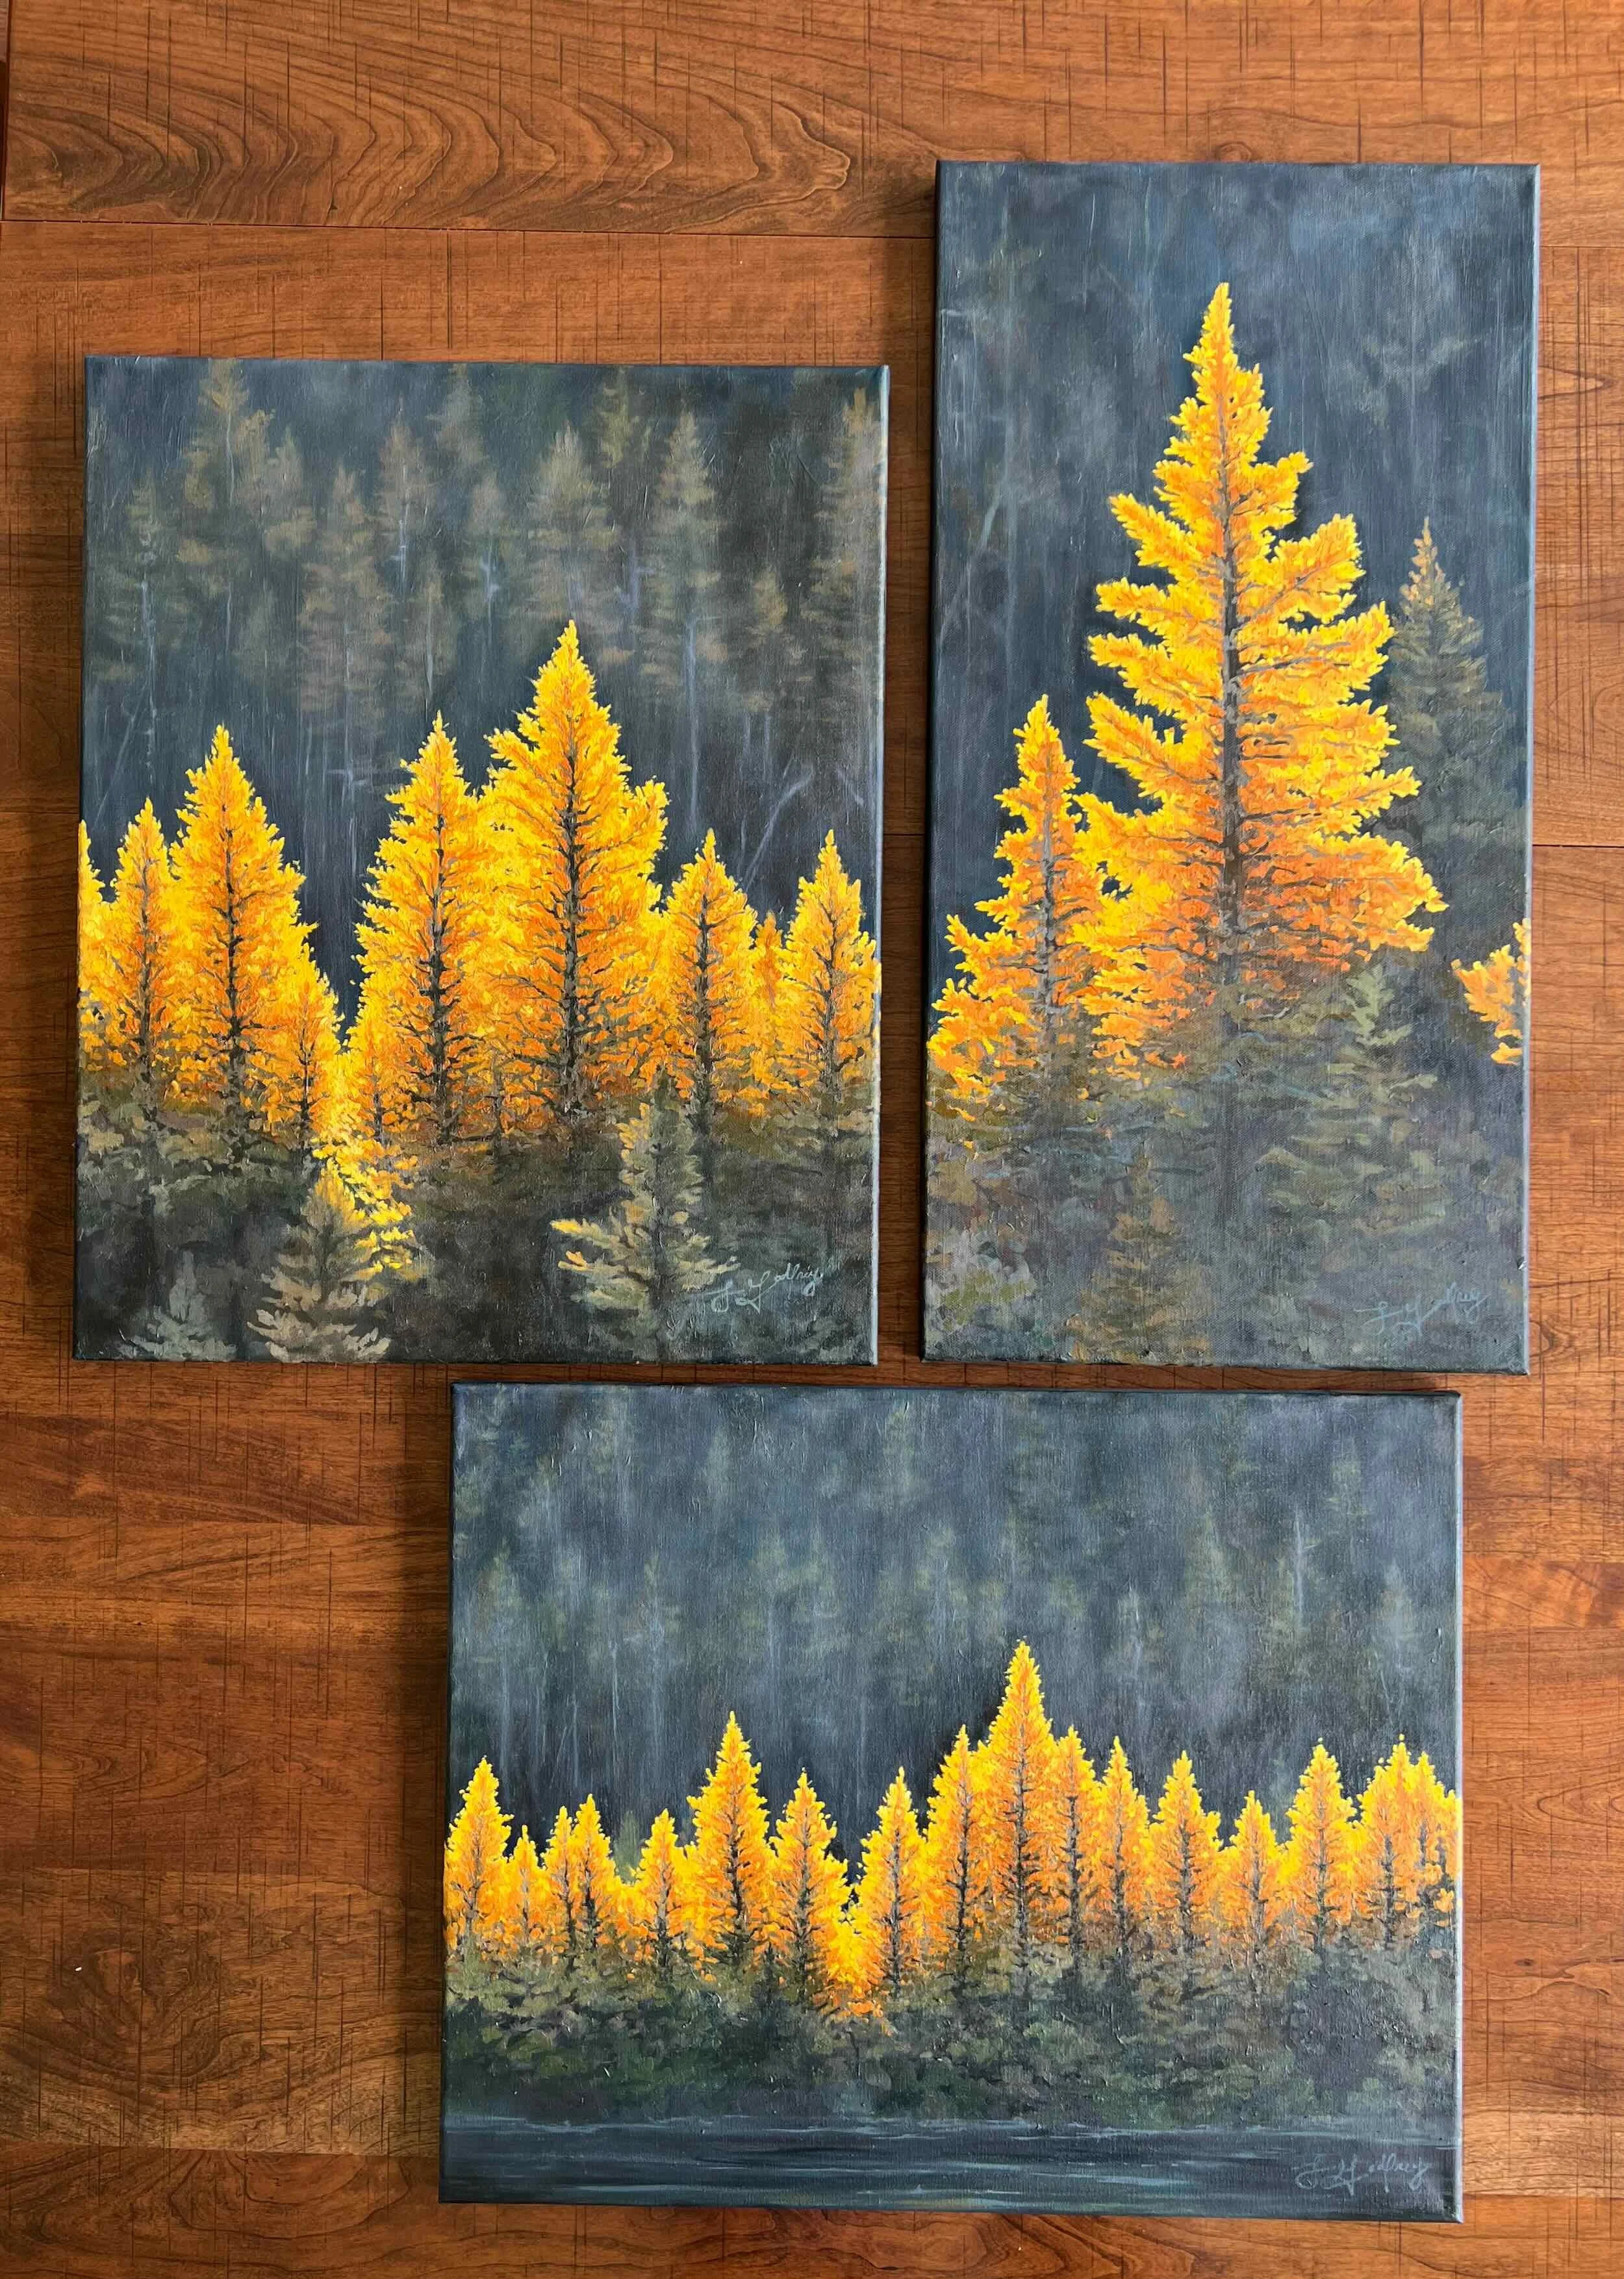
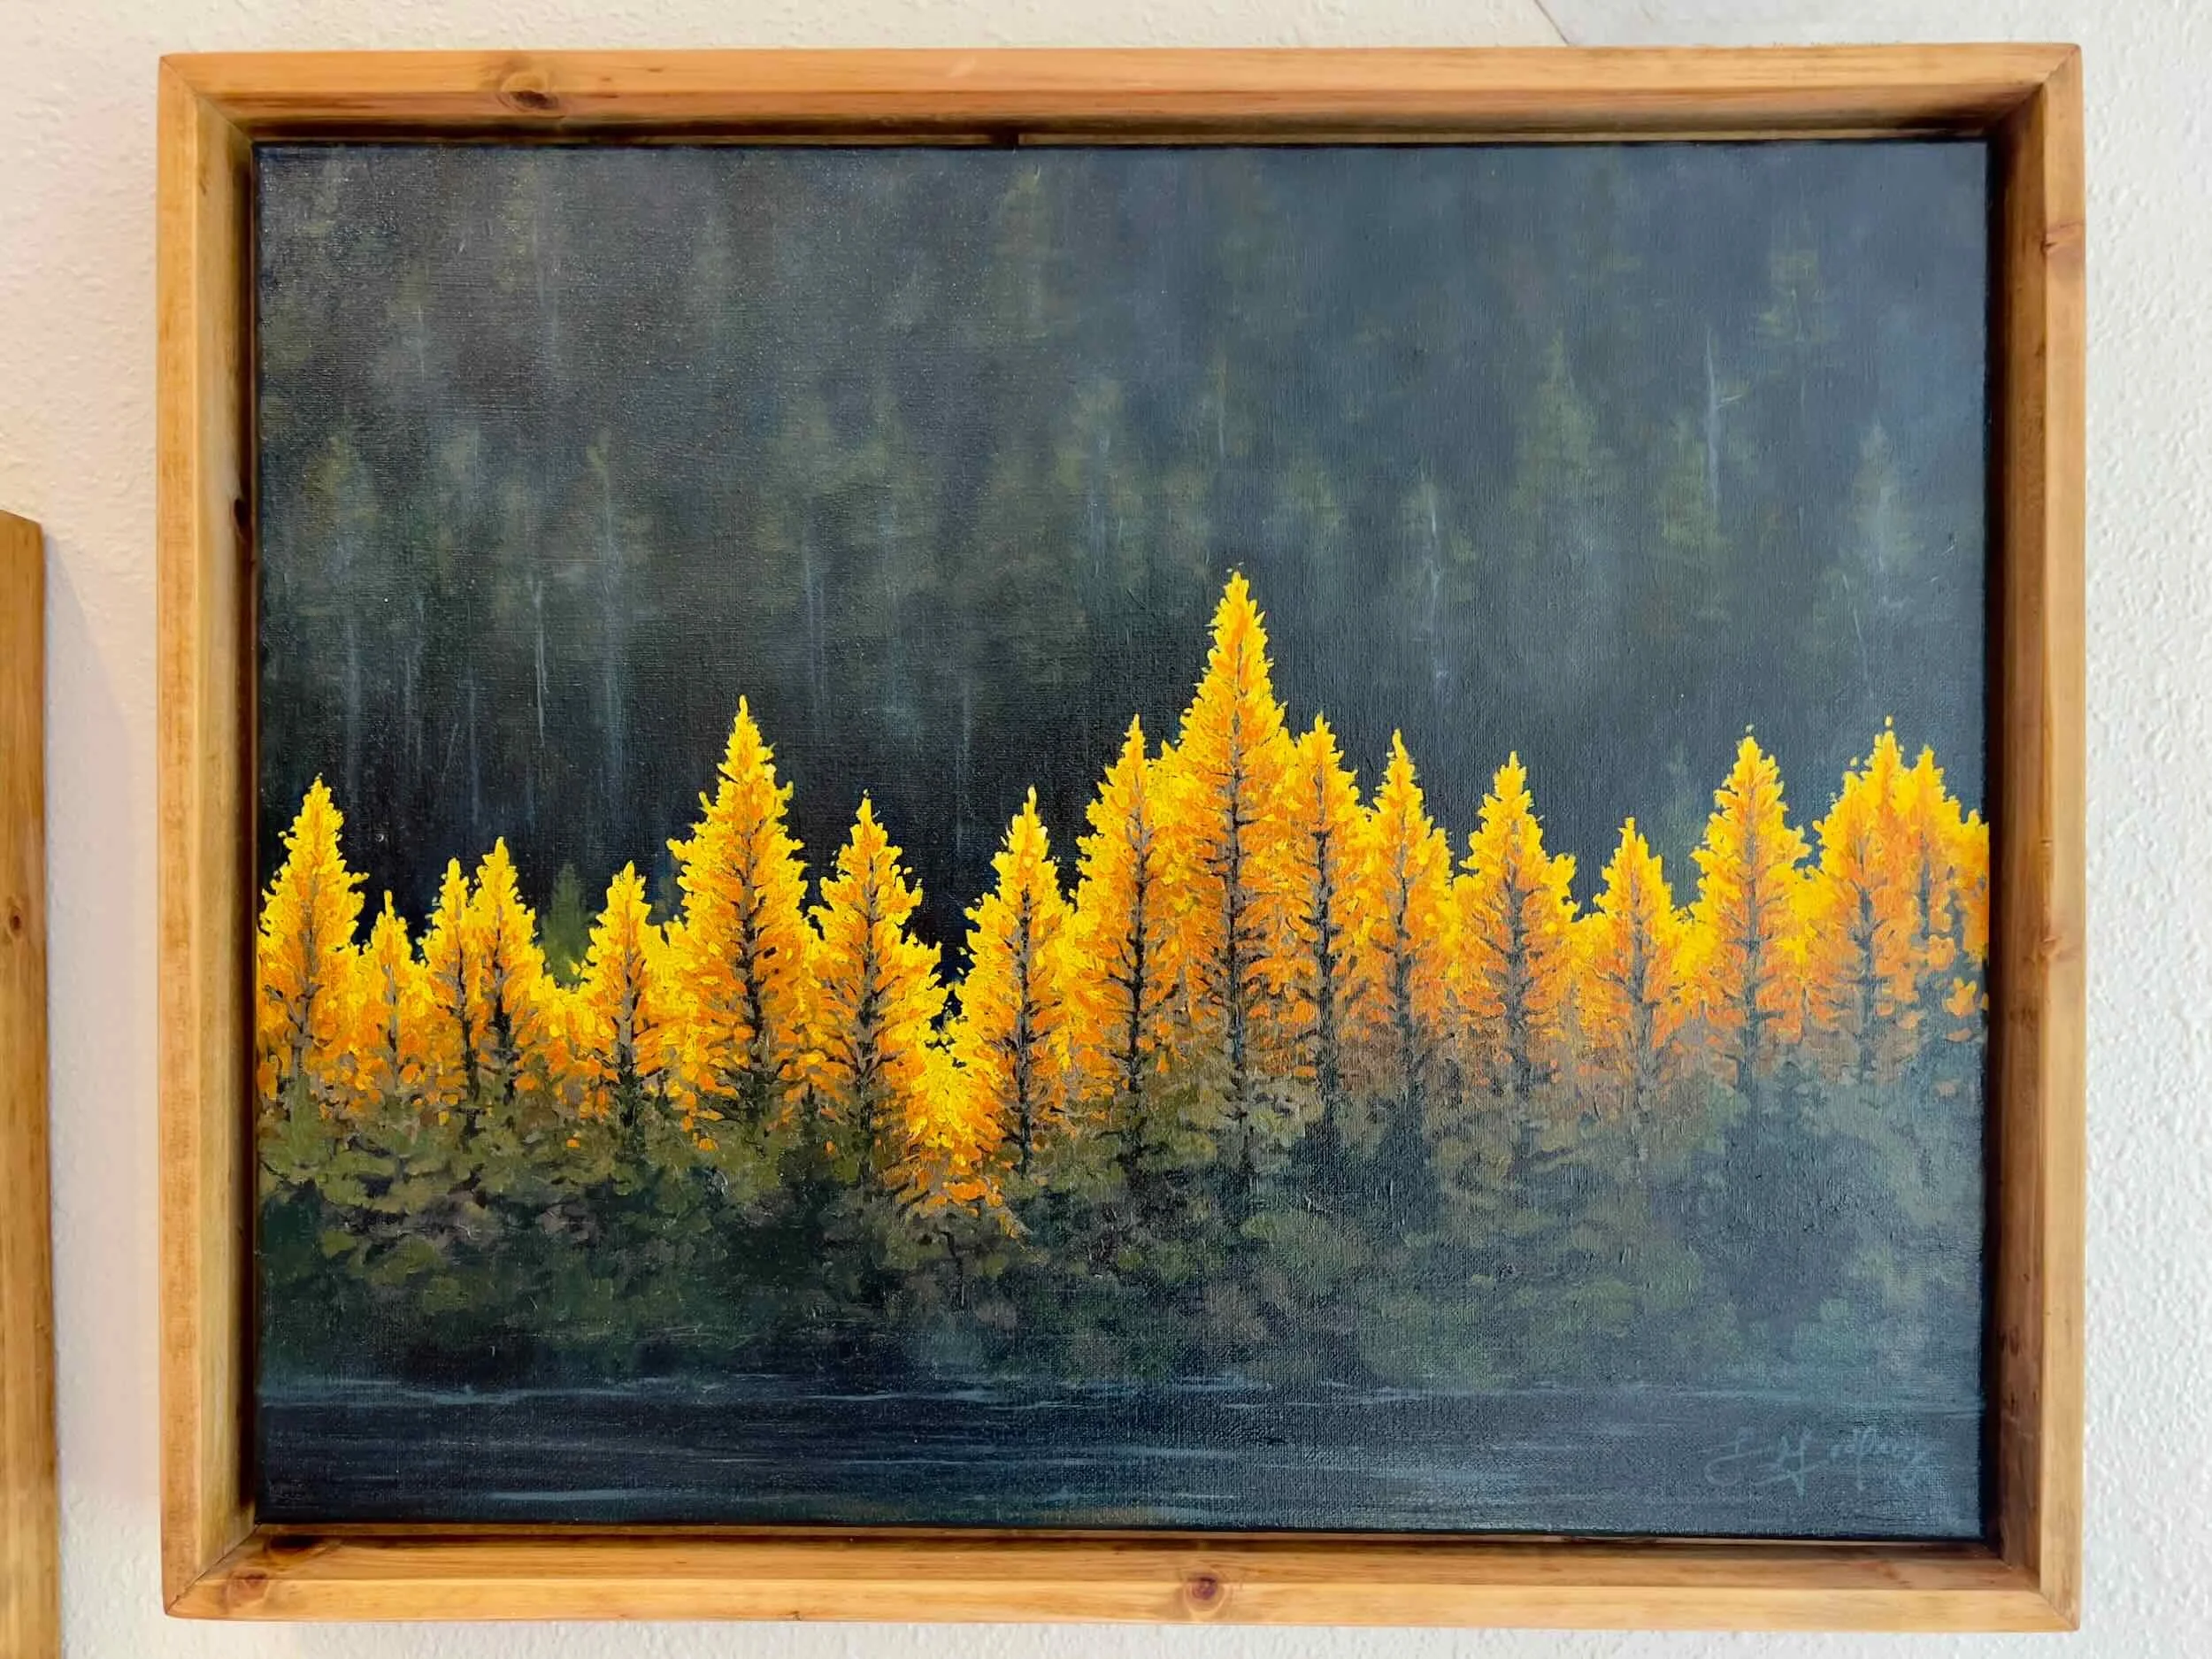
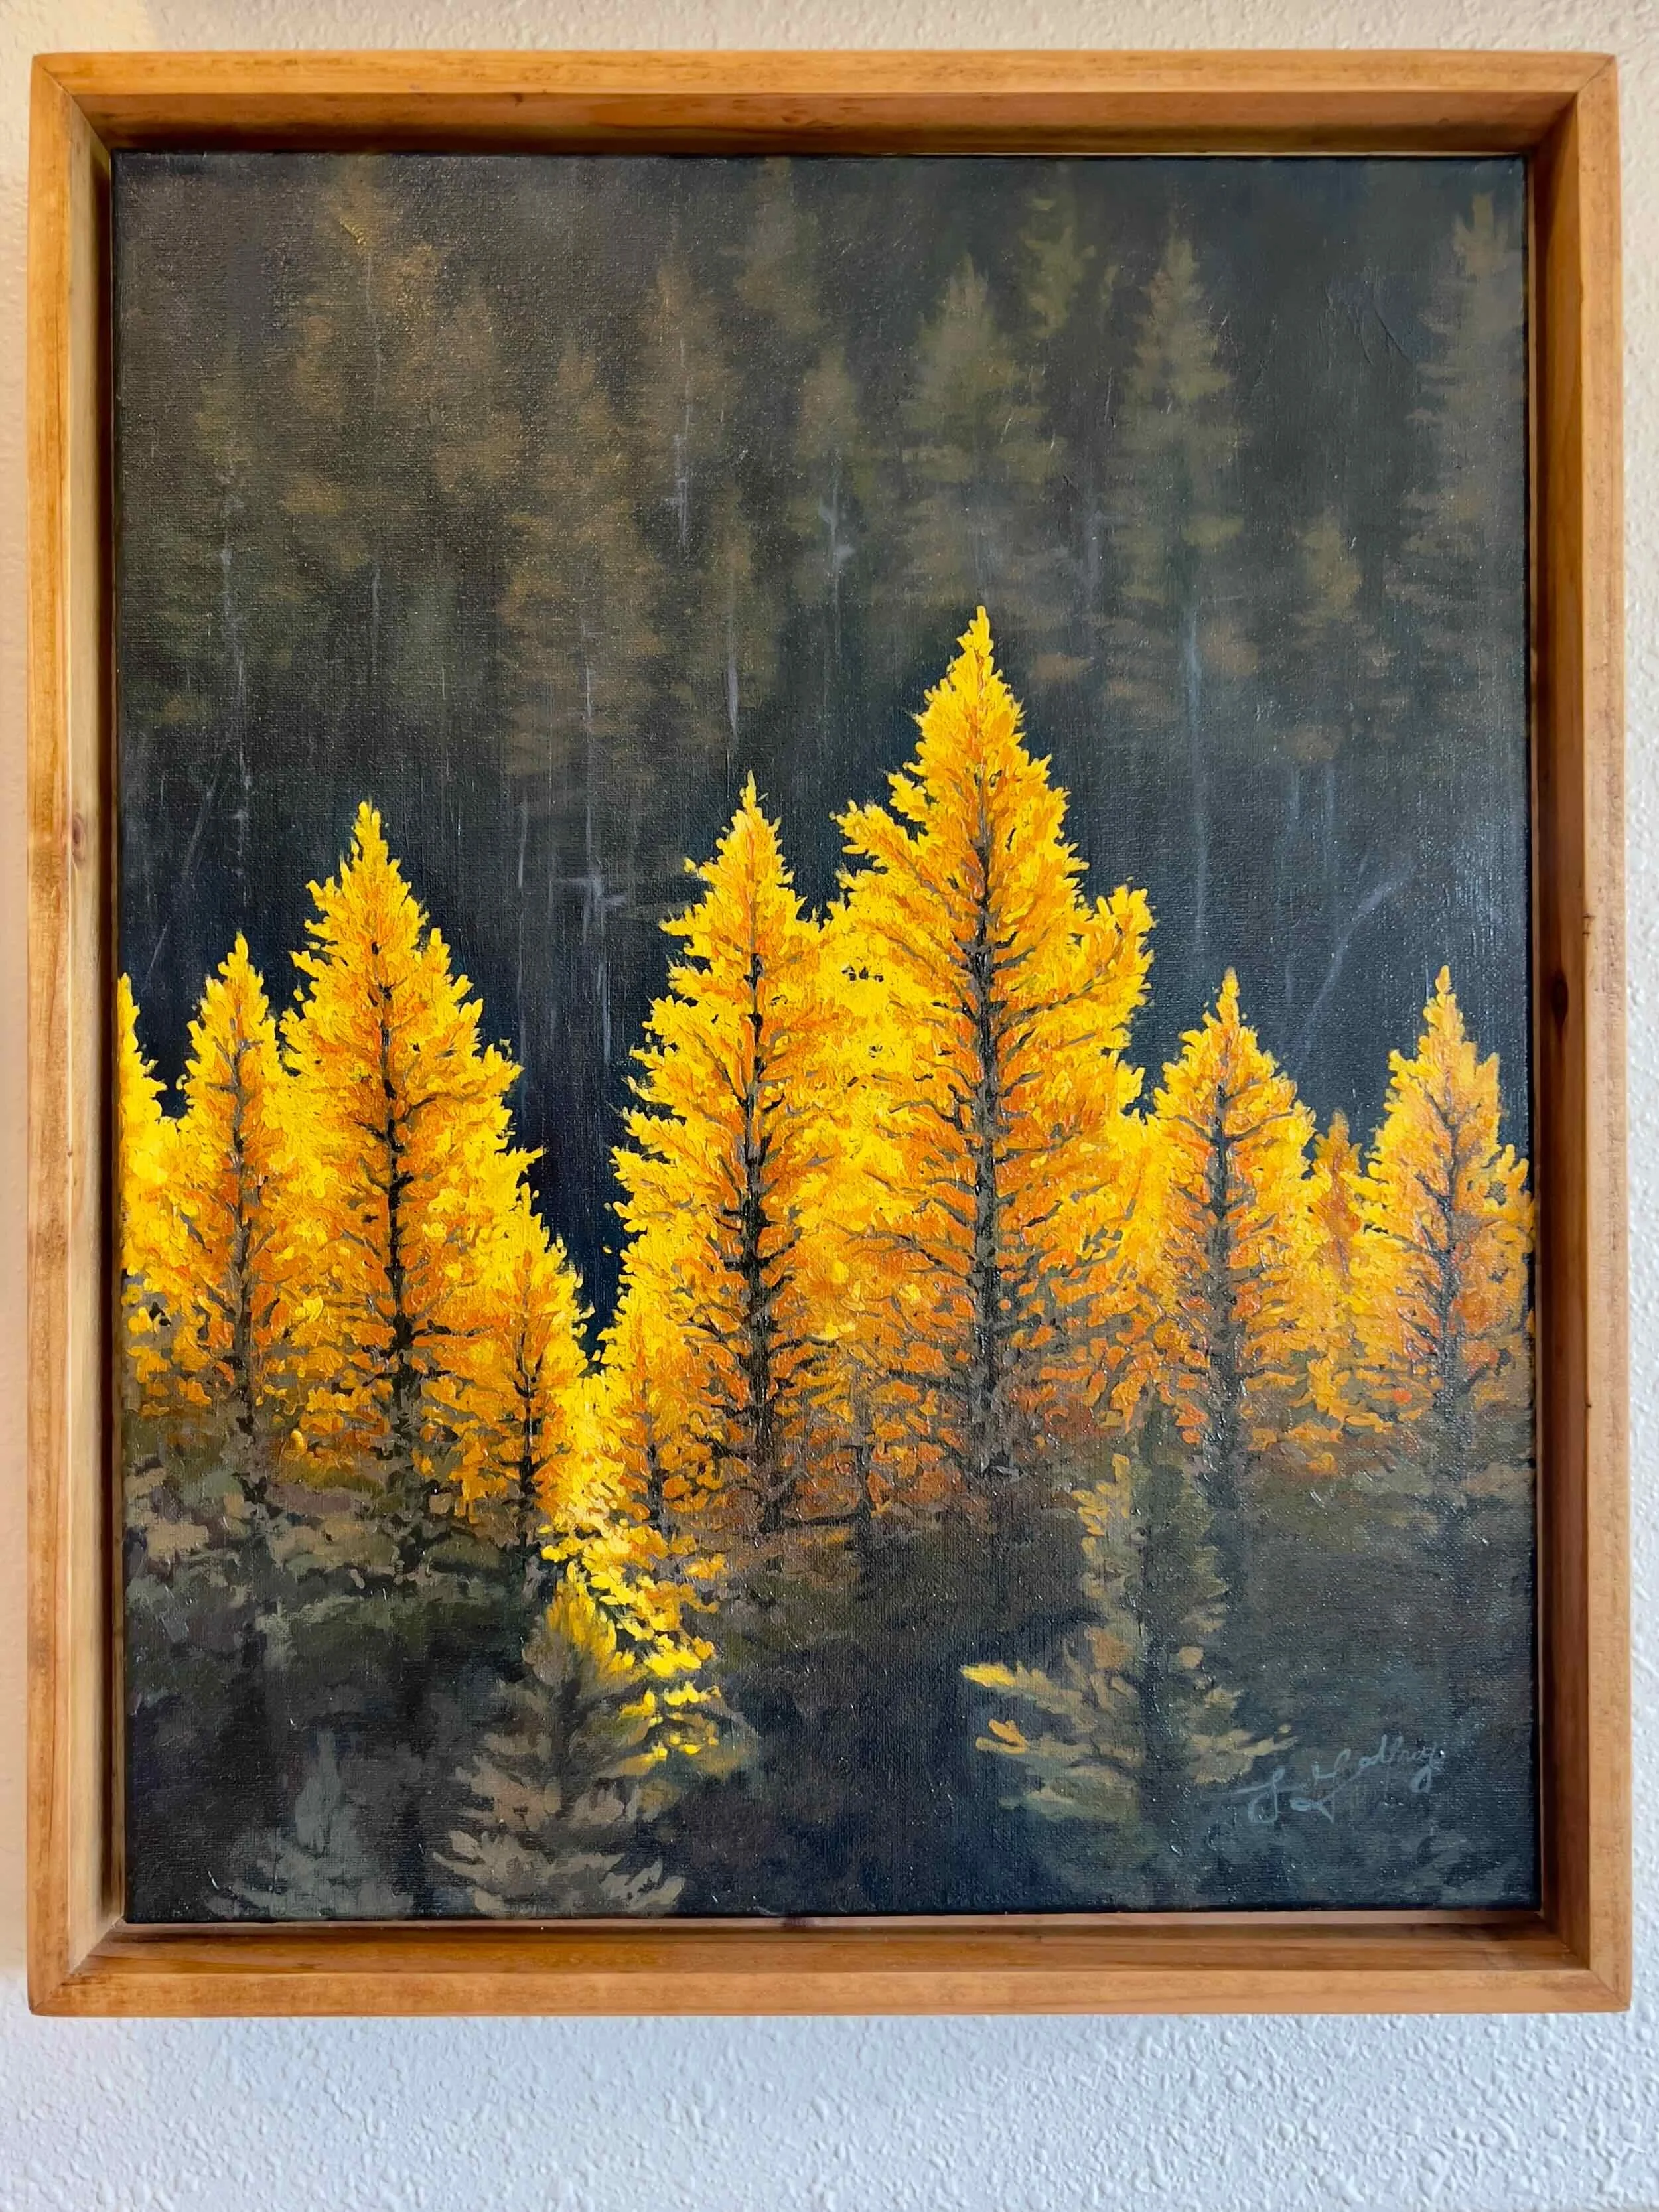
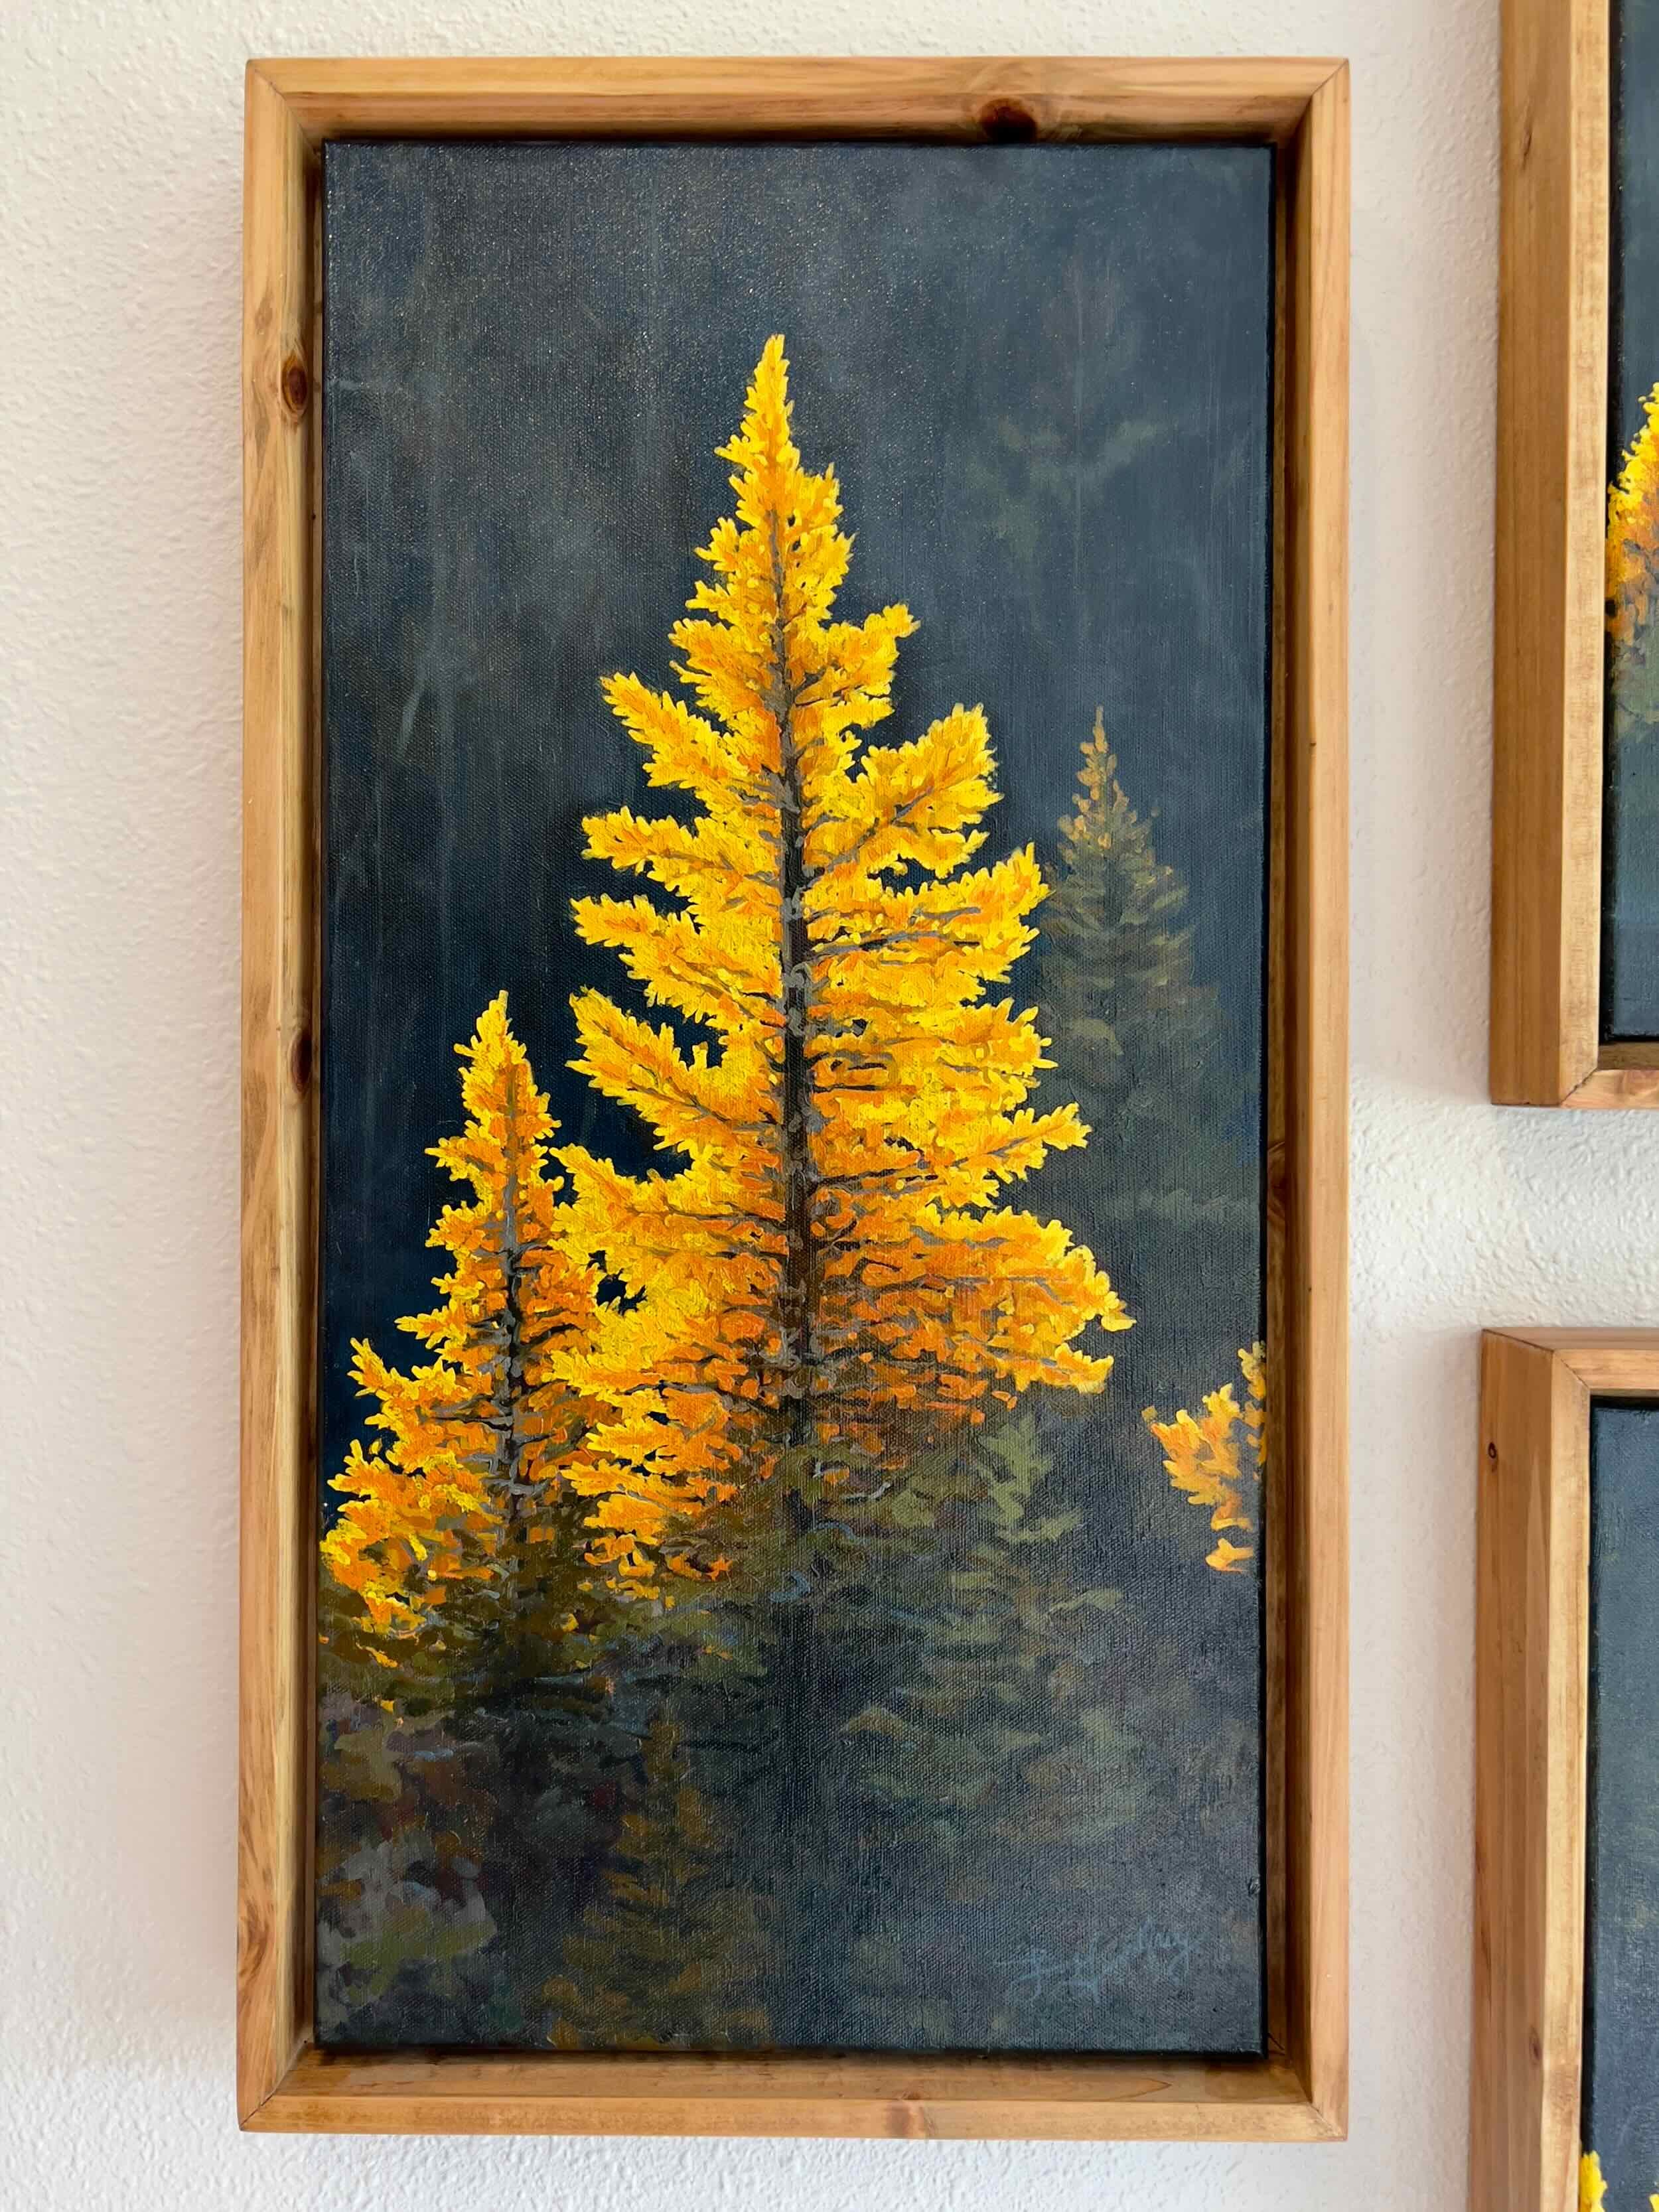
Tamarack series by artist Lindsay Godfrey
A single idea often has enough depth to inspire more than one painting. When that happens, a series is born. Like any individual artwork, each piece in a series moves through a thoughtful process, from the first sketch to the final varnish, but with the added goal of maintaining continuity across multiple canvases.
In this post, I’m sharing my full behind-the-scenes process of creating a series in oil paint on canvas, and the steps that bring each piece to life.
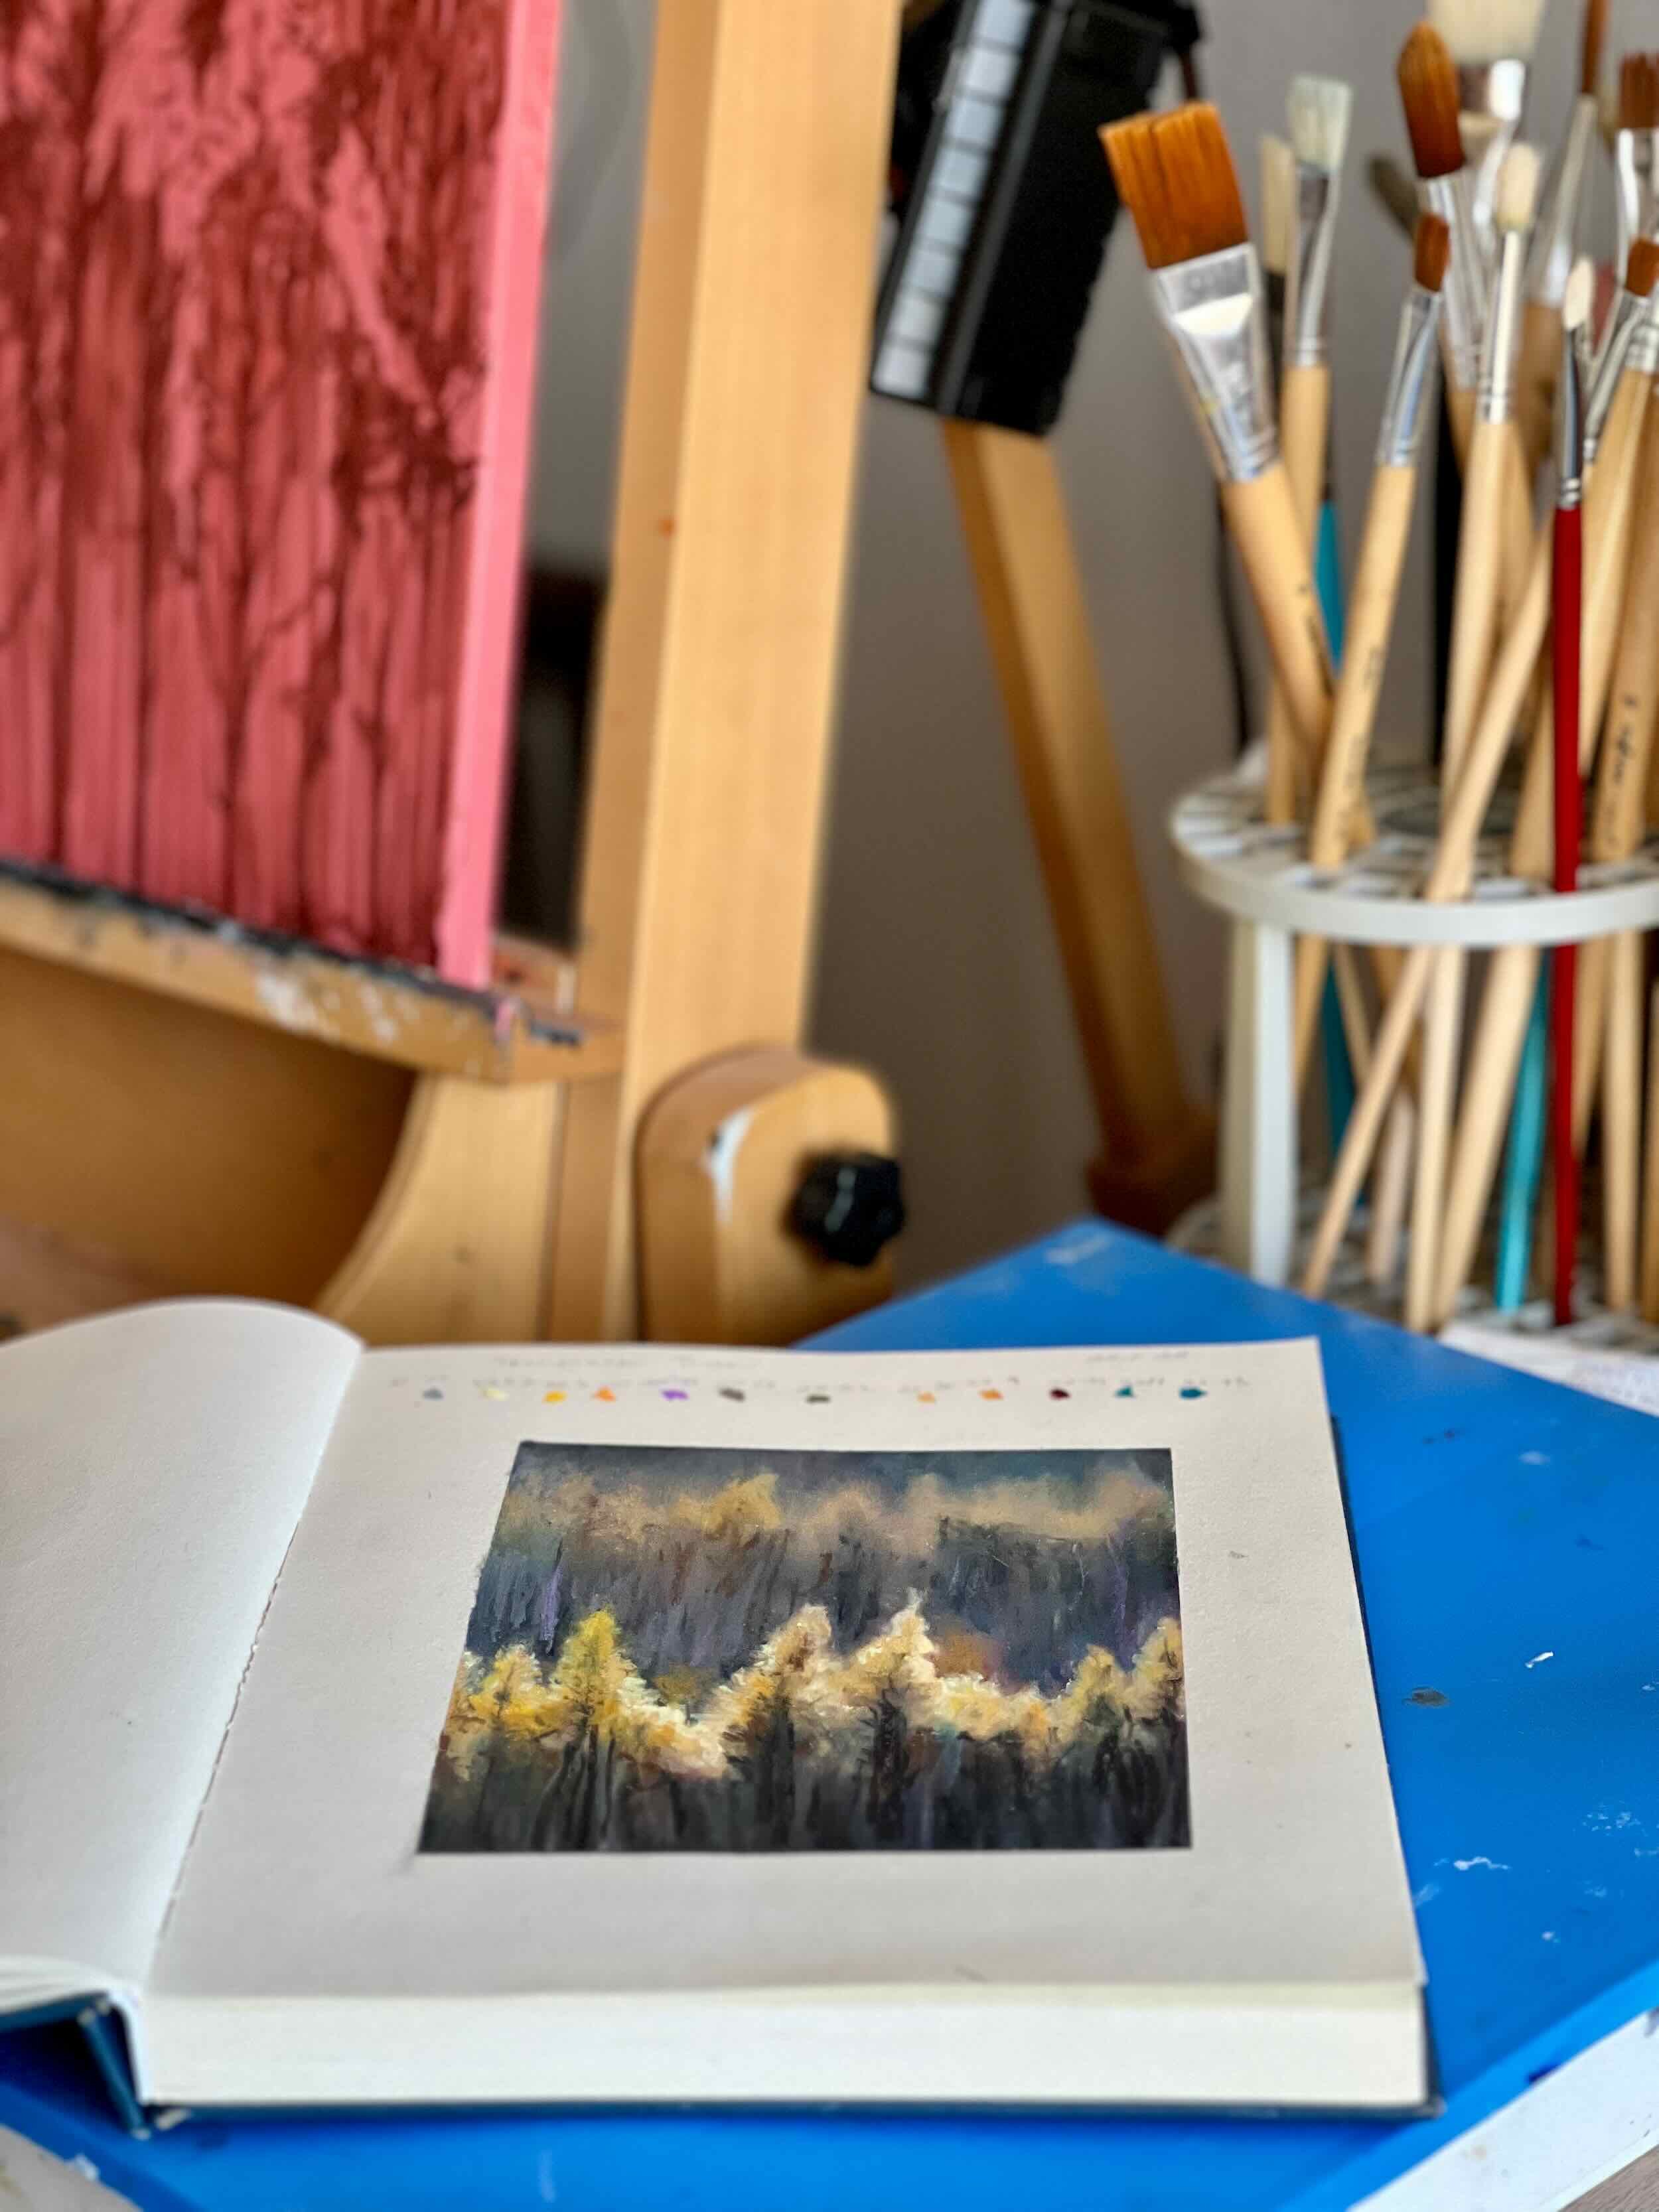
The Preliminary Sketch
Before my brush touches canvas, I begin by planning the compositions. Sketching helps me explore structure, proportion, and the relationships between elements on each canvas. I often work from my own photographs or online references as I test different arrangements.
These early drawings help me establish the horizon line, perspective, and overall design. Oil paint is forgiving, so I know I can adjust as I go. This stage is all about setting the foundation.
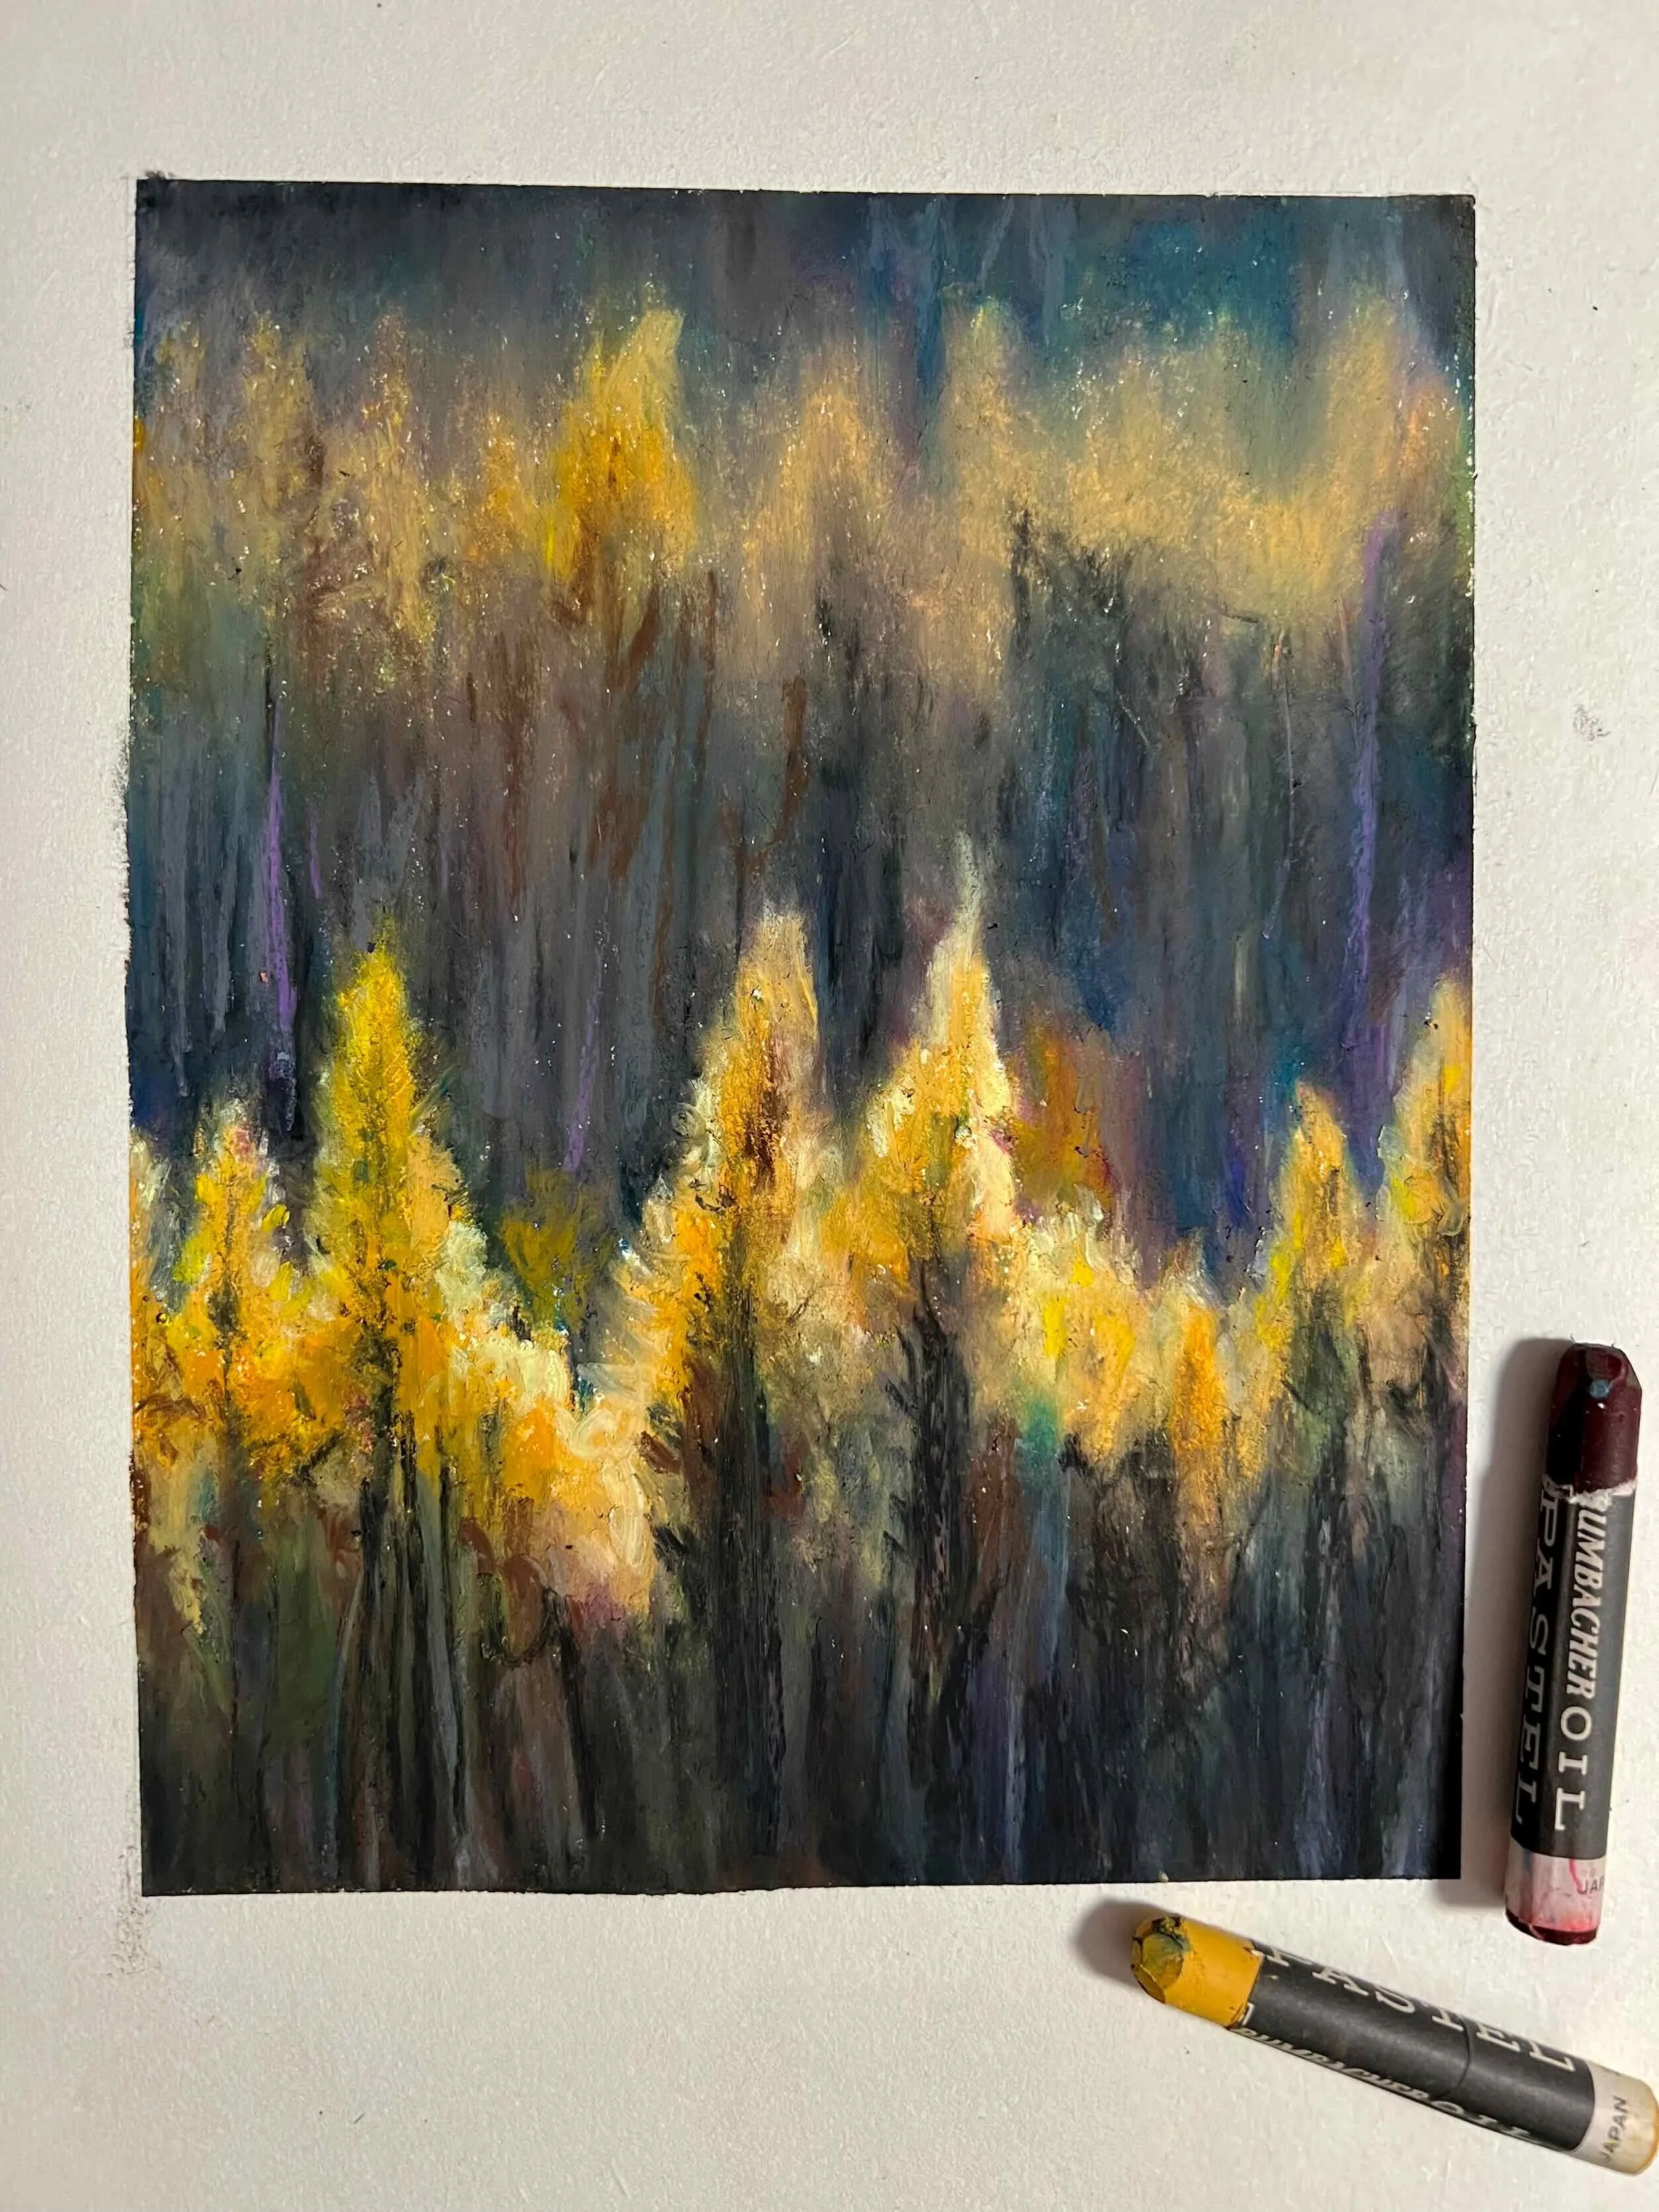
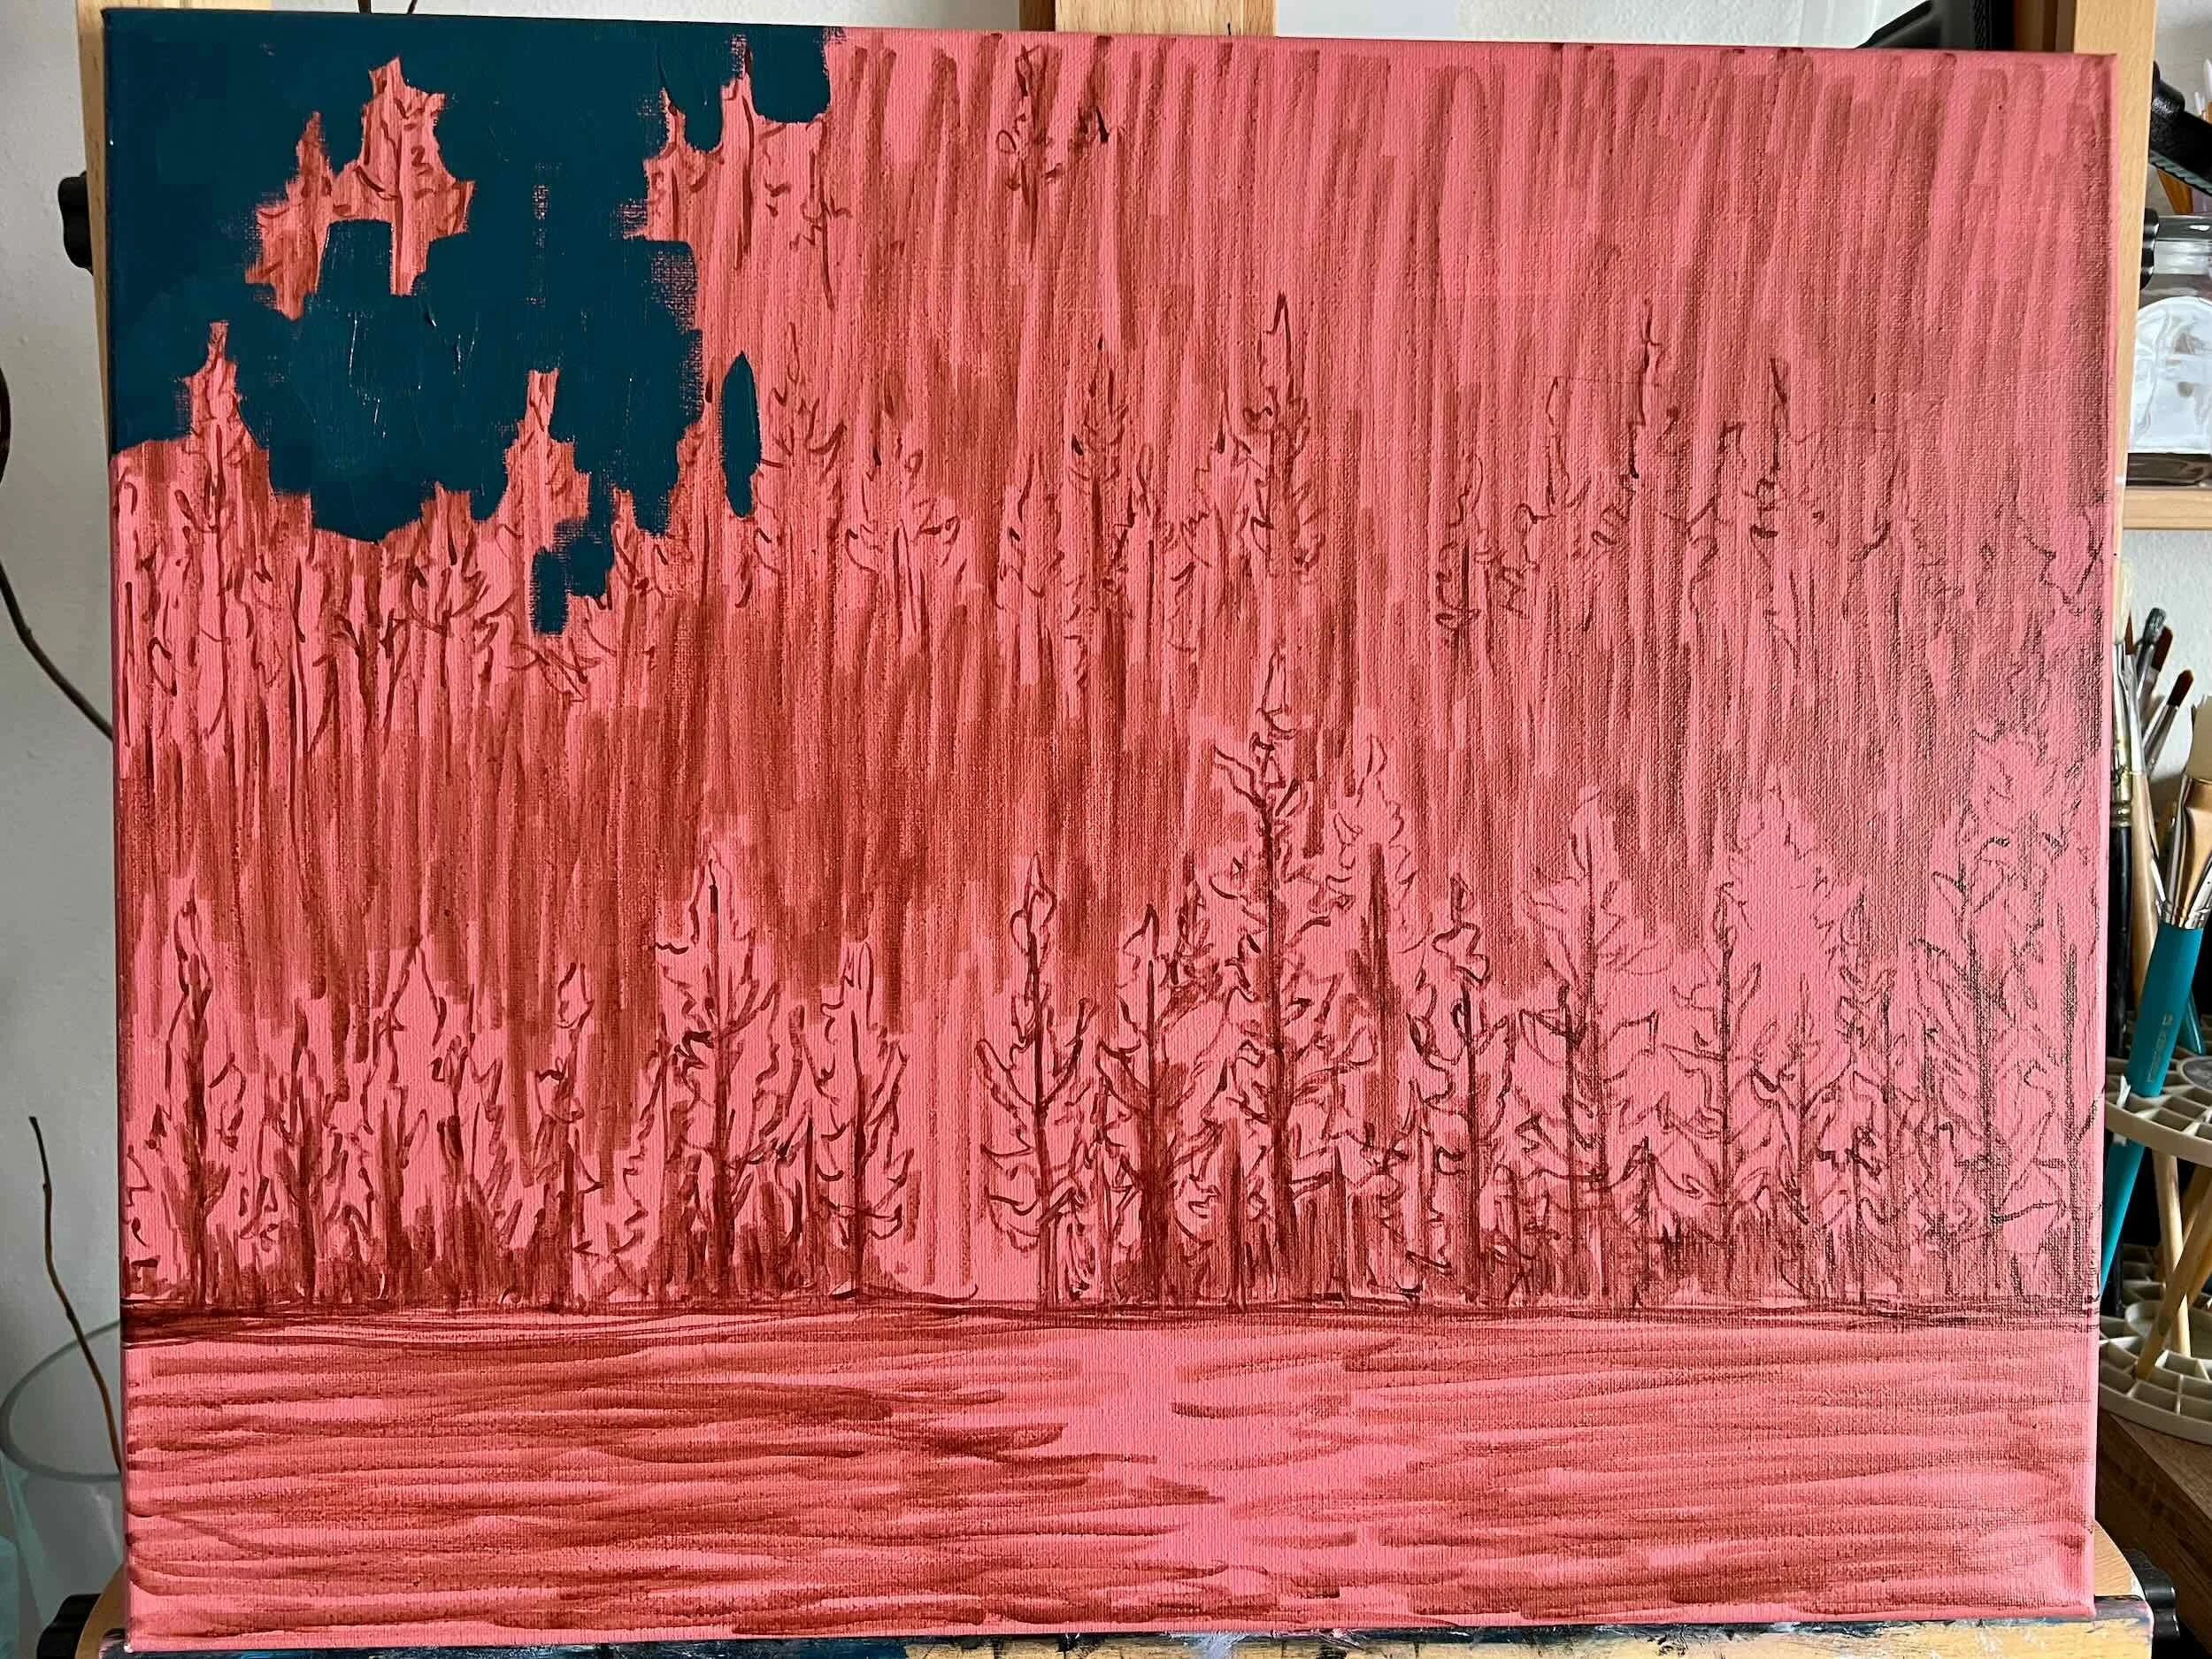
A preliminary sketch created with oil pastel.
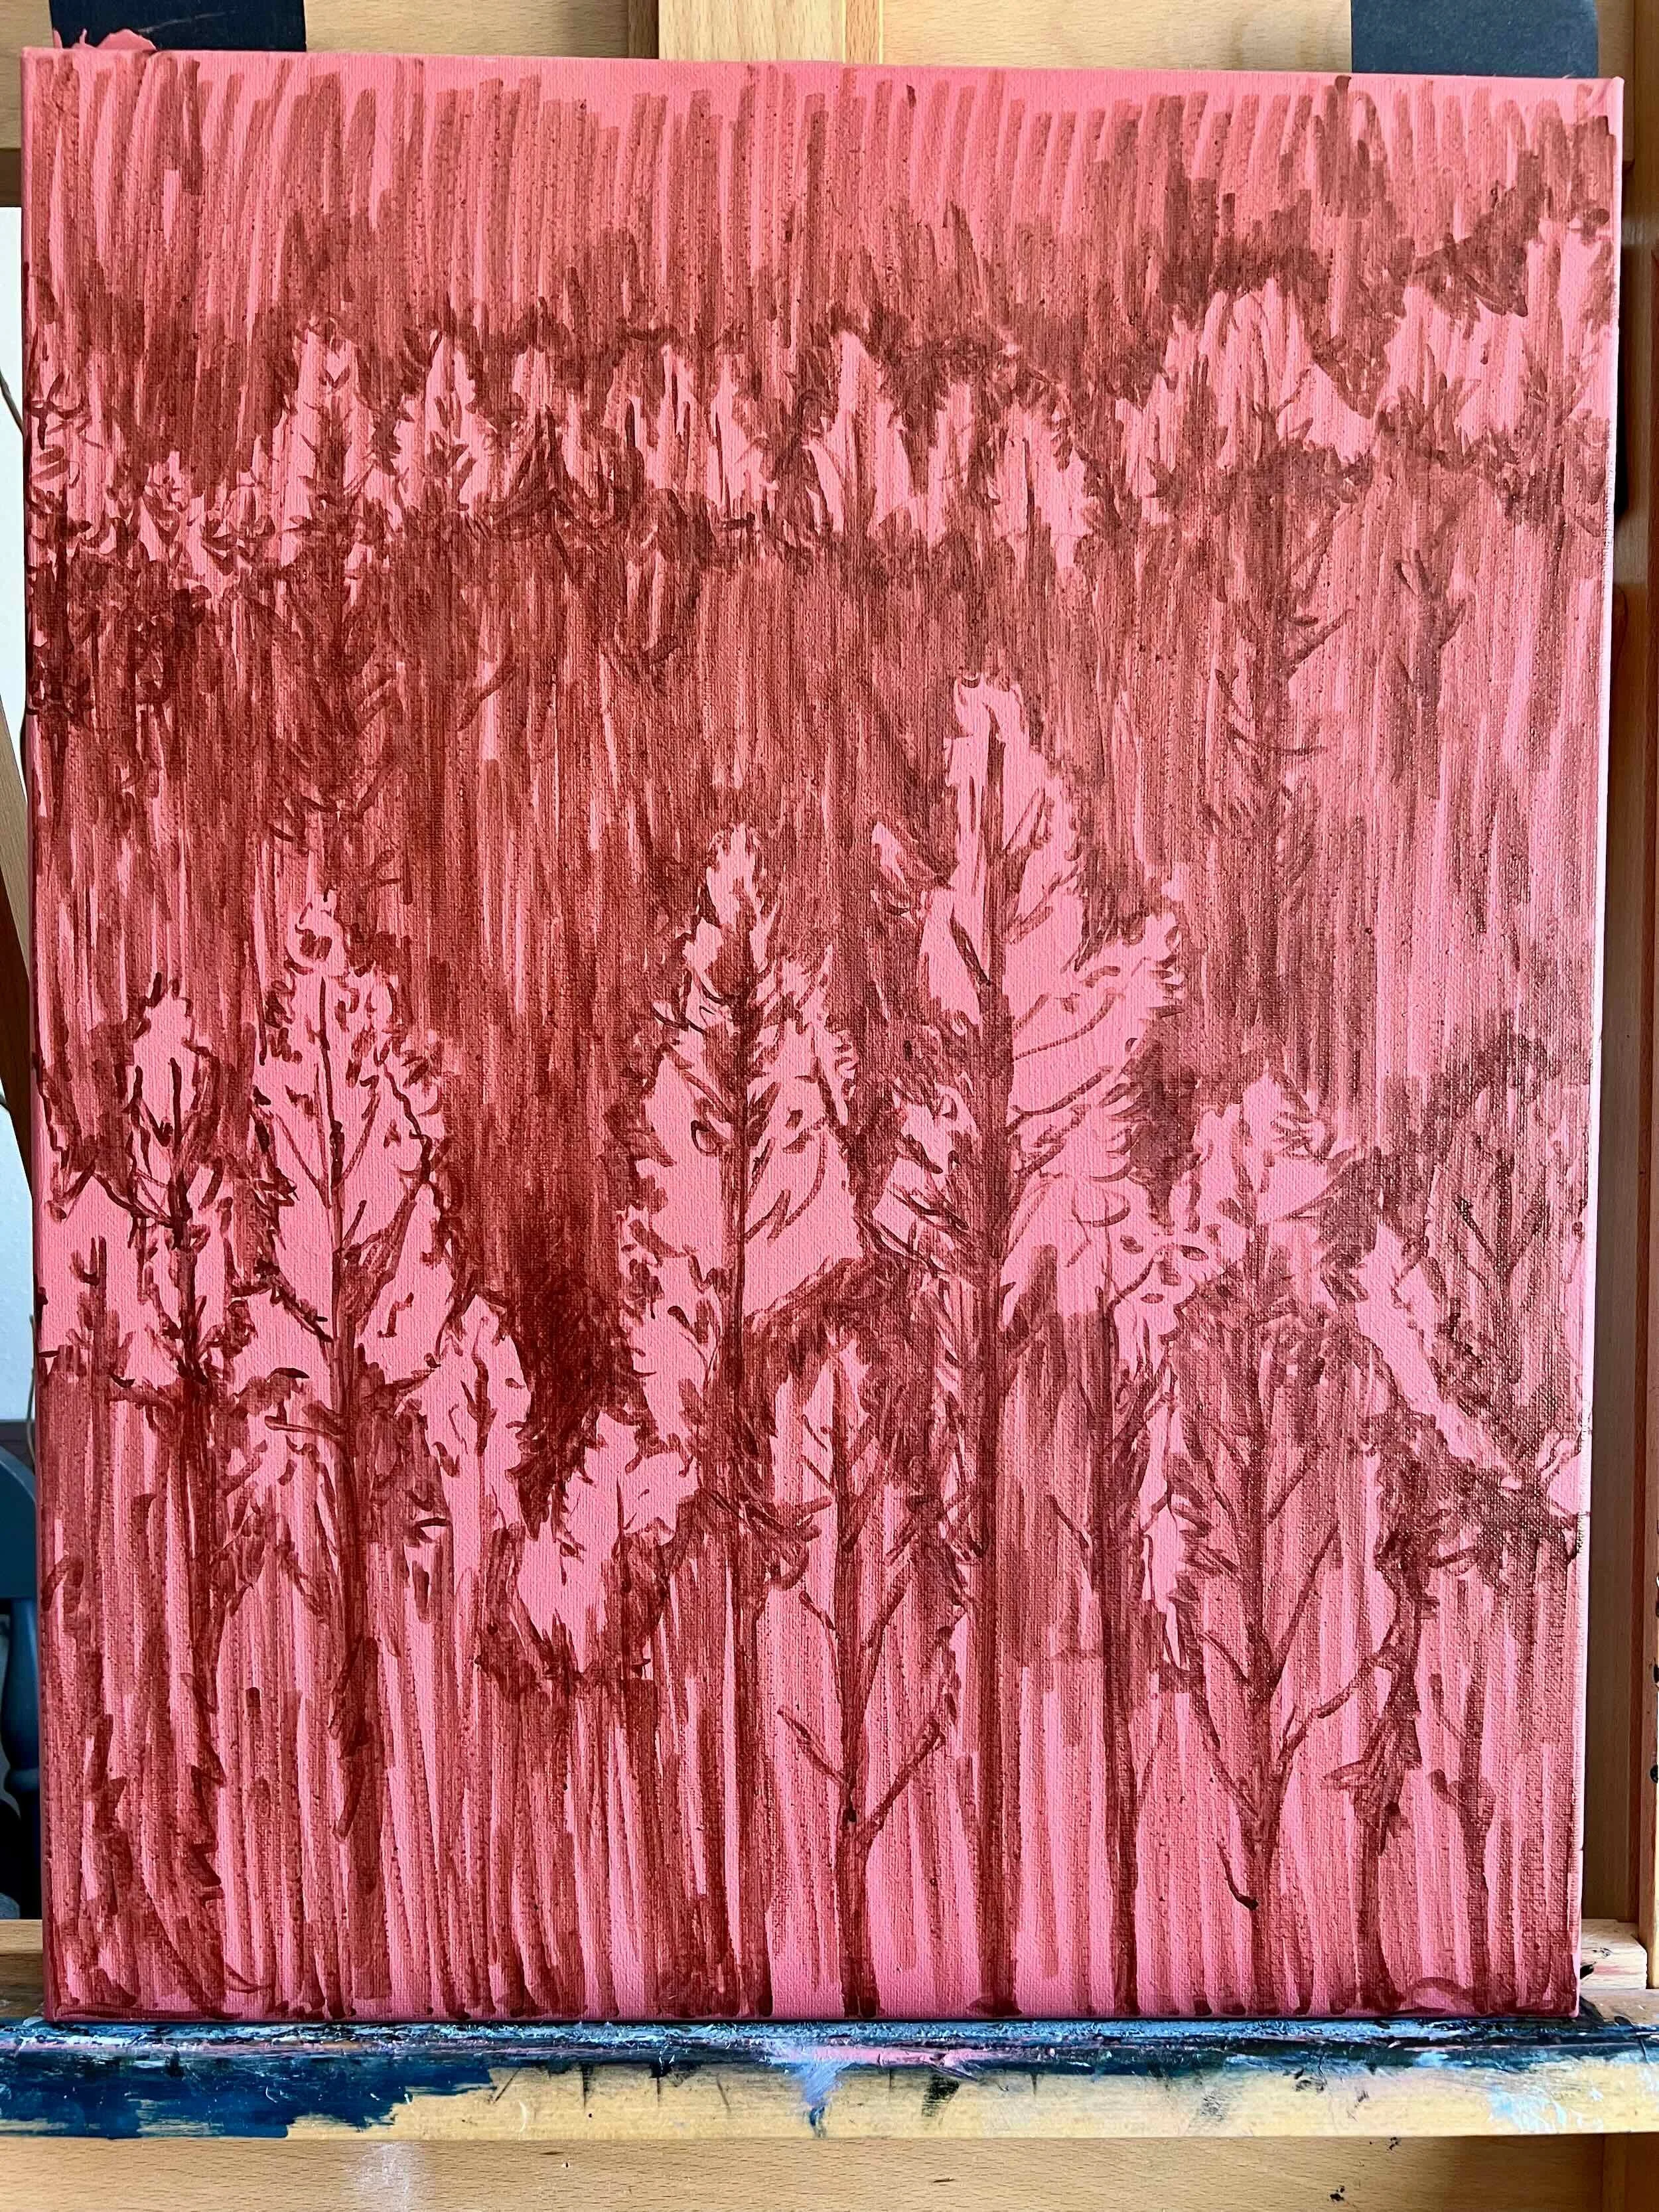
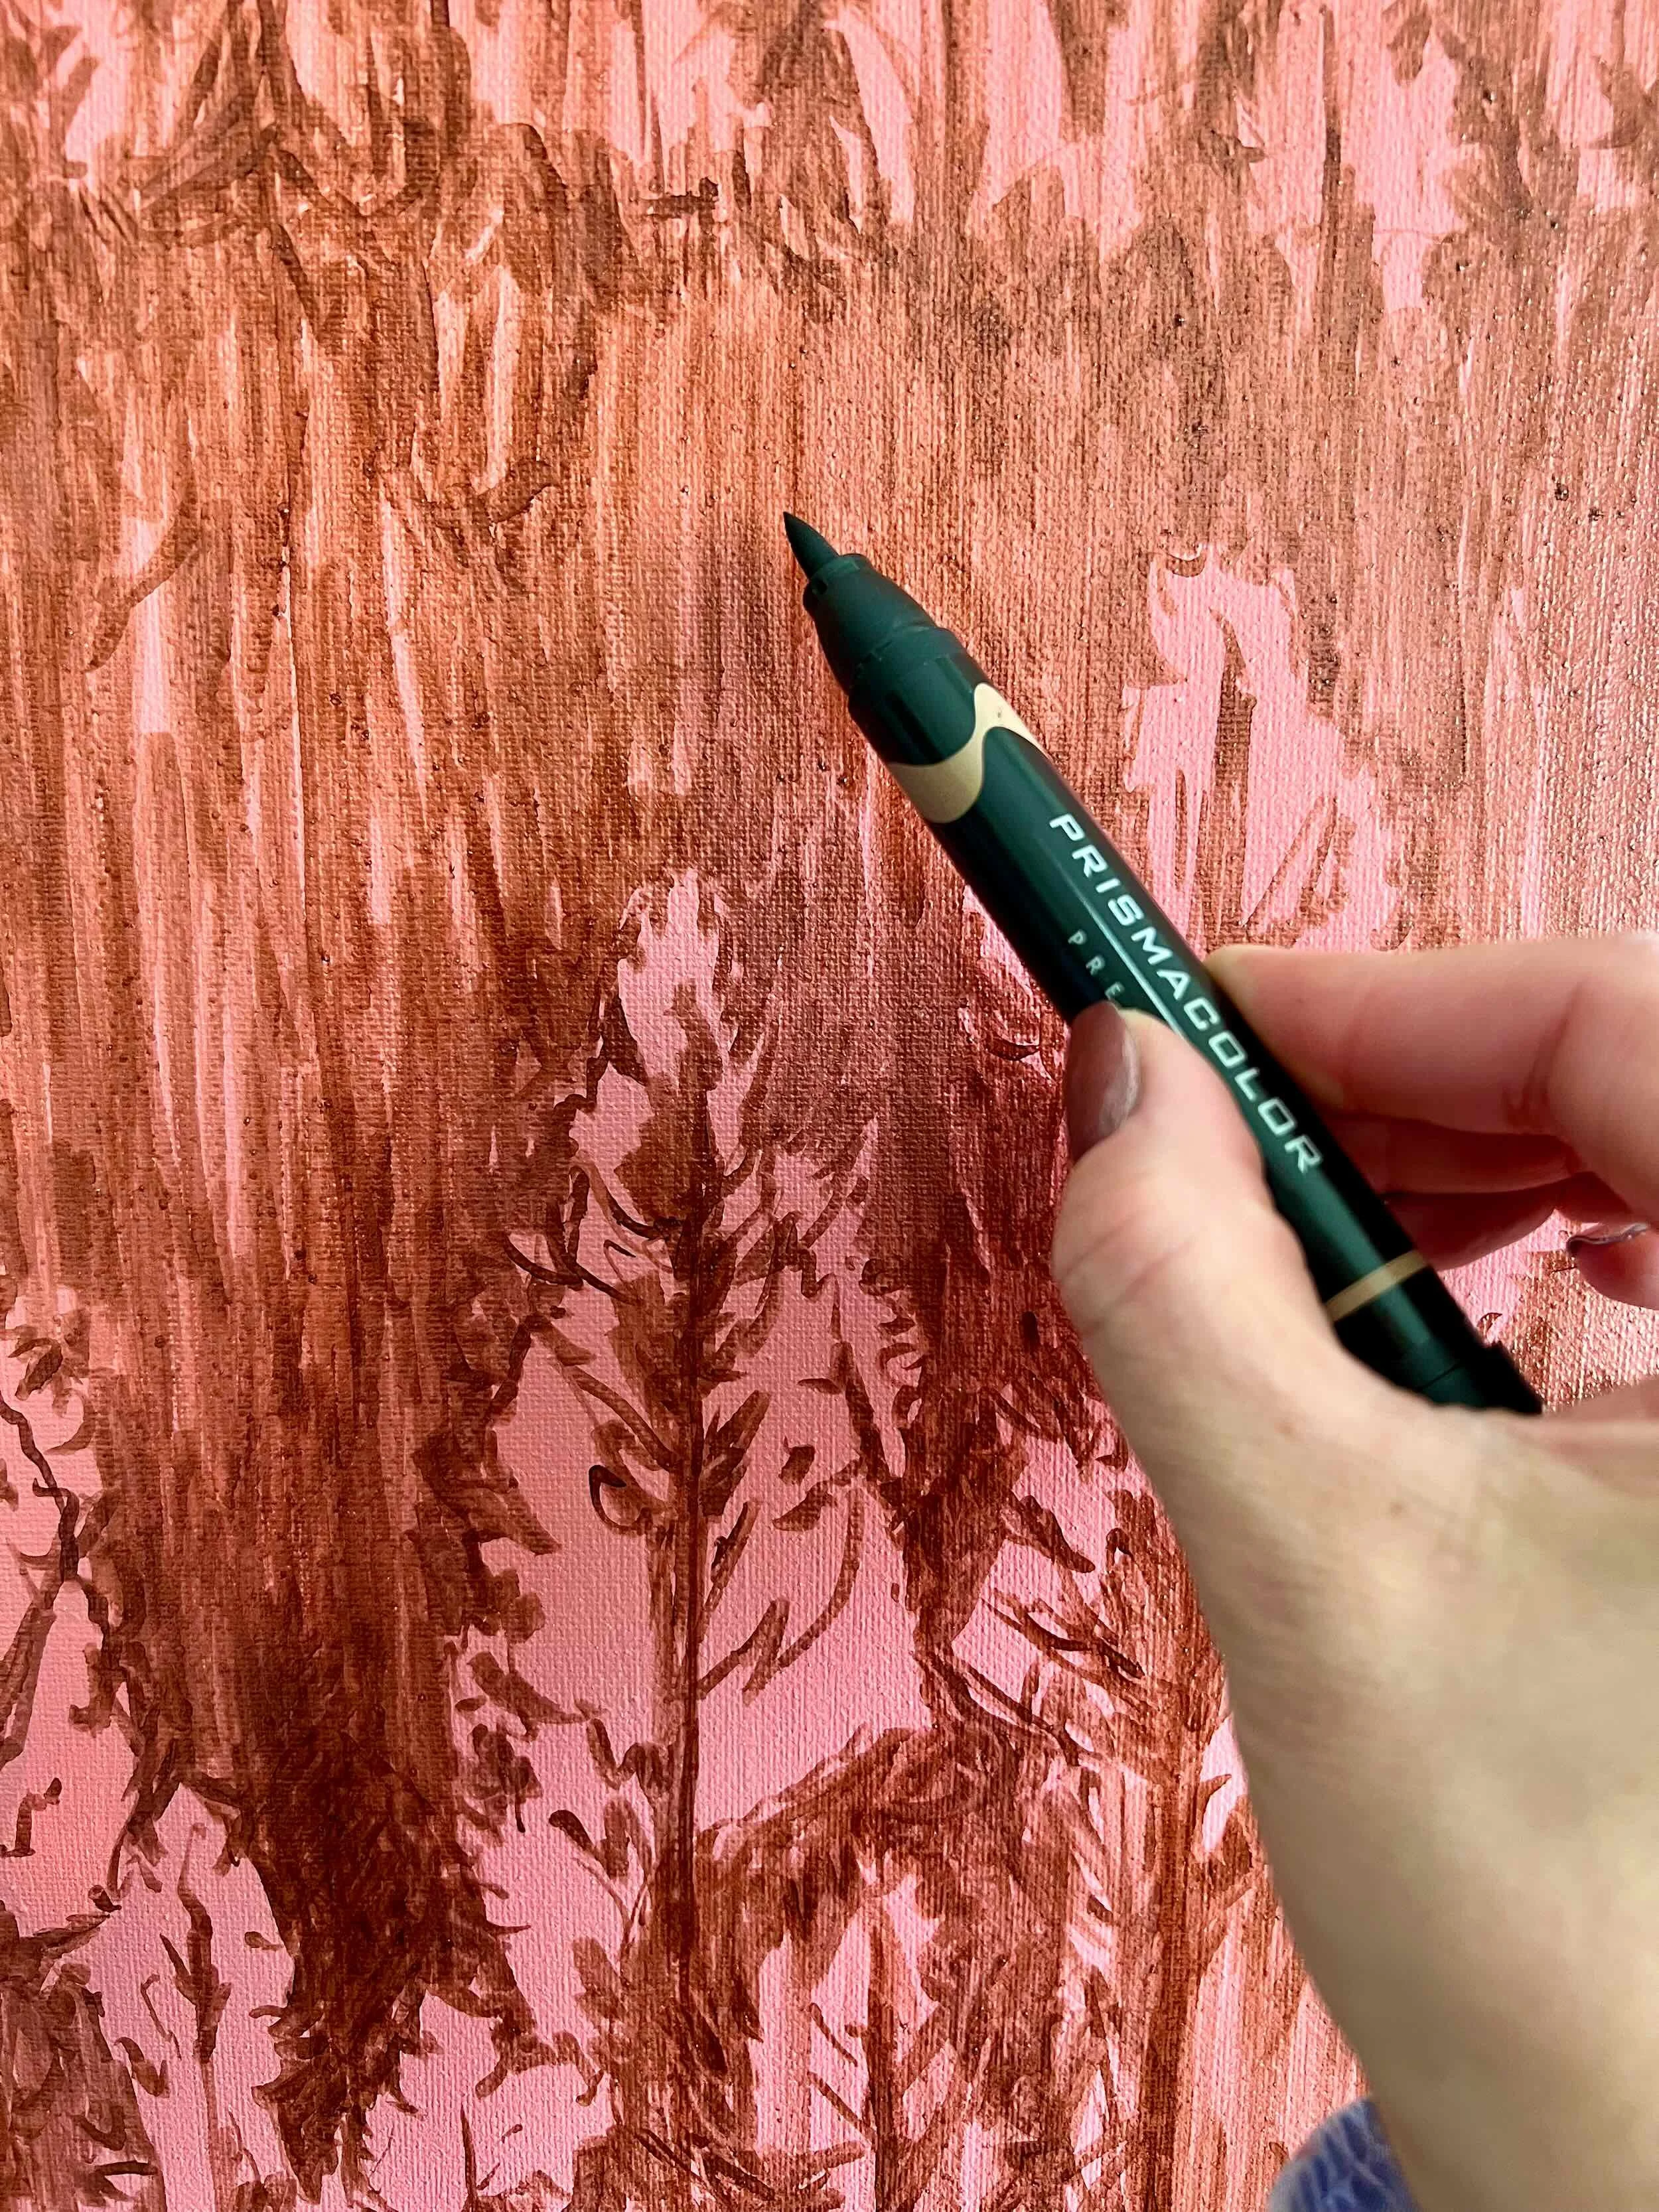
Prepping the Painting Surface
I prefer pre-stretched, pre-gessoed canvases, but even these need preparation. More recently, I have started with the underpainting before I tint the canvas. Many artists use thinned oil paint to sketch in shapes, but I love working with Fluid Acrylics or neutral-toned alcohol markers because they dry fast. This lets me lay in the composition and values quickly so I can begin painting right away. It also helps me avoid mineral spirits as a thinner, but more on that in a future post.
Subsequently, I will apply a layer of gold or sienna Fluid Acrylic using my brush to define the shadows and then wipe away other areas to create highlights.
Color Selection & Pre-Mixing
A painting’s atmosphere is shaped by its color palette. Before I begin, I choose my pigments and mix a range of tints, tones, and shades. Pre-mixing helps me stay in the creative flow instead of stopping constantly to remix, and it ensures uniformity across the series.
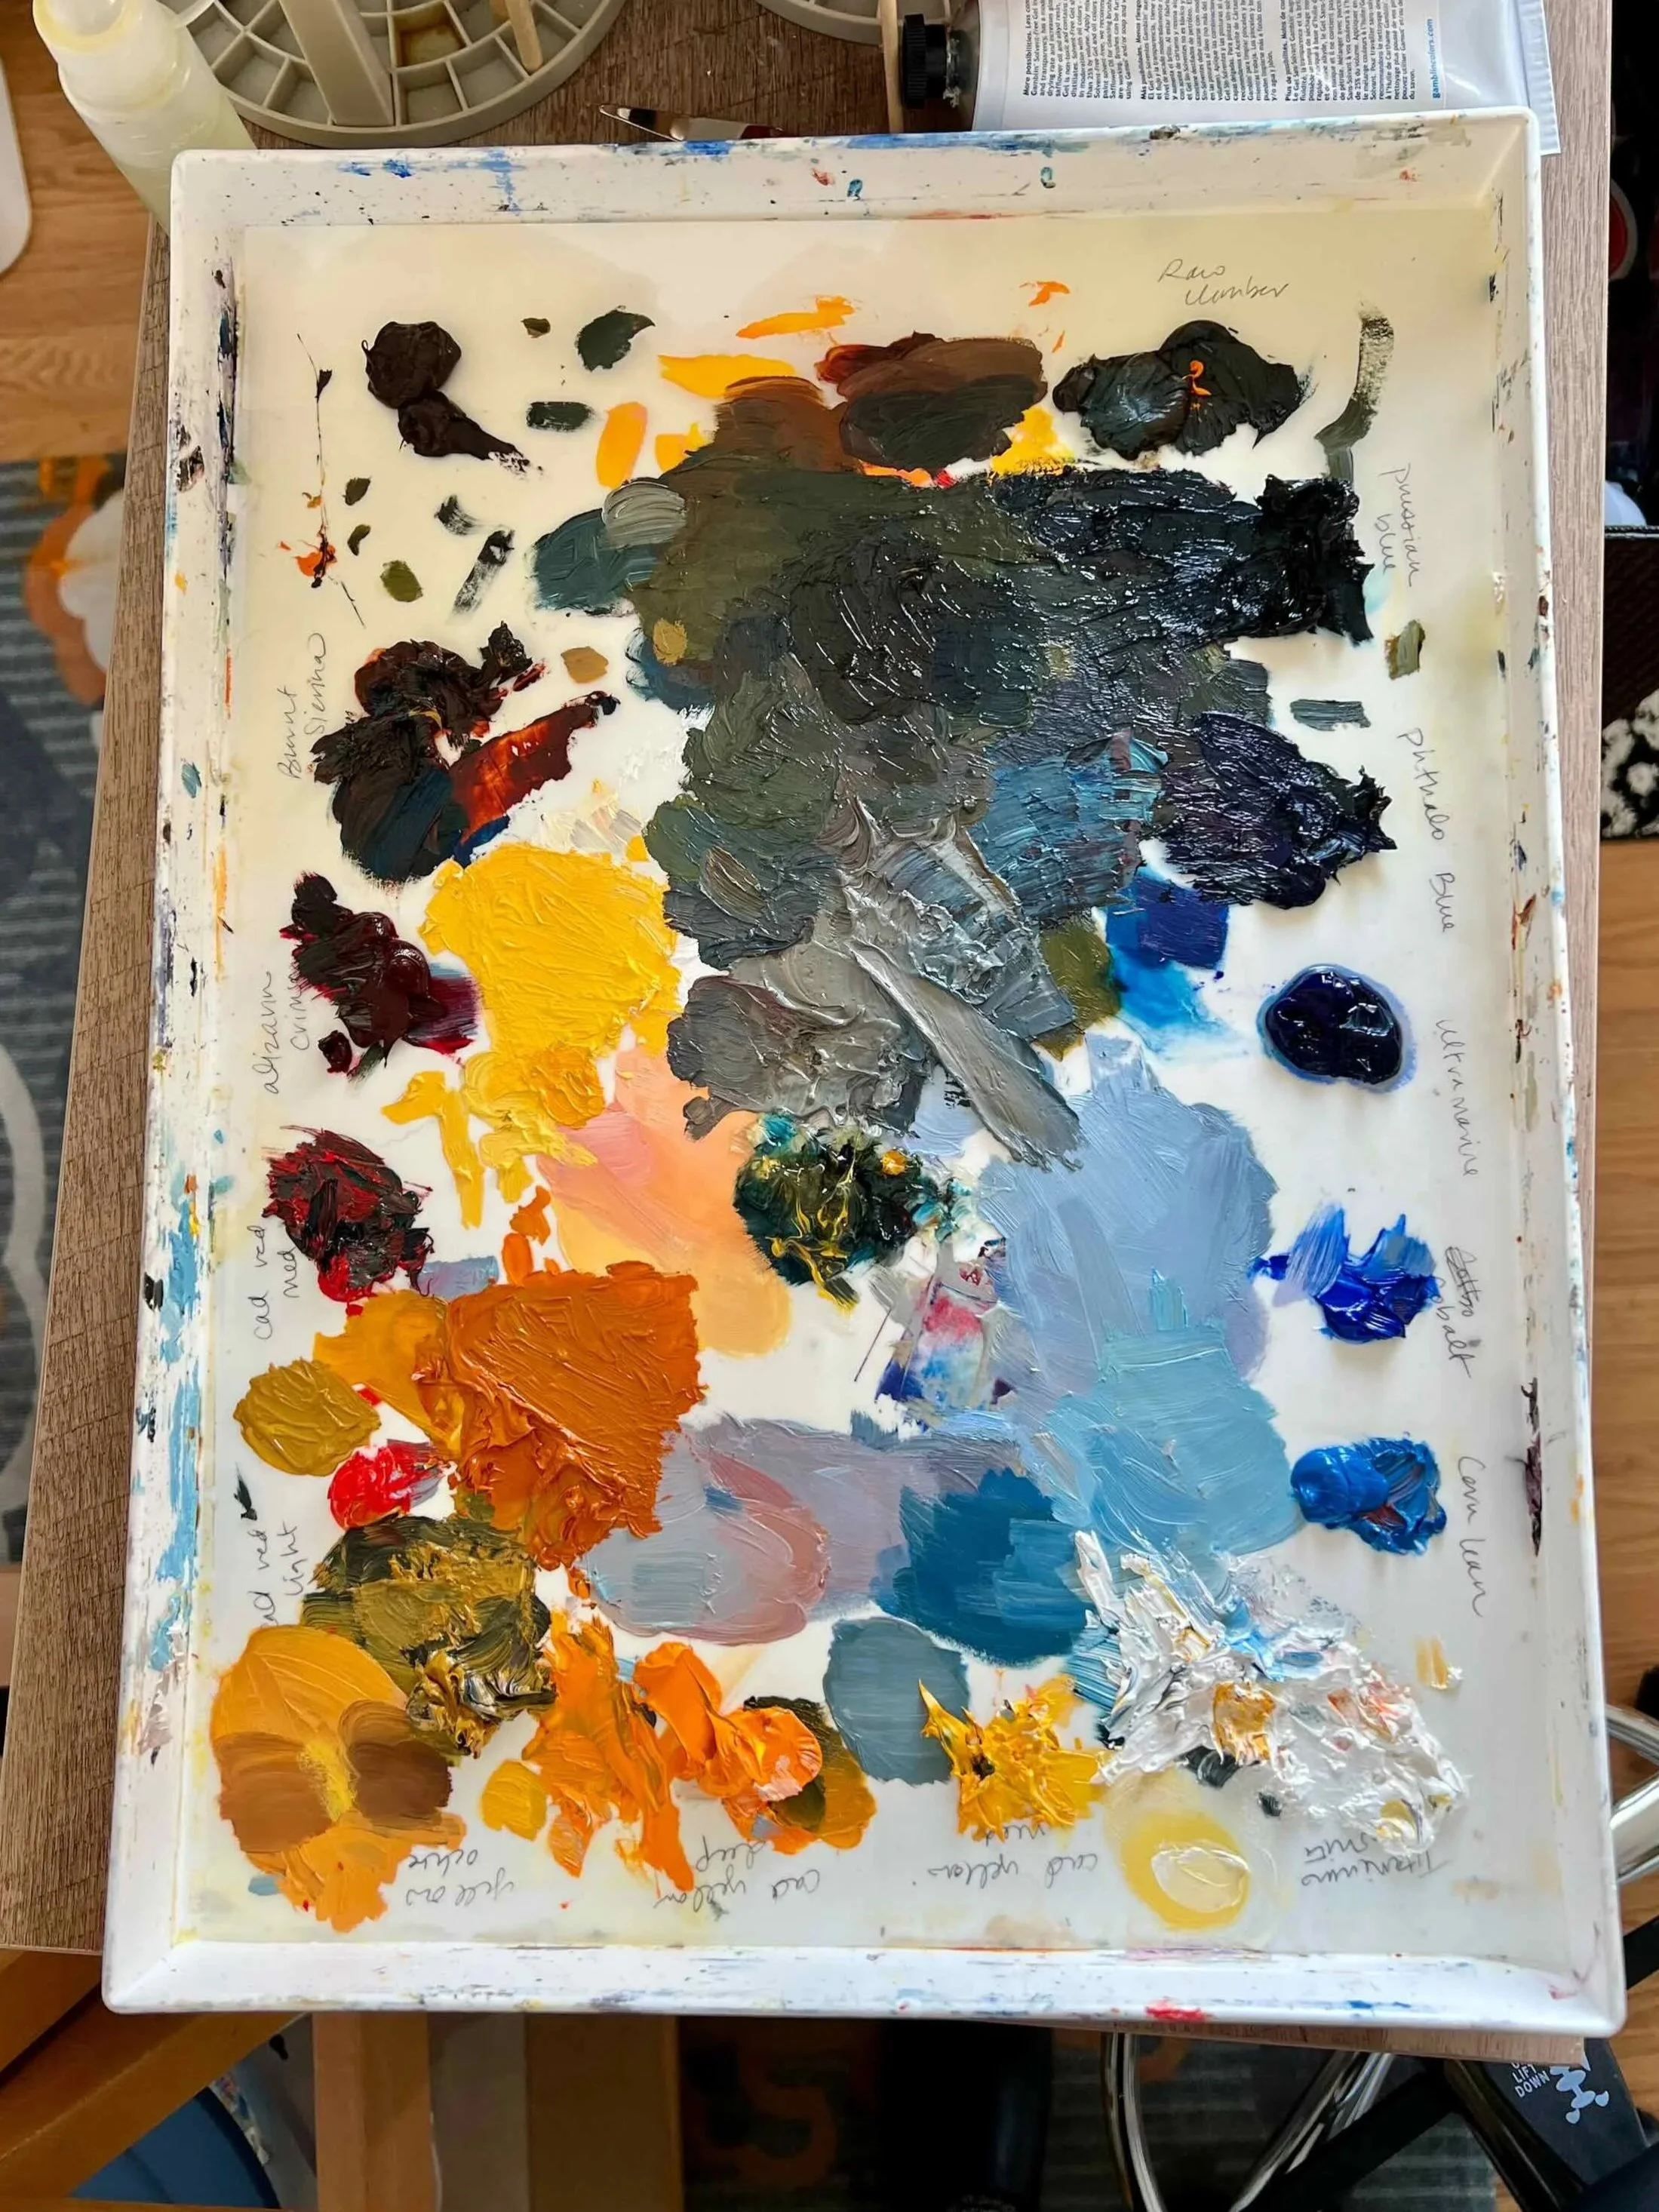
Oil paint palette.
This step also gives me space to think through color harmony and how the pigments will interact on the canvas.
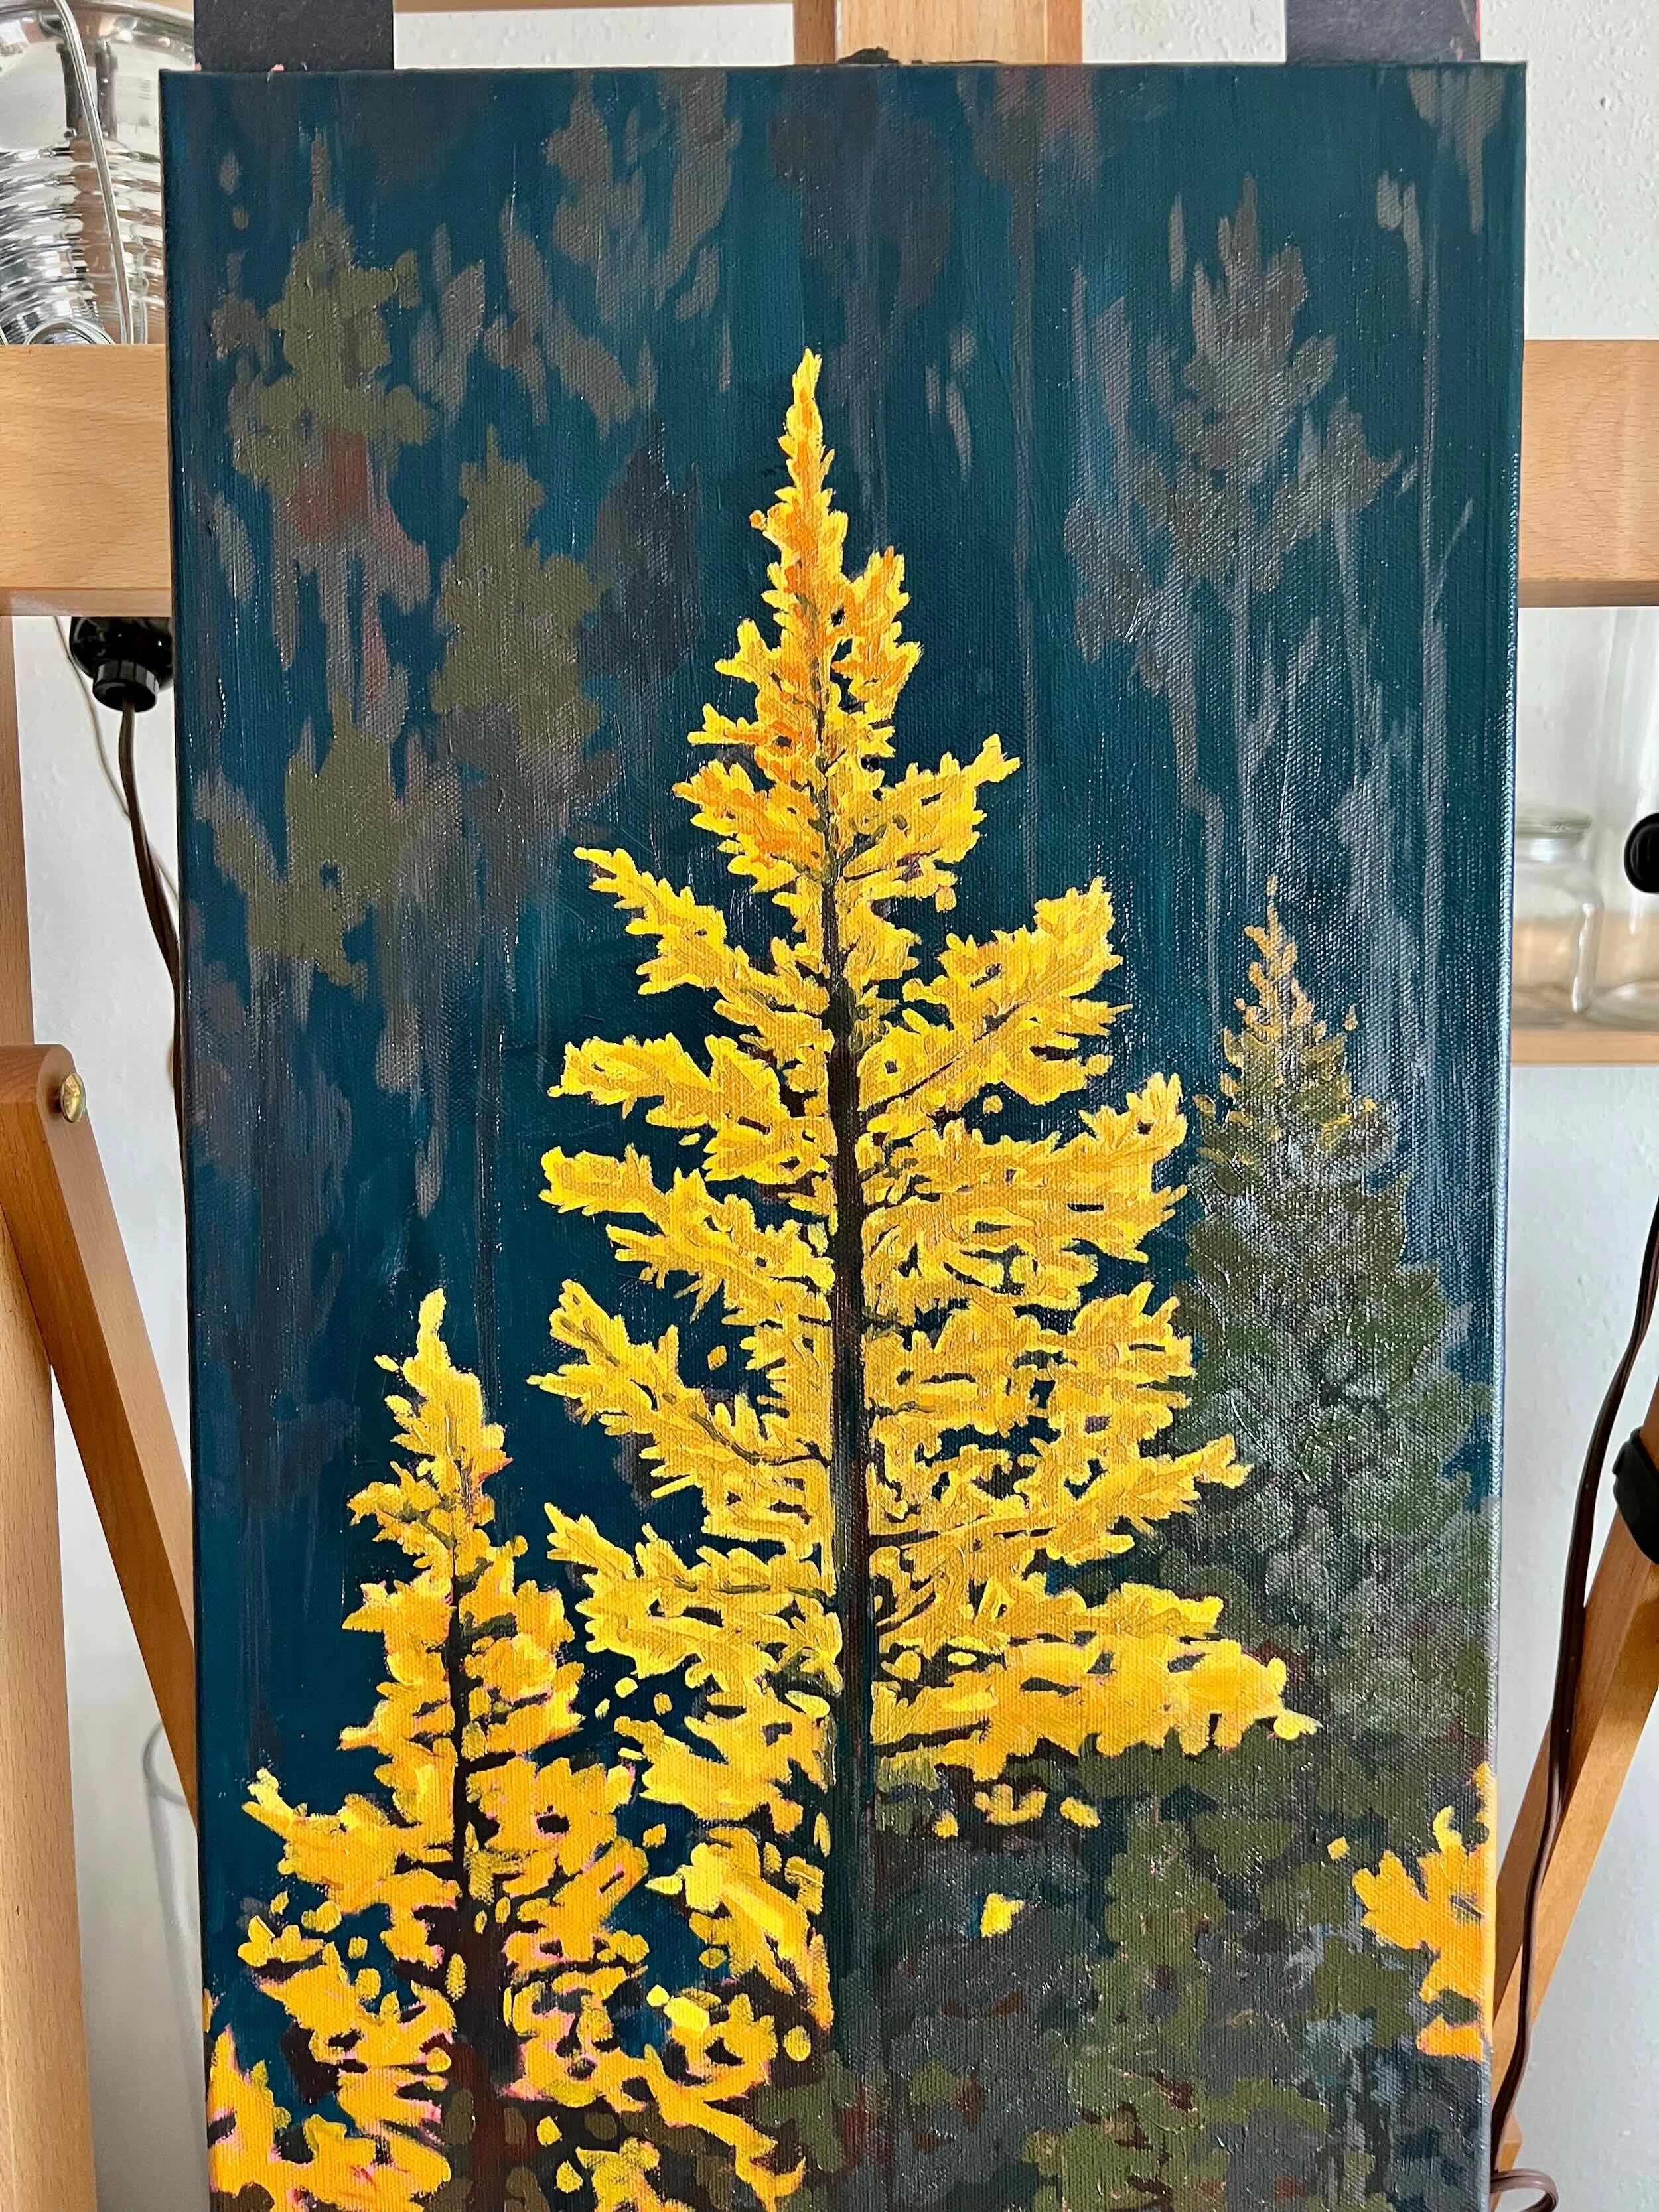
Blocking In
With the canvases prepped and the palette ready, I start blocking in the large shapes and values. Because I work on the entire series at once, I block one painting and move to the next.
This phase is about structure—not detail. I establish the main areas of light and shadow and place large color masses. Oil paints are perfect for this stage because they blend easily and stay workable. Blocking creates the roadmap for everything that follows.
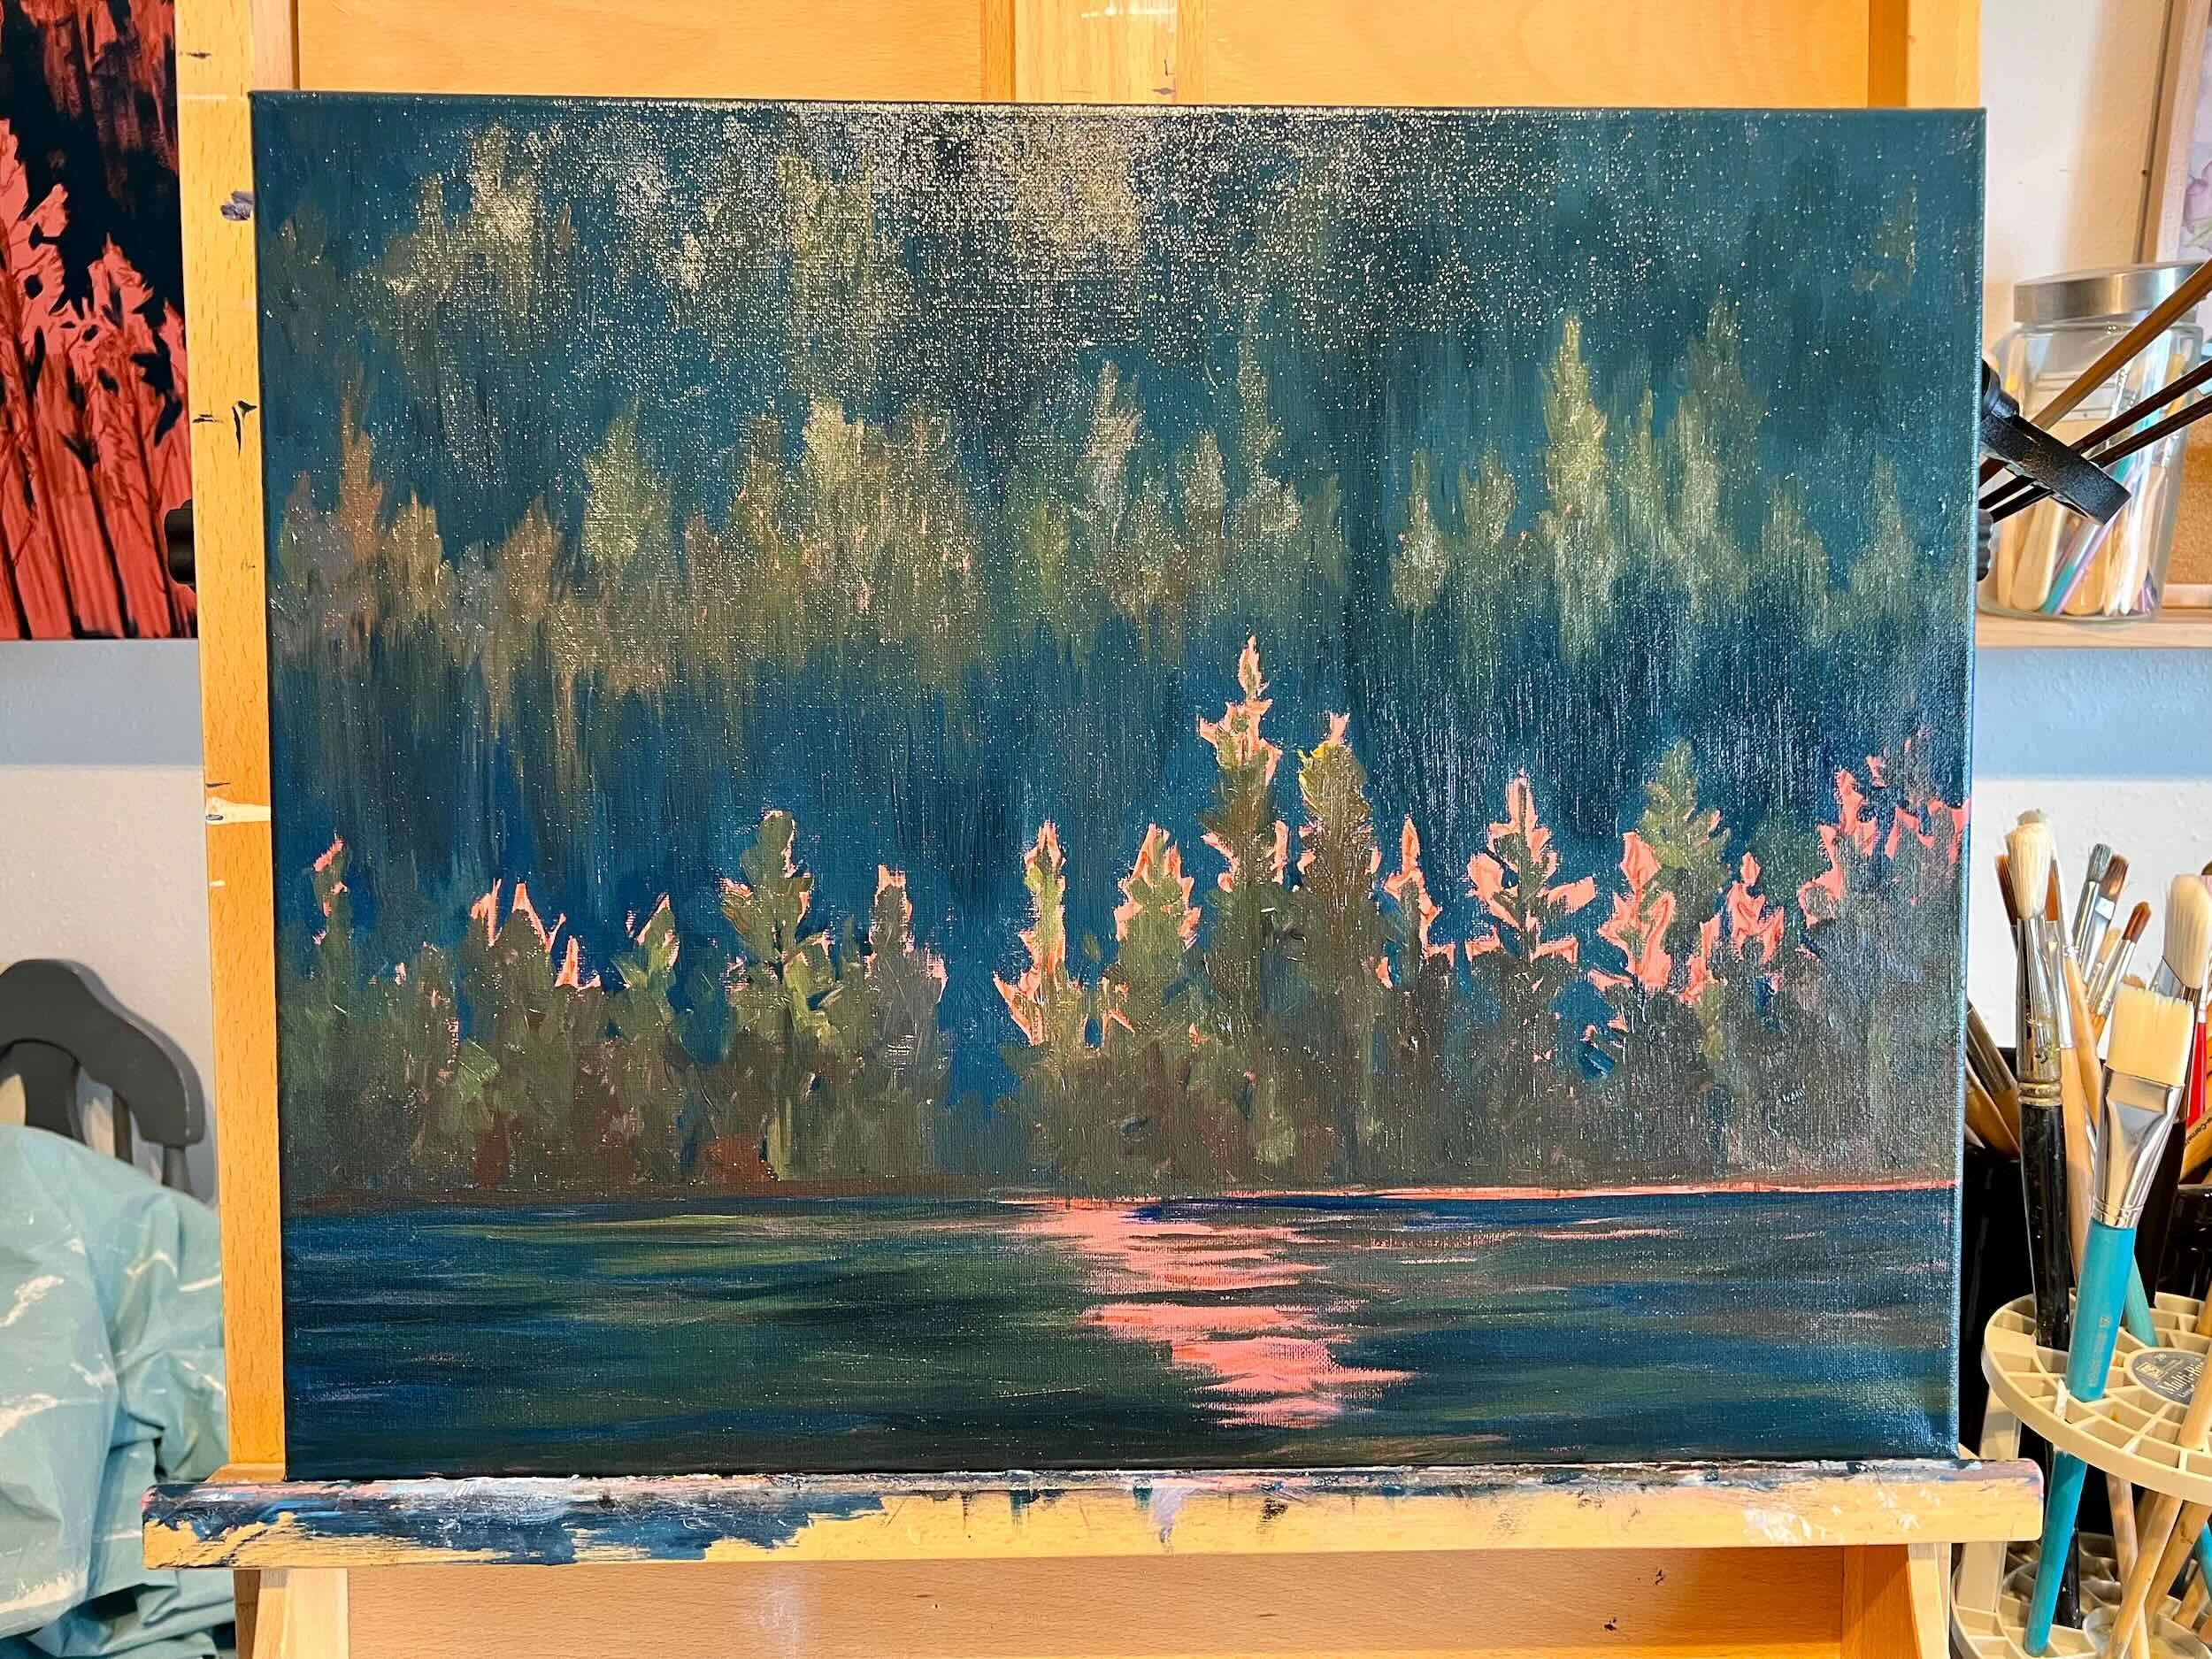
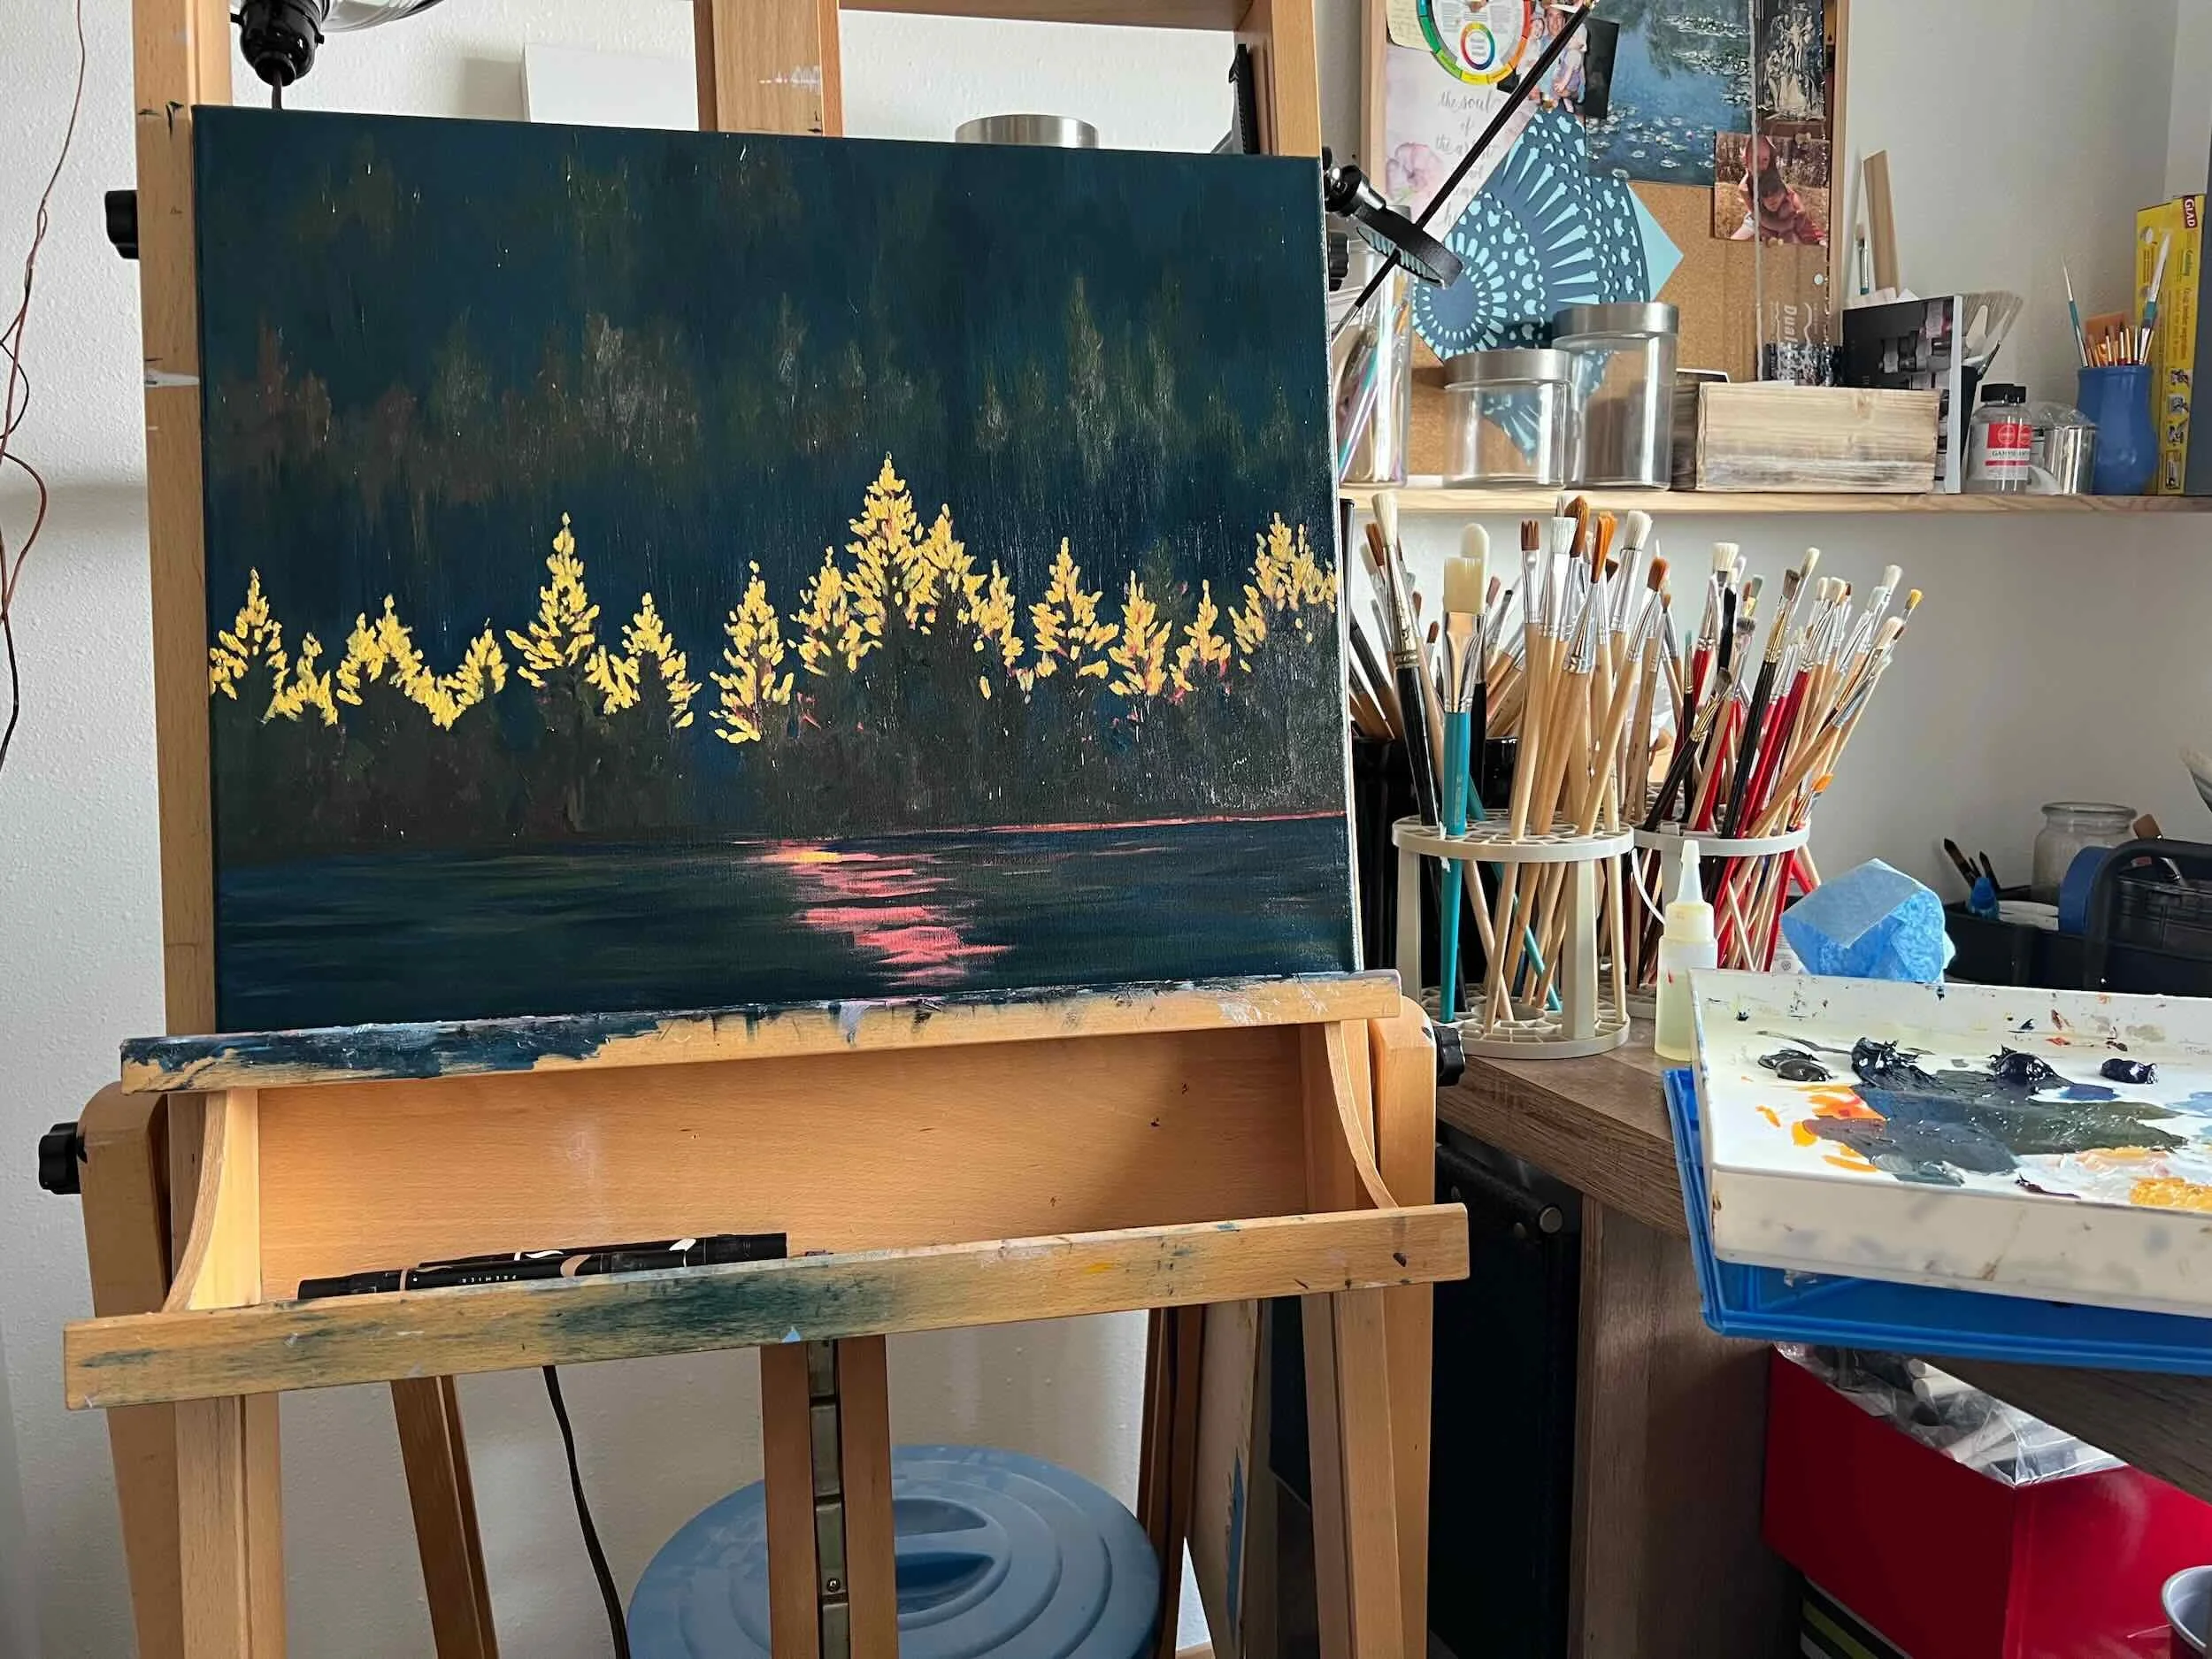
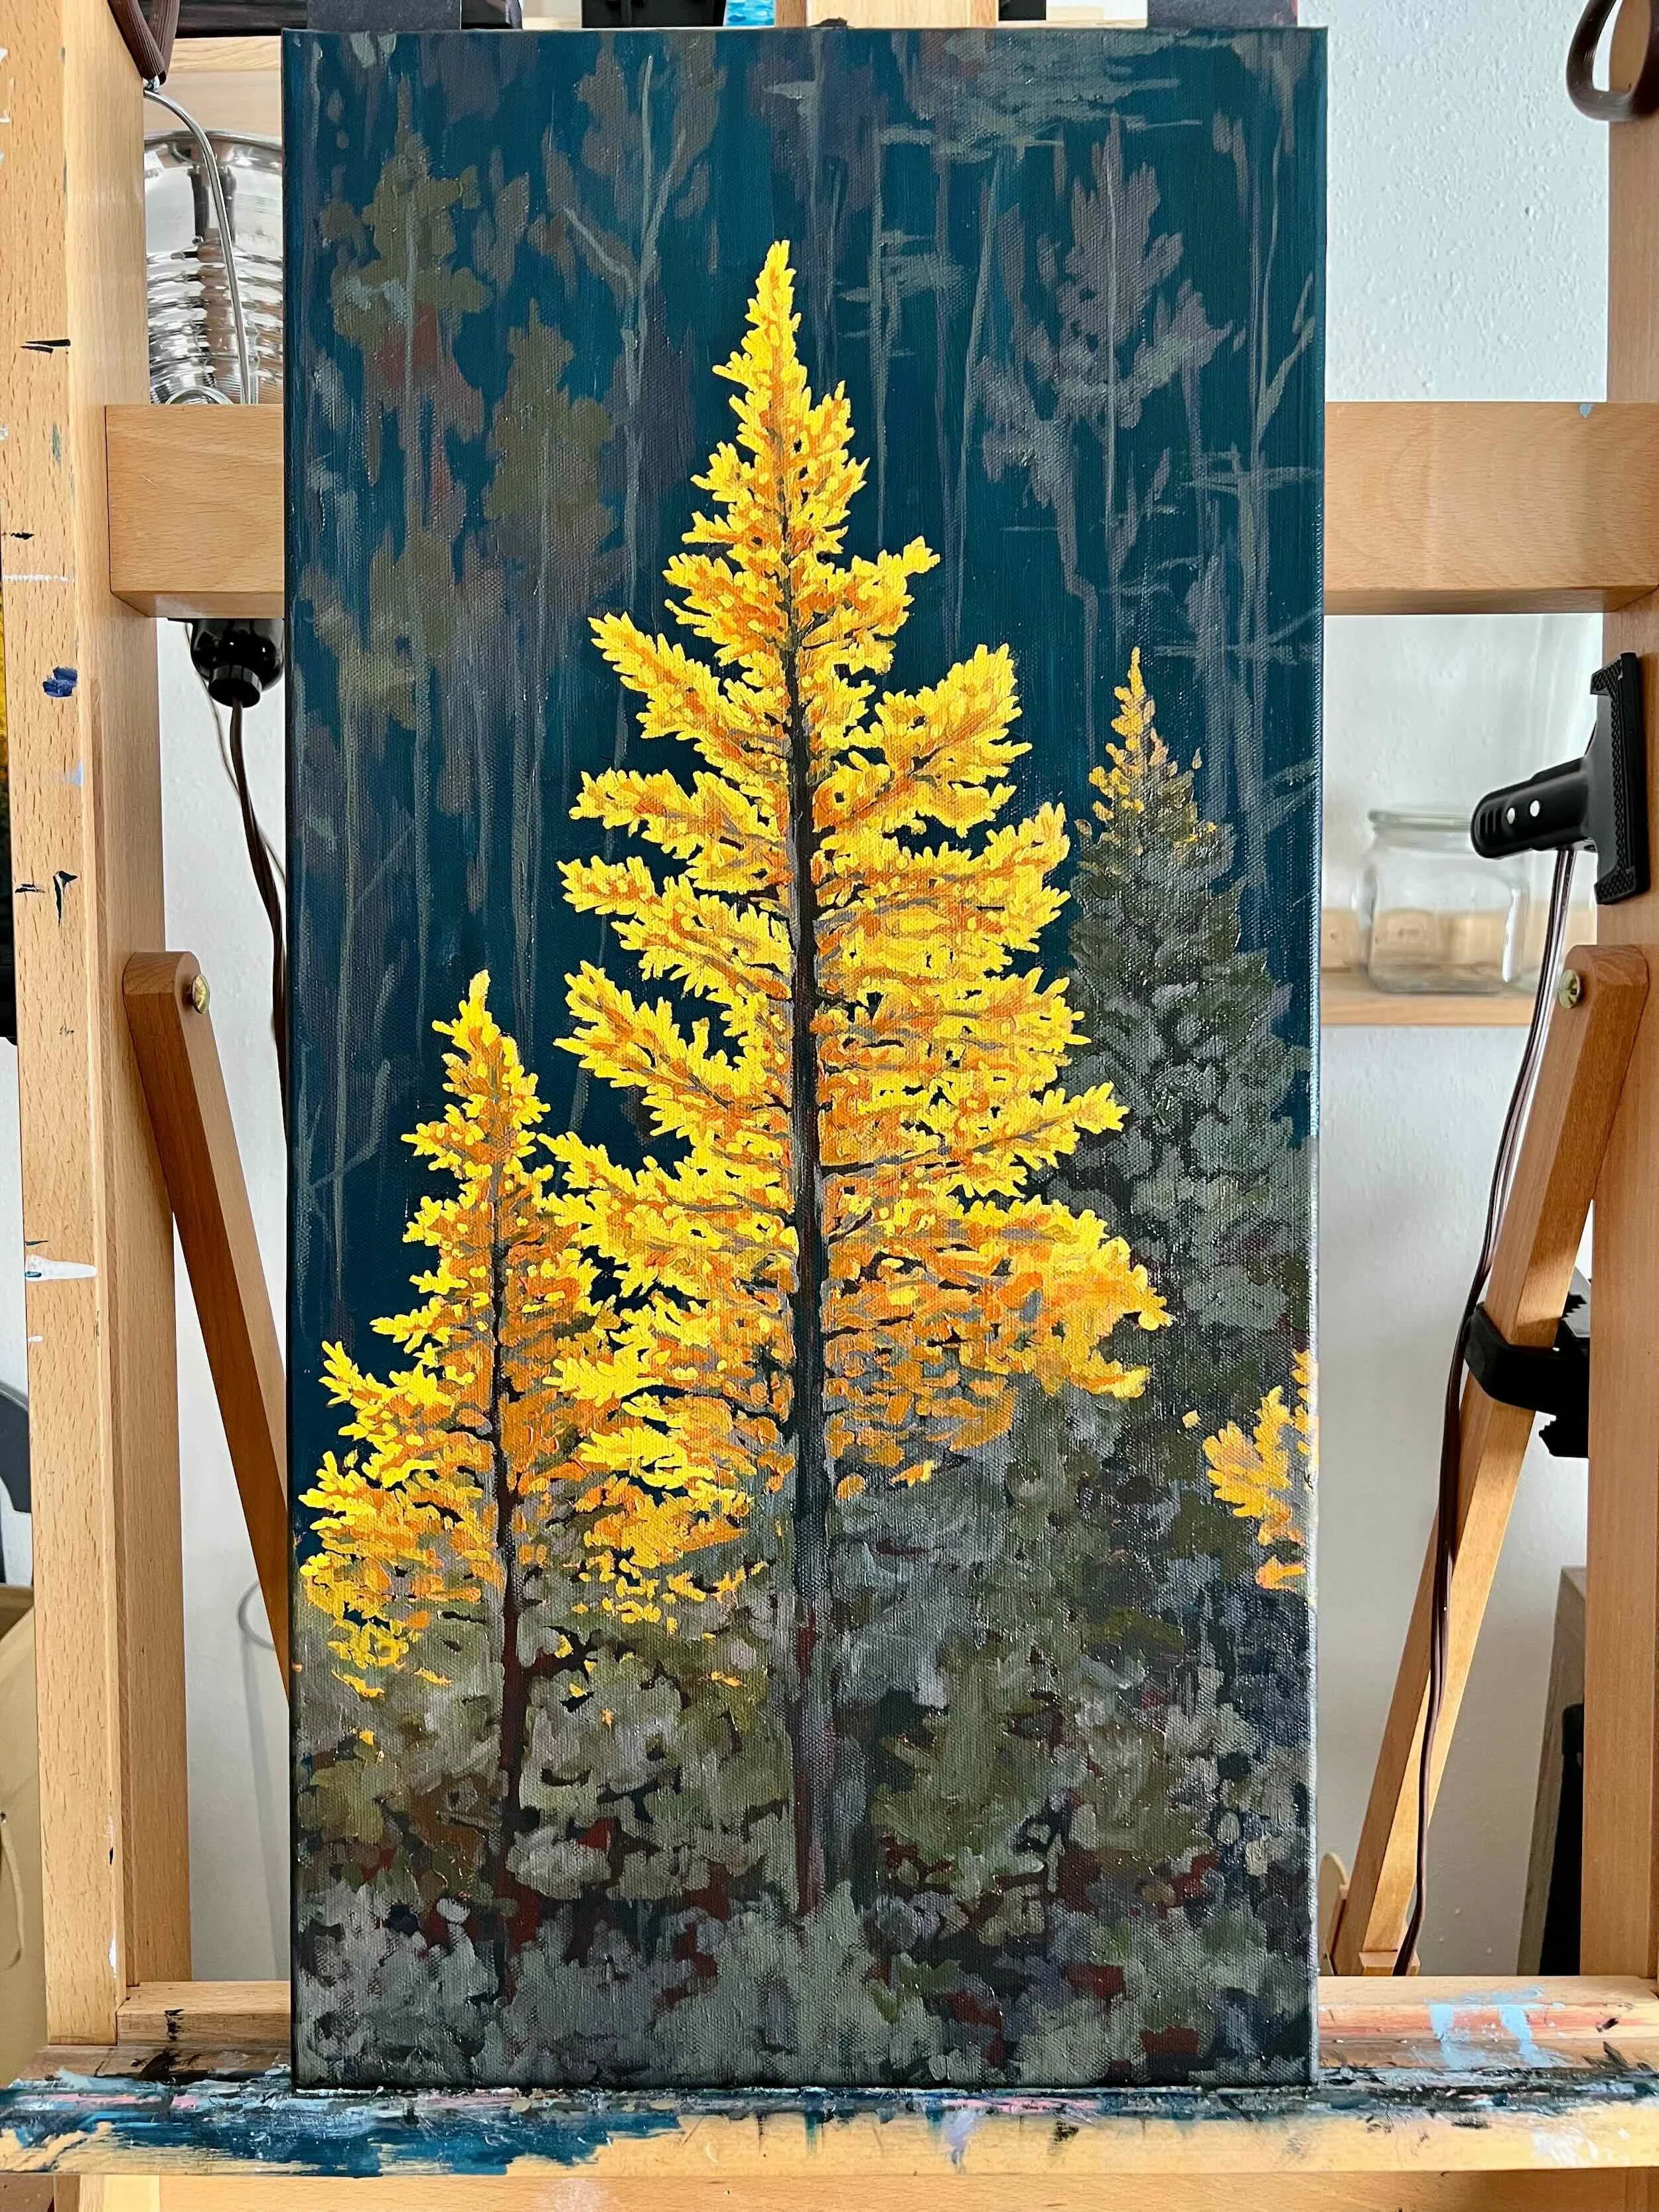
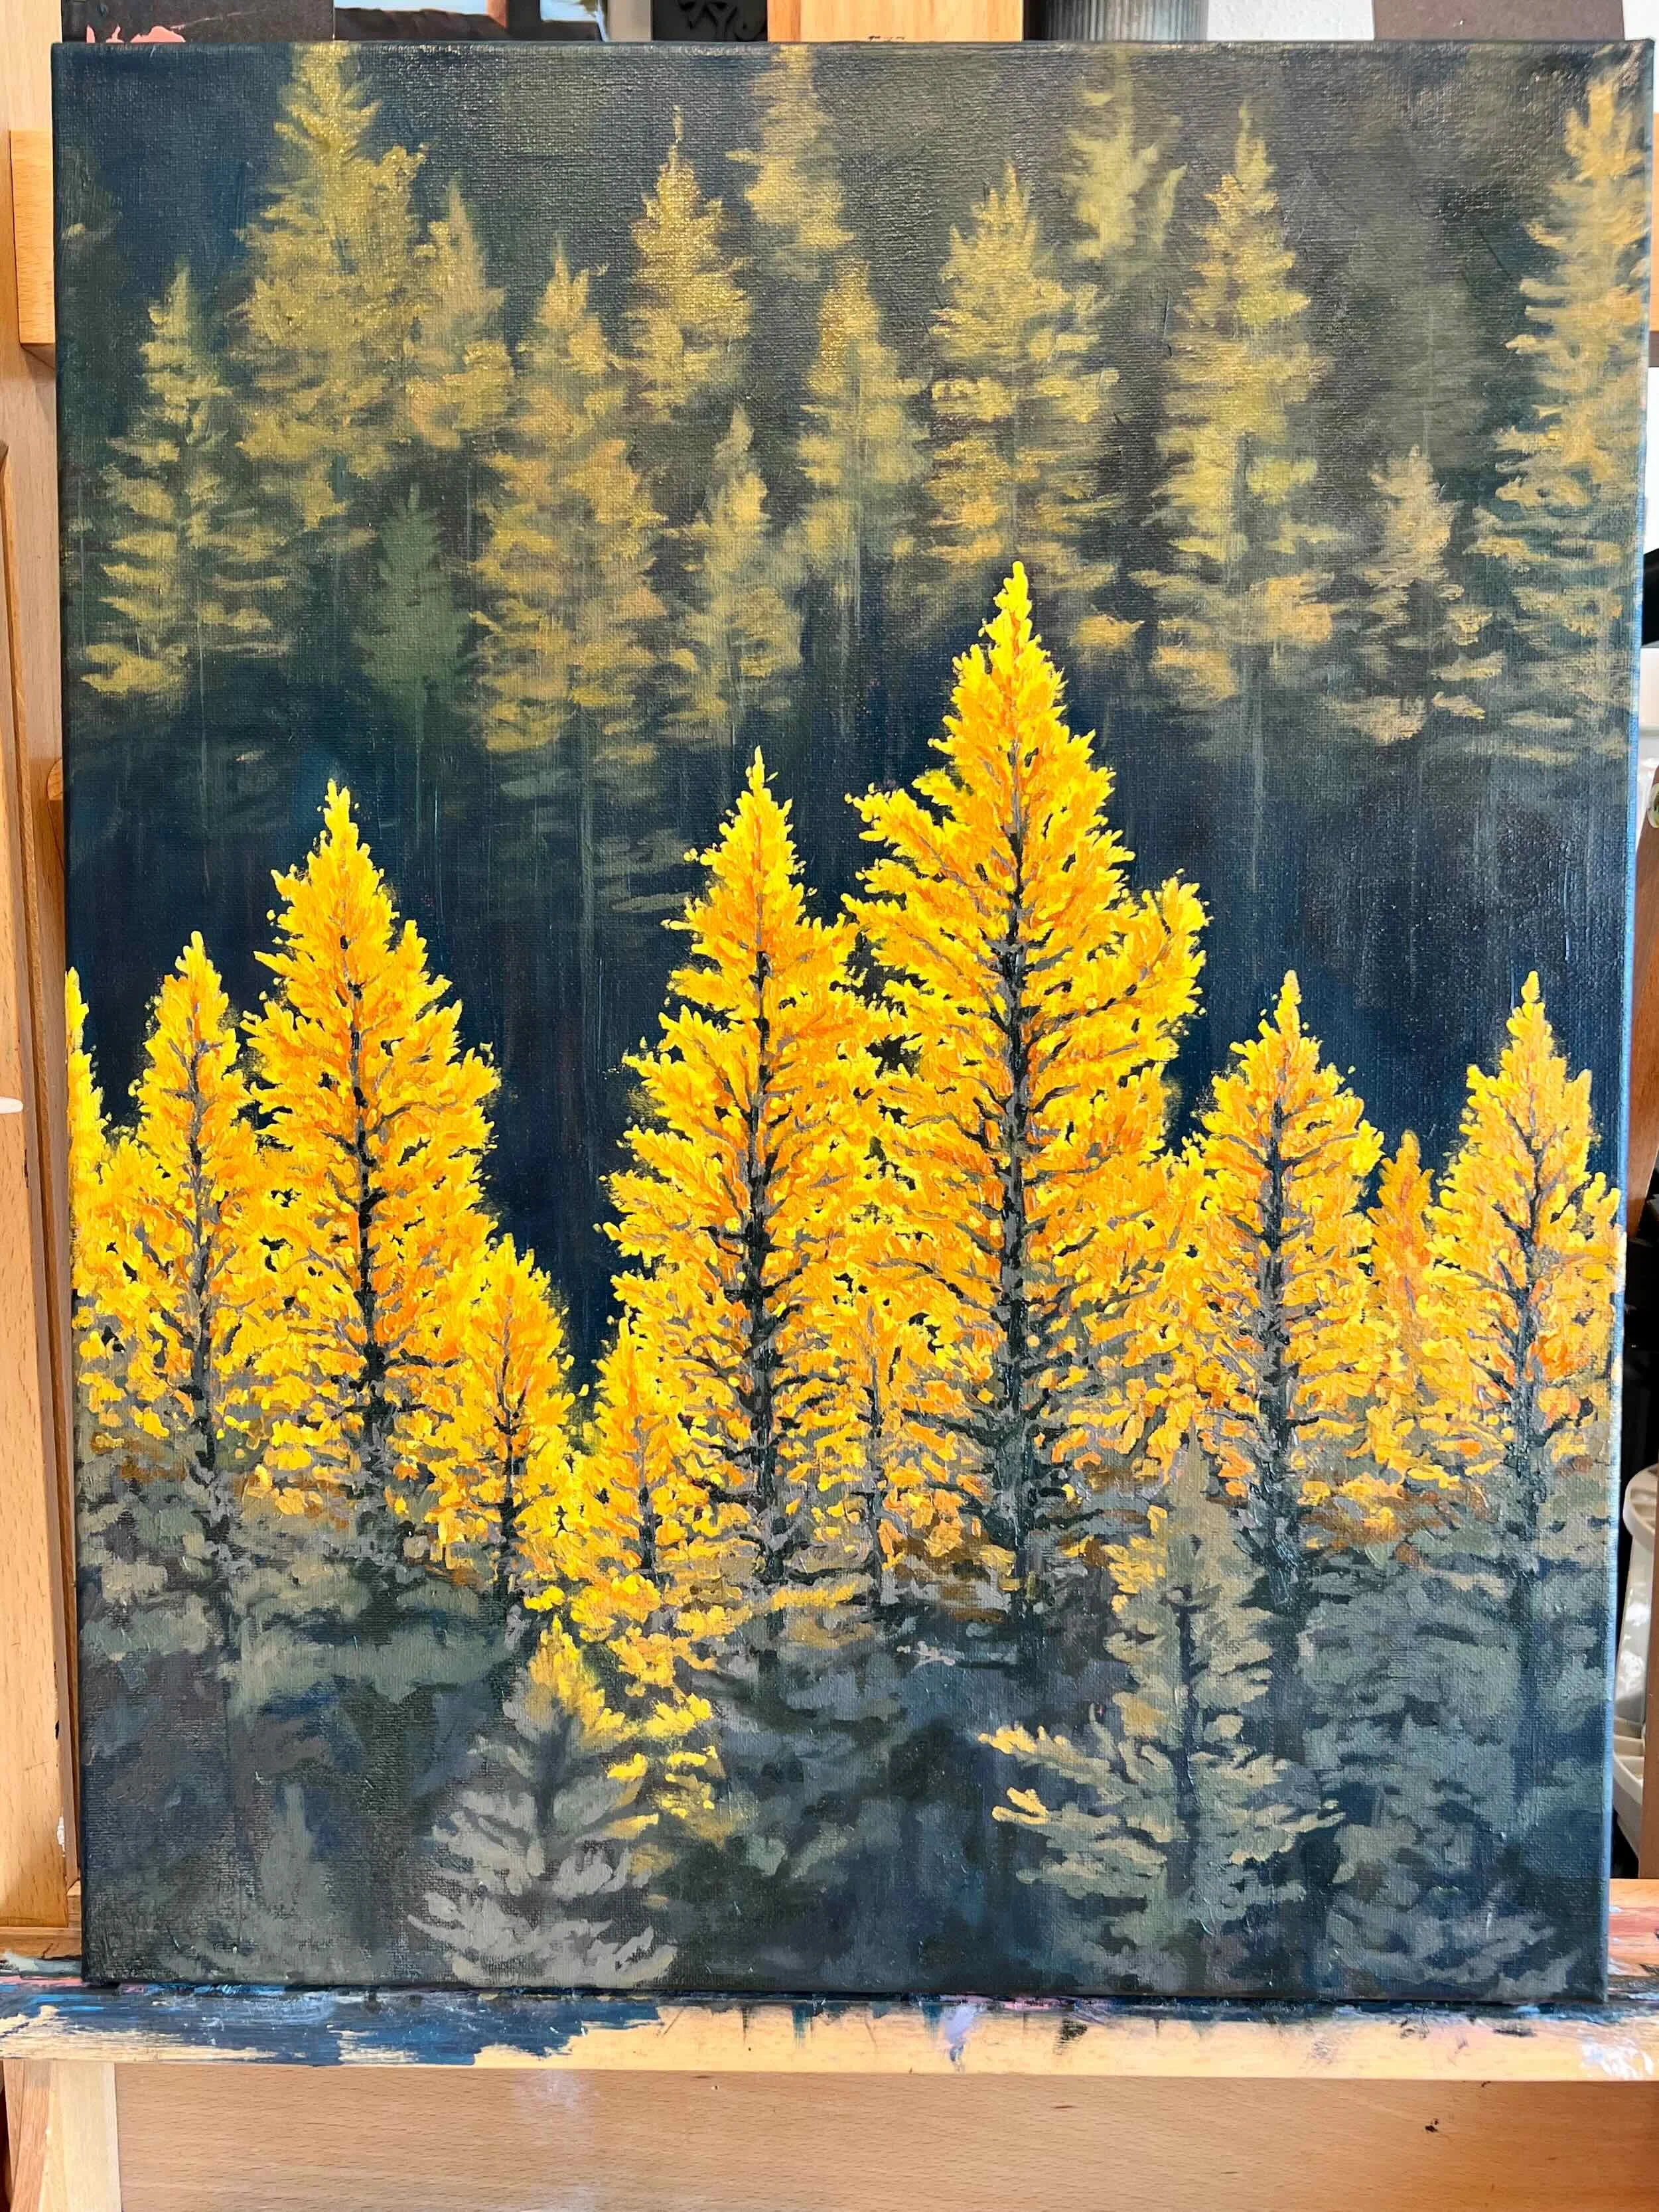
Middle Layers
In the middle layers, the paintings begin to come alive. I refine forms, add color complexity, and start building depth and texture. Layering is one of the strengths of oil painting—each new layer adds subtlety and richness.
Working in a series turns drying time into an advantage: while one painting dries, I switch to another, maintaining momentum without rushing the process.

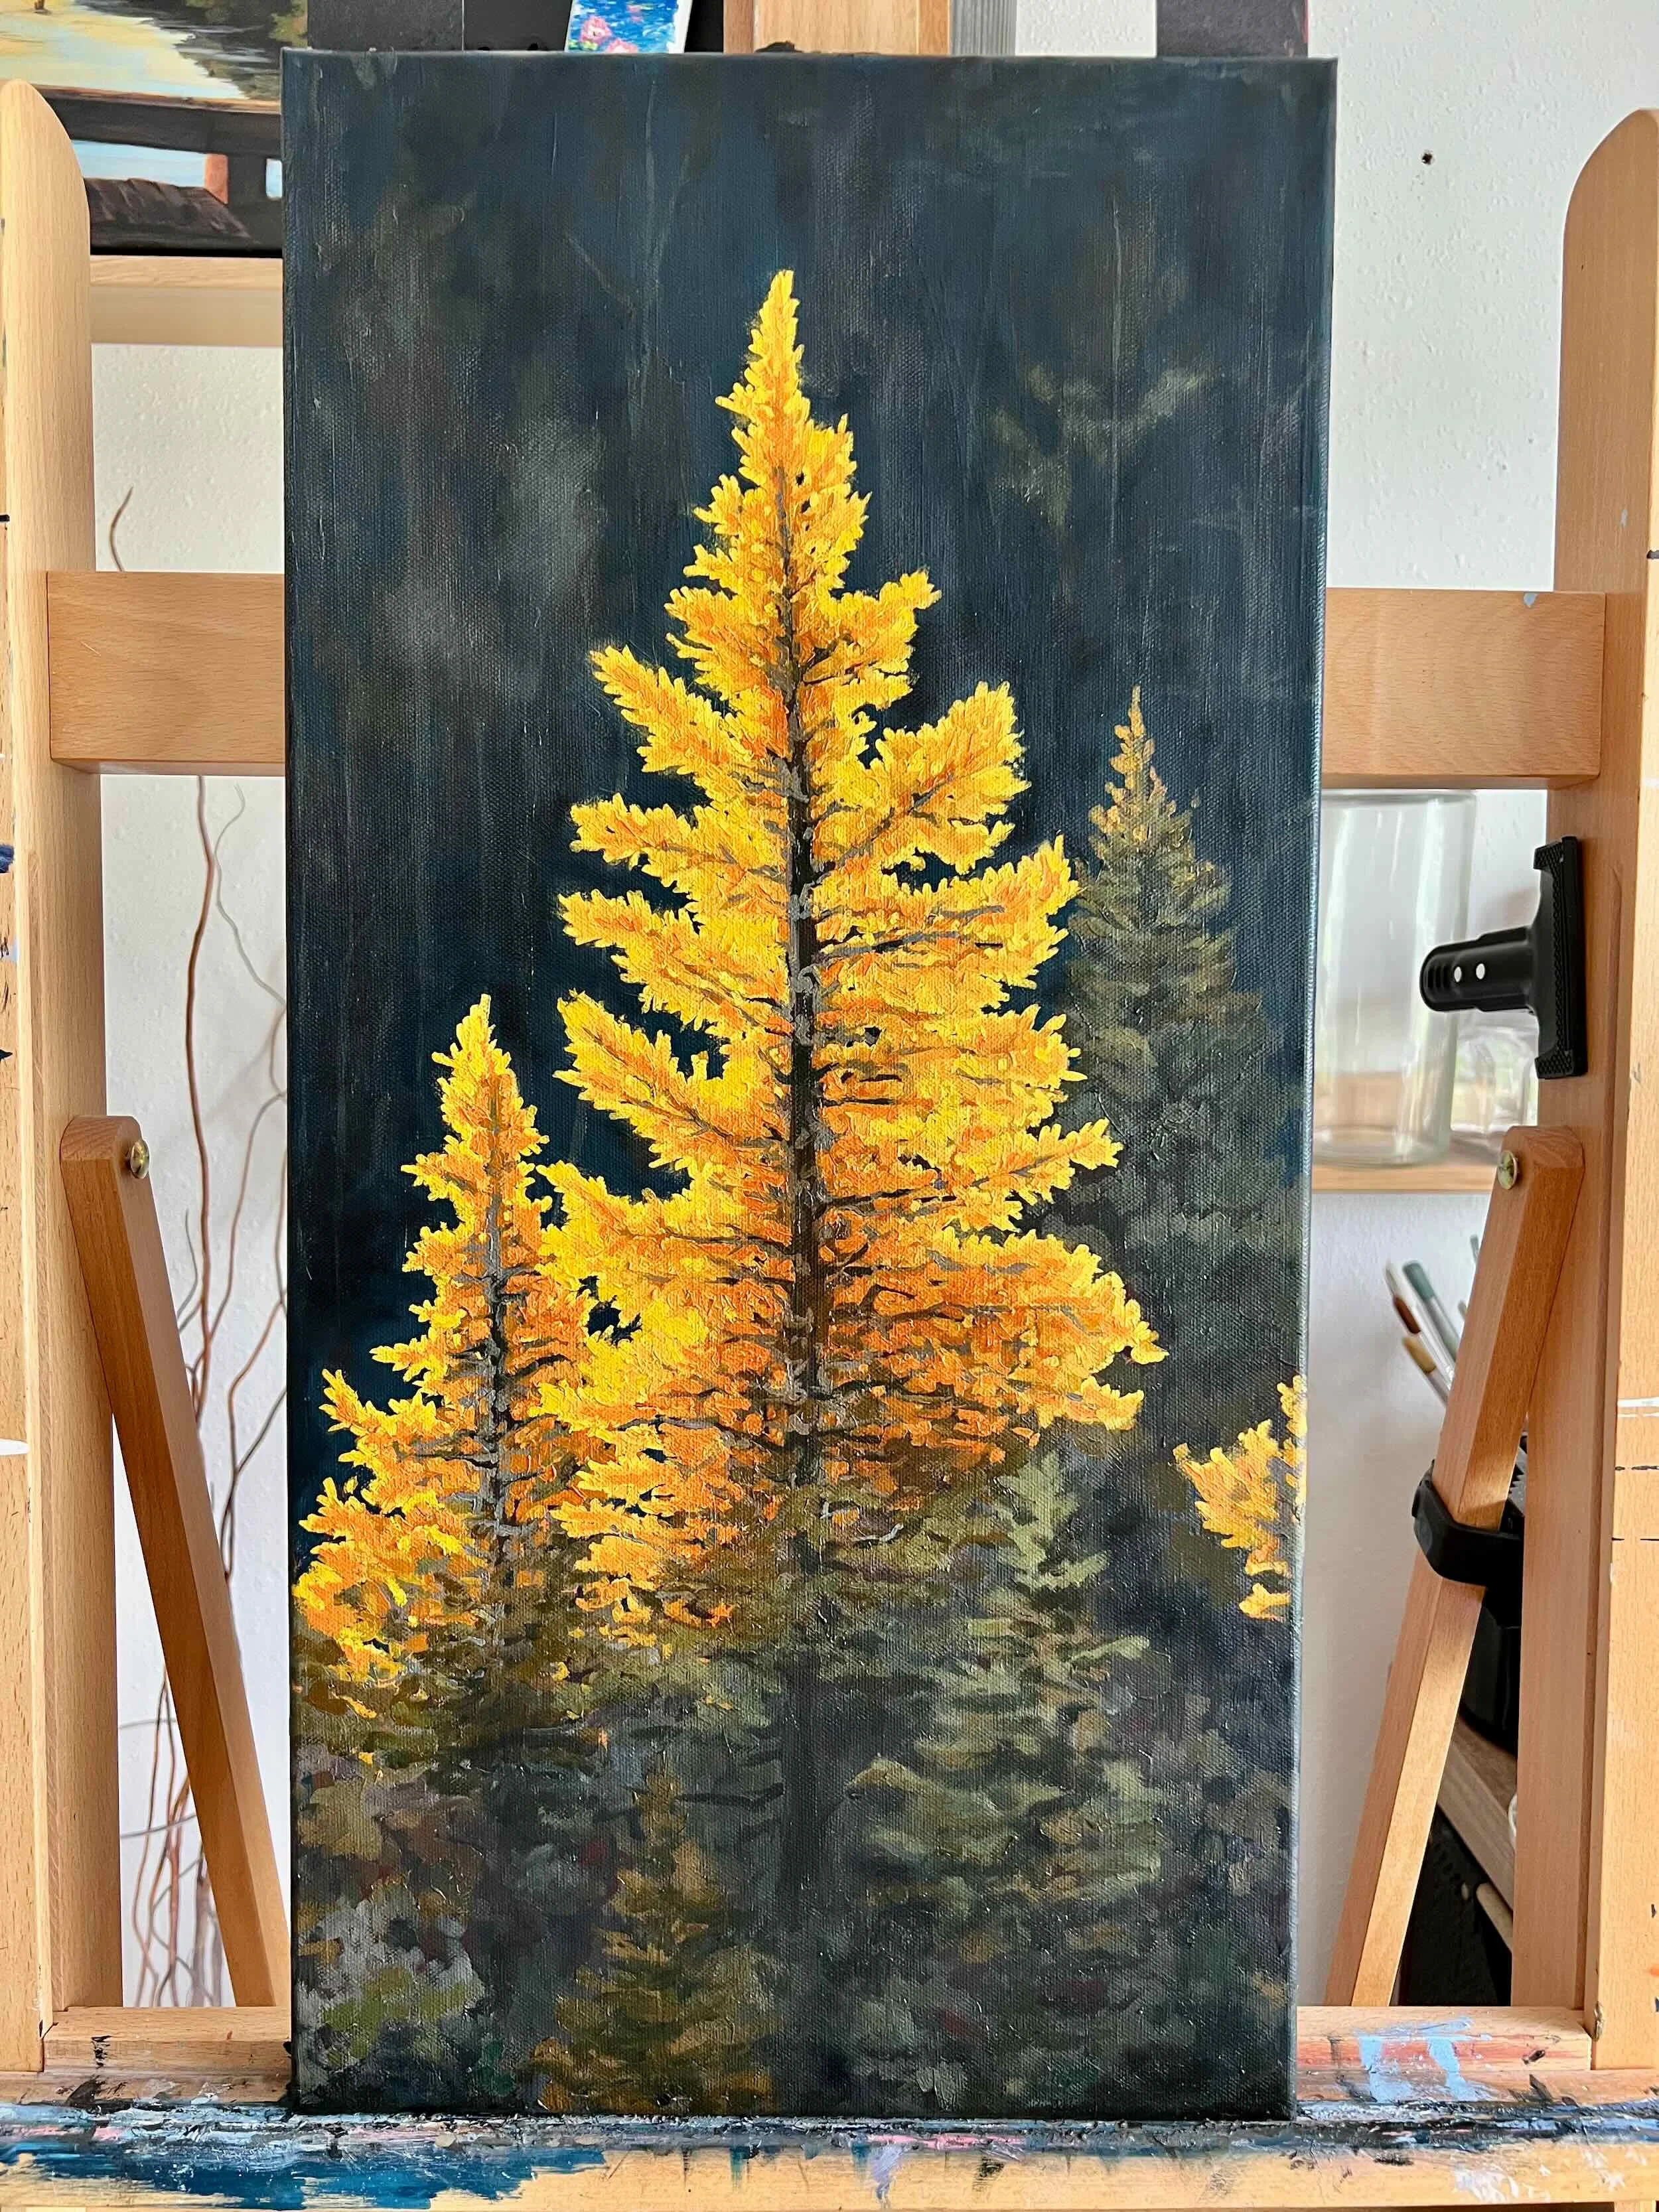


Finishing Touches
The final details elevate a painting from “coming along” to complete. Here, I add highlights, adjust edges, refine color temperature, and use glazes to deepen certain areas. This stage requires restraint—I try to stay mindful and avoid overworking.
Once I’m satisfied, I sign the paintings and allow them to dry thoroughly. Depending on paint thickness, that can take several weeks. I either hang the paintings to cure or lay them flat in a protected space.
Photographing the Work
Good photography is essential for sharing or selling my artwork online. I use bright, even lighting to avoid glare on the oil surface and adjust my camera settings to capture accurate color.
These images become the digital versions of my artwork—used for social media, prints, marketing, and my website—so getting them right is important.
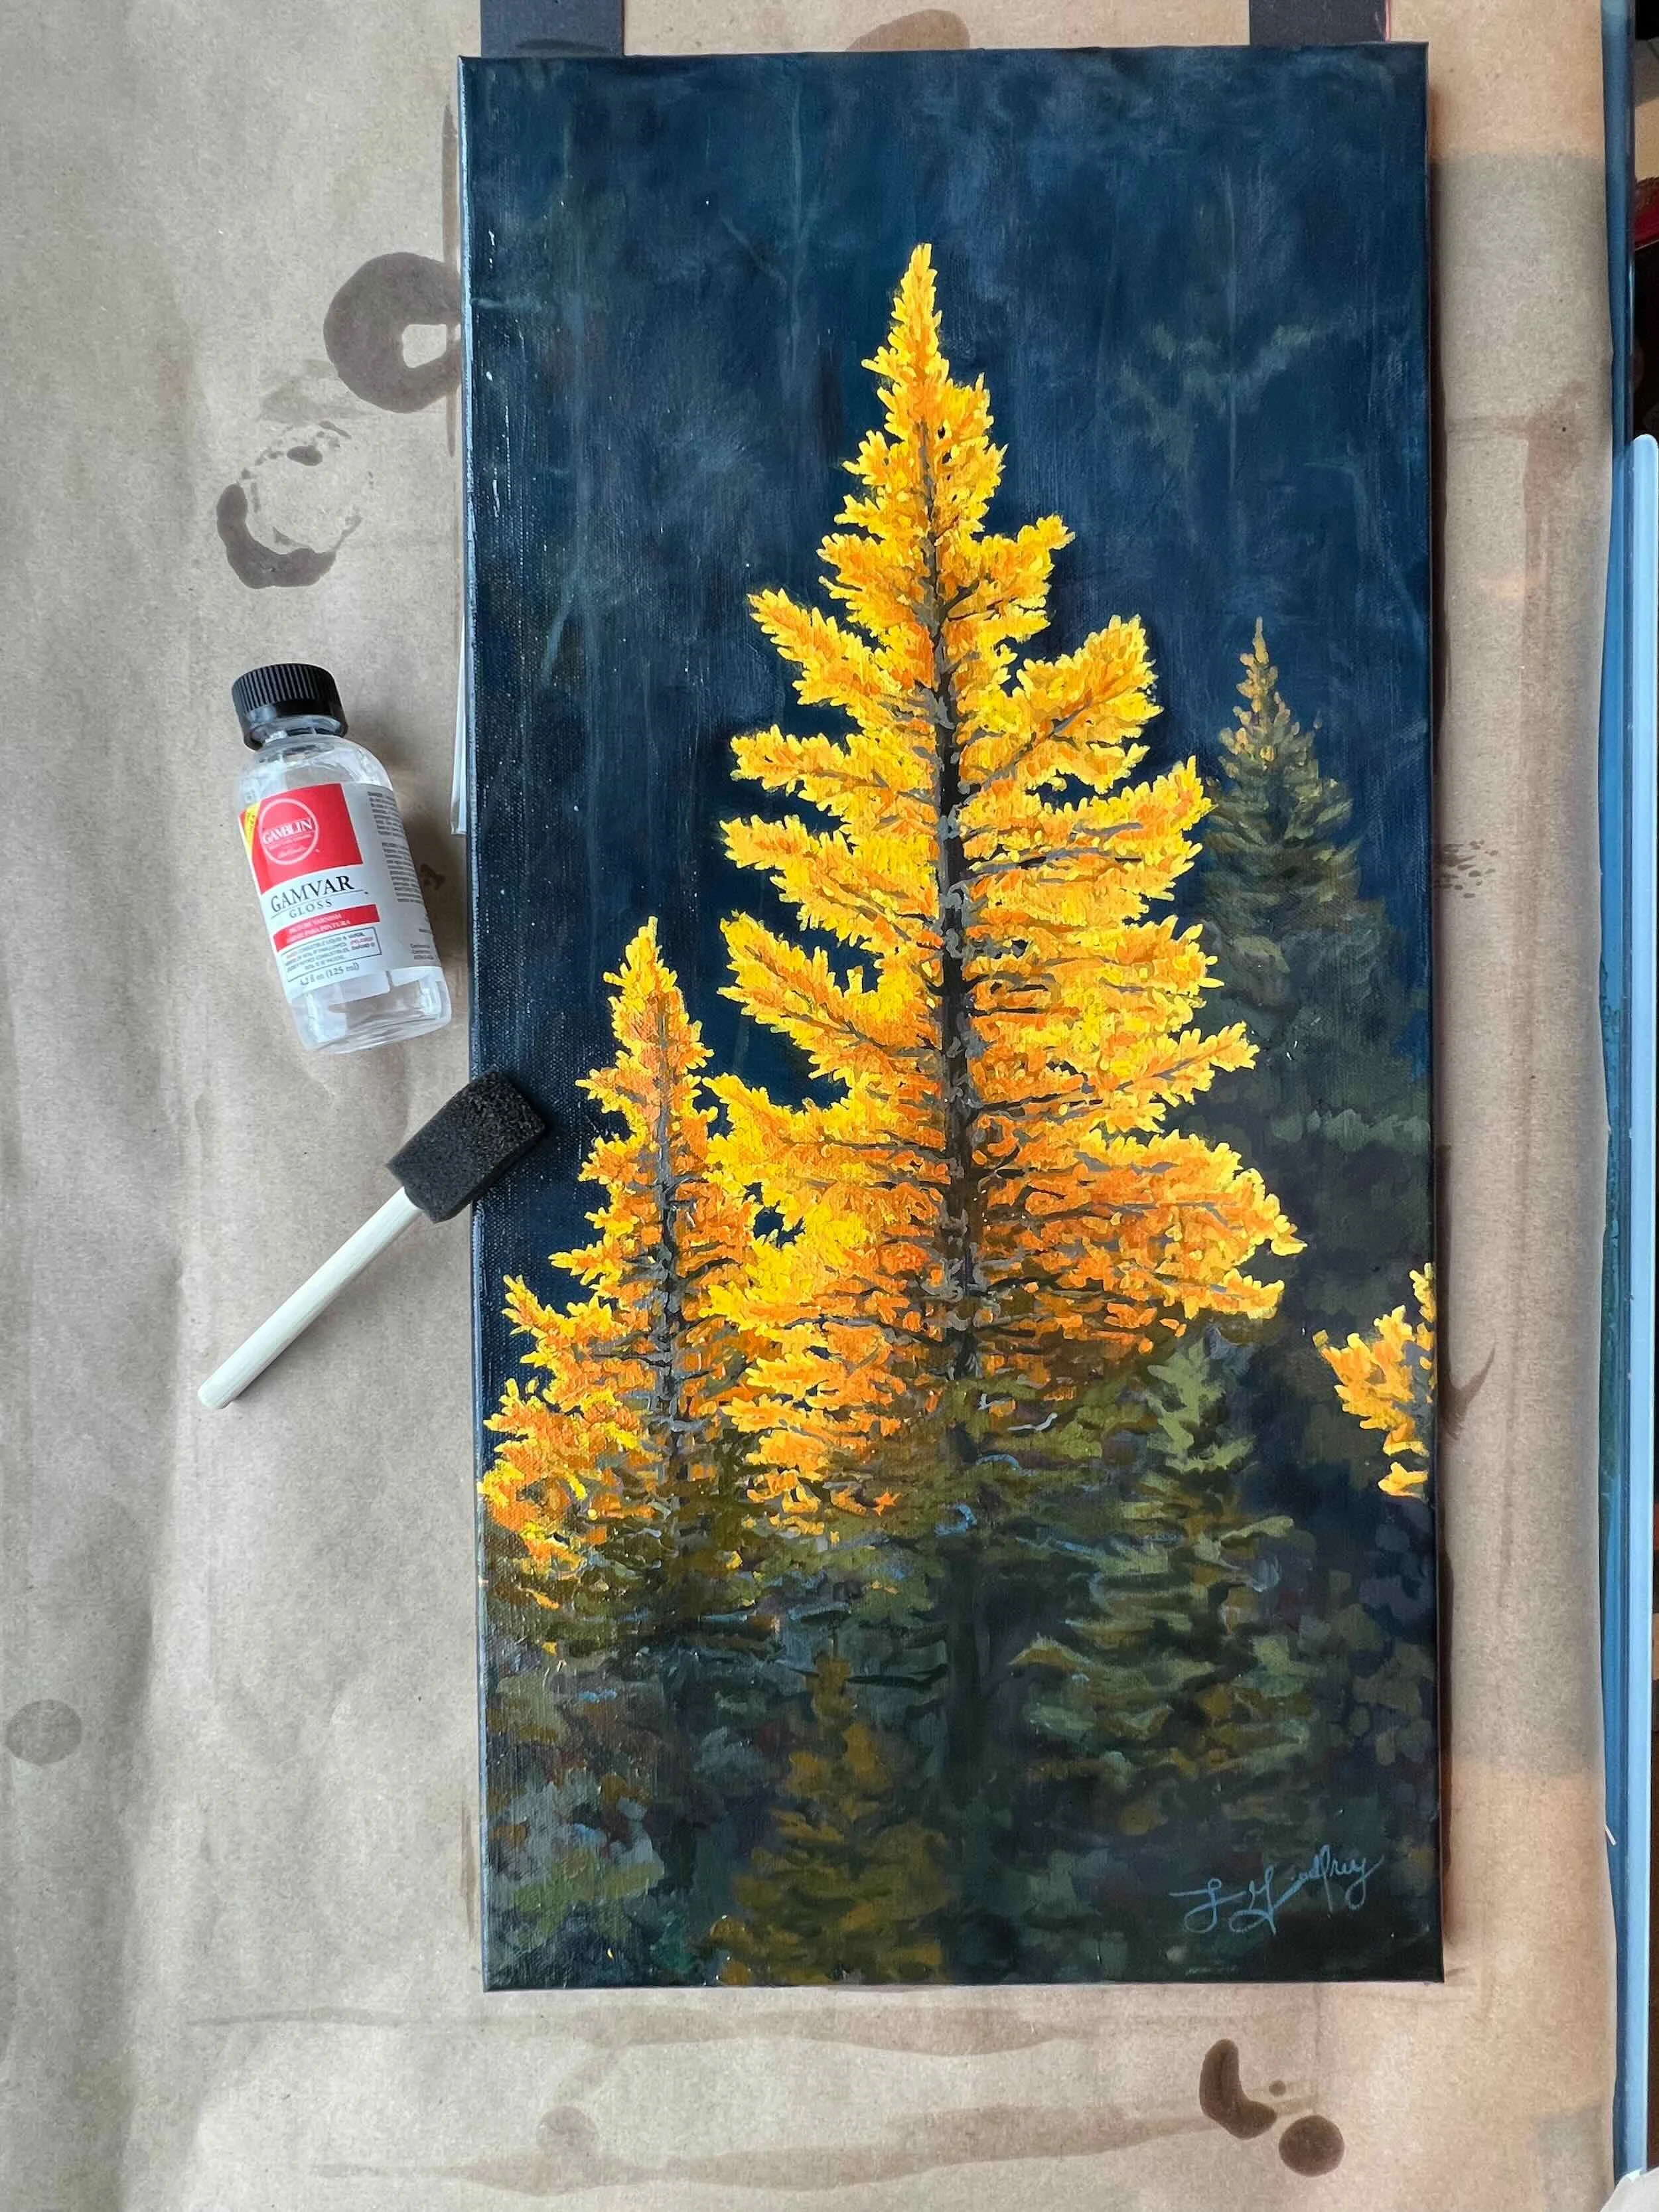
Photographing the paintings before the gloss varnish is applied to prevent glare.
Varnishing
After the paintings have fully dried, I apply a varnish to protect them from dust, dirt, and UV light. Varnish also enriches and unifies the surface. I usually choose a gloss finish for its vibrancy.
Using a soft brush, I apply a thin, even coat and let it dry completely before handling or framing the piece.
Varnish on a fully dry oil painting.
Hardware, Inventory & Storage
Before a painting is ready to leave the studio, I add D-ring hangers and picture wire to the back. Then I document each piece in my inventory system—title, size, materials, price, and notes. This organization makes exhibitions, sales, and shipping much easier.
I also create a Certificate of Authenticity for every artwork, including the title, date, dimensions, and relevant material information.
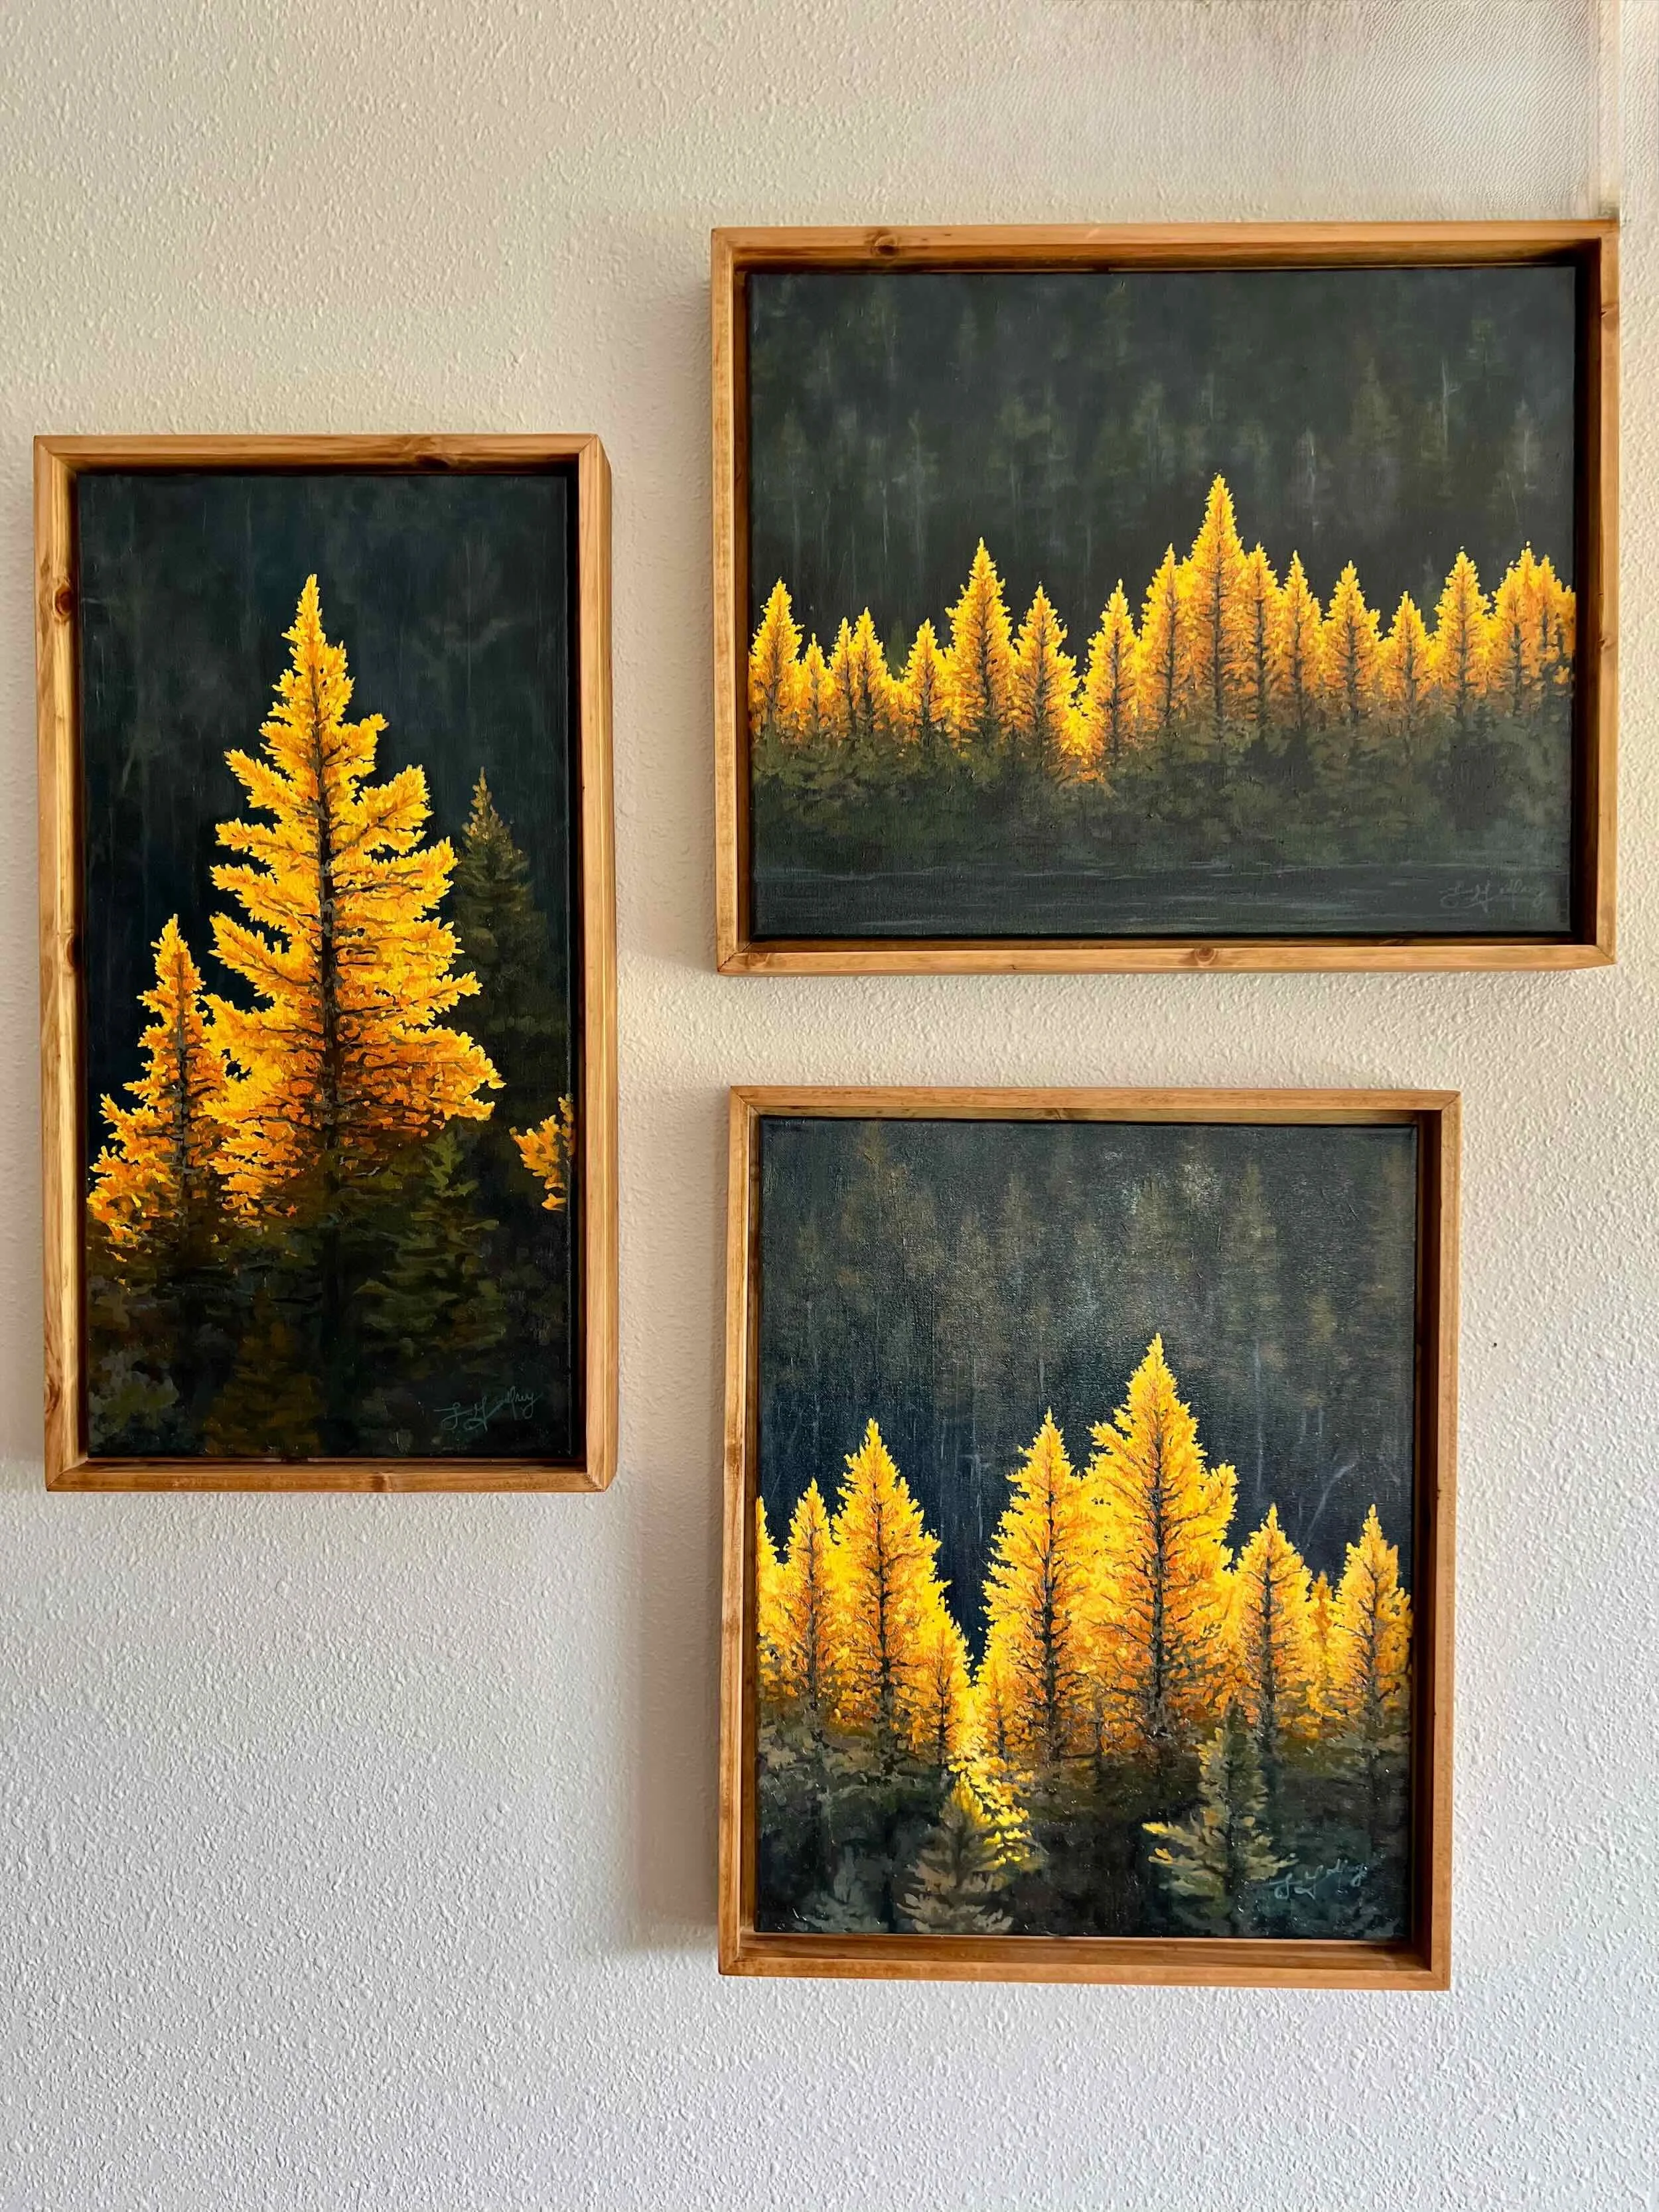
If a painting isn’t headed straight to a buyer or gallery, I decide whether to frame it. Otherwise, I wrap it in vellum and bubble wrap for safe storage—or hang it in my own space to enjoy for a while. One of the perks of being an artist.
It’s Definitely a Process
From the spark of an idea to the last coat of varnish, creating a series is a process I approach with intention and care. Each step helps me explore light, texture, and emotion in a way that brings my vision to life.
Thank you for joining me behind the scenes. Your support and interest encourage me to keep exploring and growing as an artist.
If you enjoyed this glimpse into my oil-painting process, I’d love for you to follow along for future studio updates, new artwork releases, and behind-the-scenes posts. You can also subscribe to my newsletter or leave a comment below—I always enjoy hearing what resonates with you.